
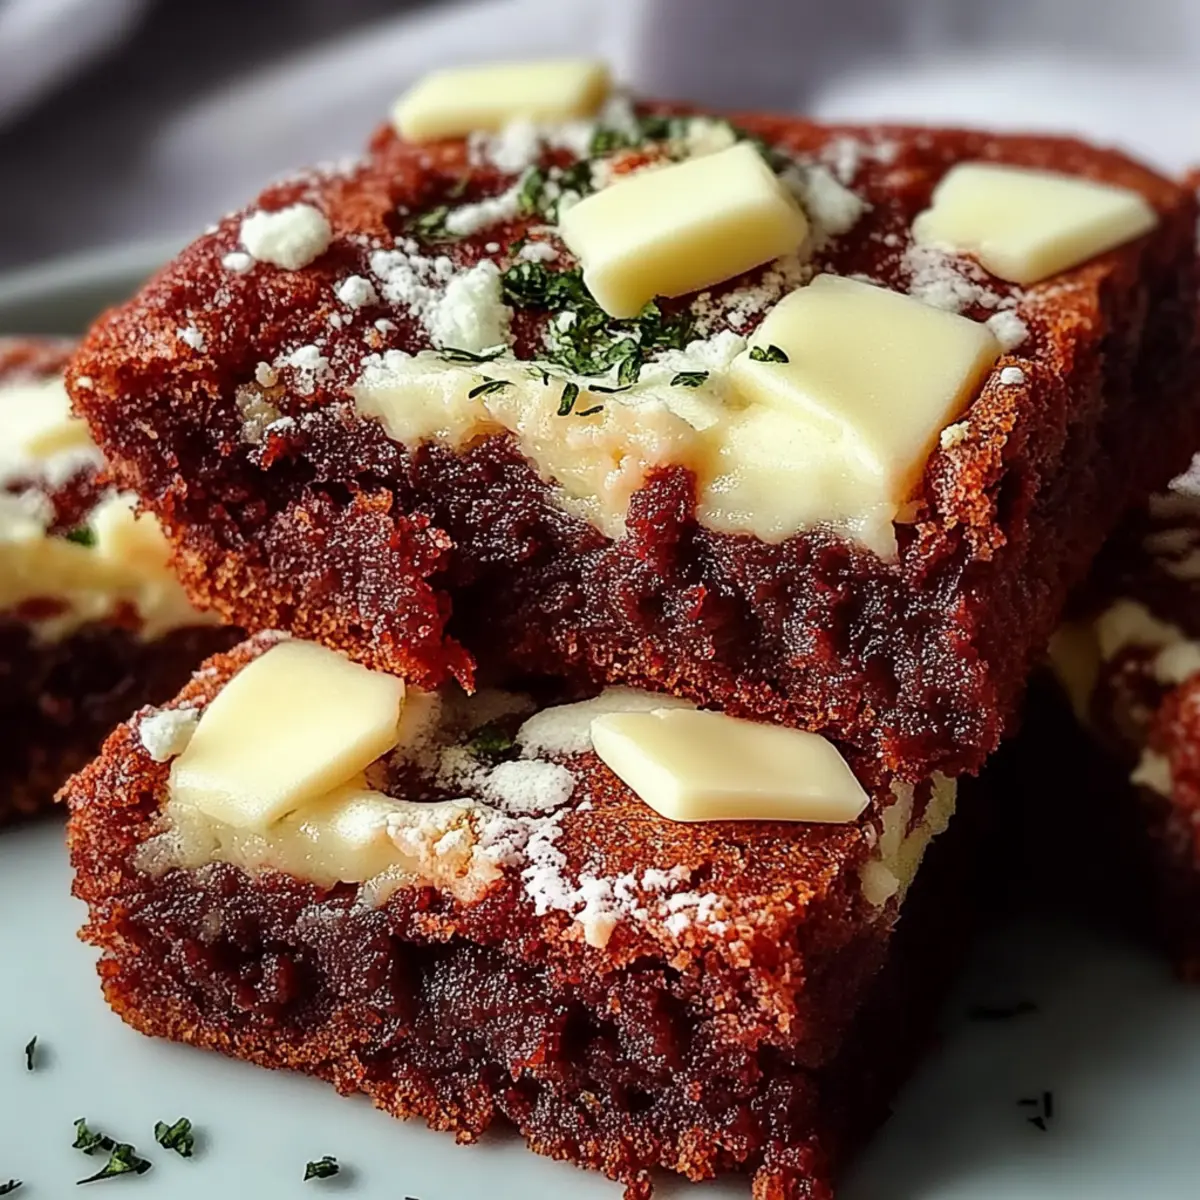
As I whisk together the melted butter and sugars, the warm, sweet aroma fills my kitchen, evoking a sense of comfort that only homemade treats can offer. Today, I’m excited to share my recipe for Red Velvet Brownies—these delightful, colorful desserts are perfect for a holiday gathering or whenever you need a little pick-me-up. The best part? They’re incredibly easy to make and come together in under an hour! With the rich flavor of cocoa perfectly paired with creamy white chocolate chips, these brownies are bound to impress everyone who takes a bite. Are you ready to bring a splash of color and joy to your baking routine? Let’s dive into how to make these festive treats that will have your friends and family asking for seconds!
Why Are Red Velvet Brownies So Special?
Irresistible flavor is at the heart of these treats, thanks to the delightful combination of rich cocoa and smooth white chocolate. Quick and easy, this recipe takes less than an hour from start to finish, making it perfect for a spontaneous baking session. Visually stunning, the vibrant red color makes them a standout at any gathering, ideal for celebrations or simply brightening up your week. Crowd-pleasing and comforting, they cater to both chocolate lovers and those seeking a fun twist on traditional brownies. If you're looking for more delicious homemade options, check out my guide on easy brownies or explore other colorful desserts to sweeten your baking repertoire!
Red Velvet Brownies Ingredients
These stunning treats are a delightful combination of flavors and colors!
For the Brownie Batter
- Unsalted butter – 1 cup (226 g), melted for a rich base.
- Granulated sugar – 1 ½ cups (300 g) adds sweetness and moisture.
- Brown sugar – ½ cup (100 g), packed to deepen the flavor profile.
- Large eggs – 4, to create a fudgy texture.
- Vanilla extract – 2 teaspoons, enhancing the overall flavor.
- All-purpose flour – 2 cups (250 g), the backbone of the brownies.
- Unsweetened cocoa powder – ½ cup (45 g) for that classic chocolate taste.
- Baking powder – 1 teaspoon, ensuring they rise beautifully.
- Salt – 1 teaspoon, balancing sweetness and enhancing flavor.
- Red food coloring – 1 tablespoon, turning your brownies into a visual feast.
- White chocolate chips – 1 cup (170 g), for creamy bursts of sweetness throughout the brownies.
These red velvet brownies are not just a treat for the taste buds but also a delight for the eyes, making them perfect for any celebration!
Step‑by‑Step Instructions for Red Velvet Brownies
Step 1: Preheat and Prepare
Begin by preheating your oven to 350°F (175°C). As the oven warms up, take a 9x13-inch baking pan and grease it lightly. Line the bottom and sides with parchment paper, allowing some overhang; this will help you easily lift the brownies out once they're baked.
Step 2: Combine Wet Ingredients
In a large mixing bowl, combine the melted butter, granulated sugar, and brown sugar. Using a whisk, mix these ingredients until the texture is smooth and glossy—this should take about a minute. The mixture should look well combined, inviting you to move on to the next step.
Step 3: Add Eggs and Vanilla
Next, crack the eggs into the bowl one at a time, stirring well after each addition to fully incorporate them. This will take a few minutes, and you'll notice the batter becoming richer and thicker. Don't forget to add the vanilla extract, giving it a fragrant touch that enhances the overall flavor.
Step 4: Mix Dry Ingredients
In a separate bowl, sift together the all-purpose flour, cocoa powder, baking powder, and salt. This step is crucial for ensuring there are no clumps. Gradually add this dry mixture to your wet ingredients, stirring gently until just combined—the batter should be thick but still slightly lumpy.
Step 5: Color the Batter
Now it’s time to add the magic! Pour in the red food coloring and mix well until the batter is a vibrant red hue. You want to see an even color throughout, reflecting the fun spirit of these red velvet brownies. This vibrant color is what makes these treats visually stunning.
Step 6: Fold in White Chocolate
Take your white chocolate chips and gently fold them into the vibrant brownie batter. Make sure they’re evenly distributed to ensure a creamy, sweet bite in every piece. The melting white chocolate will beautifully complement the rich cocoa flavors, making your brownies irresistible.
Step 7: Pour and Smooth
Carefully pour the brownie batter into the prepared baking pan, using a spatula to spread it evenly. Smooth out the top to create a nice, even surface. This will help the brownies bake uniformly, allowing each corner to be just as delightful as the center.
Step 8: Bake to Perfection
Place the pan in the preheated oven and bake for 20-25 minutes. Keep an eye on them; the brownies are done when a toothpick inserted in the center comes out with a few moist crumbs. This visual cue indicates the ideal fudgy texture we all love in red velvet brownies.
Step 9: Cool and Slice
Once baked, carefully remove the brownies from the oven and let them cool in the pan for about 10 minutes. After that, use the parchment overhang to lift them out onto a wire rack. Allow them to cool completely before slicing into squares—this makes cutting much easier and prevents messiness!
Make Ahead Options
These Red Velvet Brownies are perfect for busy home cooks looking to save time! You can prepare the brownie batter up to 24 hours in advance. Simply mix all the ingredients up to the point of pouring them into the baking pan. Once you’ve done this, cover the bowl tightly with plastic wrap and refrigerate it to maintain freshness. When you’re ready to bake, just let the batter sit at room temperature for about 30 minutes before pouring it into your prepared pan and baking as directed. This ensures your brownies come out just as delicious and fudgy as if you made them fresh!
What to Serve with Red Velvet Brownies
Indulging in warm, fudgy brownies creates an atmosphere of joy and sweetness, perfect for pairing with delightful companions.
- Vanilla Ice Cream: The creamy texture beautifully contrasts with the rich brownies, providing a delightful melt-in-your-mouth experience.
- Fresh Berries: A side of tart raspberries or strawberries brings a refreshing pop of flavor that balances the sweetness of the brownies.
- Whipped Cream: Light and fluffy, a dollop of freshly whipped cream adds a luxurious touch, enhancing the overall enjoyment of each bite.
- Chocolate Sauce: Drizzling warm chocolate sauce over the brownies intensifies the chocolate flavor, making for an exquisite treat that feels indulgent.
- Mint Tea: A warm cup of mint tea offers a soothing, herbal contrast that perfectly complements the rich flavors of red velvet brownies.
- Pecan Topping: Toasted pecans provide a crunchy texture that adds depth, contrasting with the fudgy softness of the brownies in each mouthful.
- Coffee: A hot, brewed coffee perfectly balances the sweetness and enhances the chocolate, creating a classic dessert pairing.
- Chocolate Milkshake: For an indulgent twist, serve a thick chocolate milkshake alongside. The cold, creamy drink pairs deliciously with warm brownies.
- Caramel Sauce: Sweet and slightly salty, caramel drizzle over the brownies adds decadence that elevates your dessert experience to the next level.
Expert Tips for Red Velvet Brownies
- Choose Quality Ingredients: Use high-quality cocoa powder and pure vanilla extract to enhance the flavors of your red velvet brownies. Quality matters!
- Don’t Overmix: Mix the batter until just combined to avoid tough brownies. A few lumps are perfectly fine; they'll add to the fudge-like texture.
- Check for Doneness: Use a toothpick to test for doneness; aim for a few moist crumbs. Overbaking can lead to dry brownies that lose that special fudgy goodness.
- Let Them Cool: Allow the brownies to cool completely before slicing. This ensures clean cuts and helps maintain their rich, gooey texture.
- Experiment with Mix-Ins: Feel free to swap white chocolate chips for nuts or extra chocolate chunks for a twist on the classic red velvet brownies.
Red Velvet Brownies Variations & Substitutions
Feel free to unleash your creativity with these variations that will add a unique twist to your delightful Red Velvet Brownies!
- Dairy-Free: Substitute the butter with coconut oil and use dairy-free white chocolate chips for a tasty alternative.
- Nutty Crunch: Add 1 cup of chopped walnuts or pecans to the batter for a delightful crunch that contrasts beautifully with the fudgy texture.
- Chocolate Lovers: Replace half of the flour with more cocoa powder for an extra chocolatey brownie that will satisfy any chocolate addict.
- Spicy Kick: Incorporate 1 teaspoon of cayenne pepper for a surprising bit of heat that enhances the rich chocolate flavors.
- Berry Boost: Fold in 1 cup of fresh raspberries or chopped strawberries for a burst of fruity flavor that brightens each bite.
- Frosted Bliss: Top with a cream cheese frosting once the brownies cool; the rich tanginess pairs perfectly with the sweetness of the chocolate.
- Experiment with Colors: Use blue or purple food coloring instead of red for a fun twist that can suit any celebration theme.
- Easier-to-Cut: For cleaner squares, refrigerate the brownies for about an hour after baking, making slicing much easier without crumbling.
With these substitutions and variations, you can customize your brownies to reflect your taste preferences. Dive into the fun of baking, and check out my other recipes for more delicious options!
How to Store and Freeze Red Velvet Brownies
Room Temperature: Store brownies at room temperature in an airtight container for up to 3 days to maintain their chewy texture and flavor.
Fridge: For extended freshness, keep brownies in the fridge for up to 1 week. Allow them to come to room temperature before enjoying for the best taste.
Freezer: Freeze brownies for up to 3 months. Wrap them tightly in plastic wrap or foil and then place in a freezer-safe bag to prevent freezer burn.
Reheating: To enjoy warm brownies, simply place them in the microwave for about 10-15 seconds. This will help revive their fudgy goodness!
Red Velvet Brownies Recipe FAQs
How do I select and prepare the perfect ingredients for red velvet brownies?
Absolutely! For optimal flavor, choose high-quality unsweetened cocoa powder and pure vanilla extract. Make sure your eggs are at room temperature for better incorporation. As for the red food coloring, gel-based options give you a vibrant hue without altering the batter’s consistency.
What’s the best way to store my red velvet brownies?
Very! Keep your brownies in an airtight container at room temperature for up to 3 days to maintain their chewy texture. If you prefer them a bit cooler, refrigerate them, where they will stay fresh for up to 1 week. Just remember to let them come back to room temperature before indulging!
Can I freeze red velvet brownies? If so, how?
Yes, you can! To freeze your brownies, wrap them tightly in plastic wrap or foil. Place the wrapped brownies into an airtight freezer-safe bag, ensuring to remove as much air as possible. They’ll stay delicious for up to 3 months! When you're ready to enjoy, simply thaw them in the fridge overnight or at room temperature for a couple of hours.
What should I do if my brownies turn out too dry?
To prevent dry brownies in the first place, make sure to keep an eye on the baking time. If they do turn out dry, you can try storing them with a slice of bread in an airtight container; the moisture from the bread can help soften them a bit. For future bakes, remember that a toothpick should come out with a few moist crumbs, indicating they are done!
Are these brownies suitable for people with dietary restrictions?
While red velvet brownies are traditionally made with eggs and dairy, you can easily modify the recipe for different diets. For a vegan option, substitute with flax eggs (1 tablespoon of ground flaxseed mixed with 2.5 tablespoons of water = 1 egg) and use plant-based butter or coconut oil. Always check the labels on chocolate chips for dairy-free options if needed, and be mindful of any potential allergies such as nuts.
Irresistibly Fun Red Velvet Brownies You’ll Love to Bake
Equipment
- 9x13-inch baking pan
- Mixing bowl
- Whisk
- Spatula
Ingredients
Brownie Batter
- 1 cup unsalted butter melted
- 1.5 cups granulated sugar adds sweetness and moisture
- 0.5 cup brown sugar packed
- 4 large eggs to create a fudgy texture
- 2 teaspoons vanilla extract enhances the overall flavor
- 2 cups all-purpose flour the backbone of the brownies
- 0.5 cup unsweetened cocoa powder for classic chocolate taste
- 1 teaspoon baking powder ensures they rise beautifully
- 1 teaspoon salt balancing sweetness and enhancing flavor
- 1 tablespoon red food coloring for vibrant color
- 1 cup white chocolate chips for creamy sweetness
Instructions
Step-by-Step Instructions
- Preheat your oven to 350°F (175°C) and grease a 9x13-inch baking pan, lining it with parchment paper.
- In a large mixing bowl, combine the melted butter, granulated sugar, and brown sugar, mixing until smooth and glossy.
- Add the eggs one at a time, stirring well after each addition, followed by the vanilla extract.
- In a separate bowl, sift together the flour, cocoa powder, baking powder, and salt, then gradually add to the wet ingredients until just combined.
- Add the red food coloring and mix until the batter is a vibrant red hue.
- Fold in the white chocolate chips gently.
- Pour the brownie batter into the prepared pan and smooth out the top.
- Bake for 20-25 minutes, checking with a toothpick for doneness.
- Remove from the oven and cool for 10 minutes before lifting out to cool completely on a wire rack.
Leave a Reply