
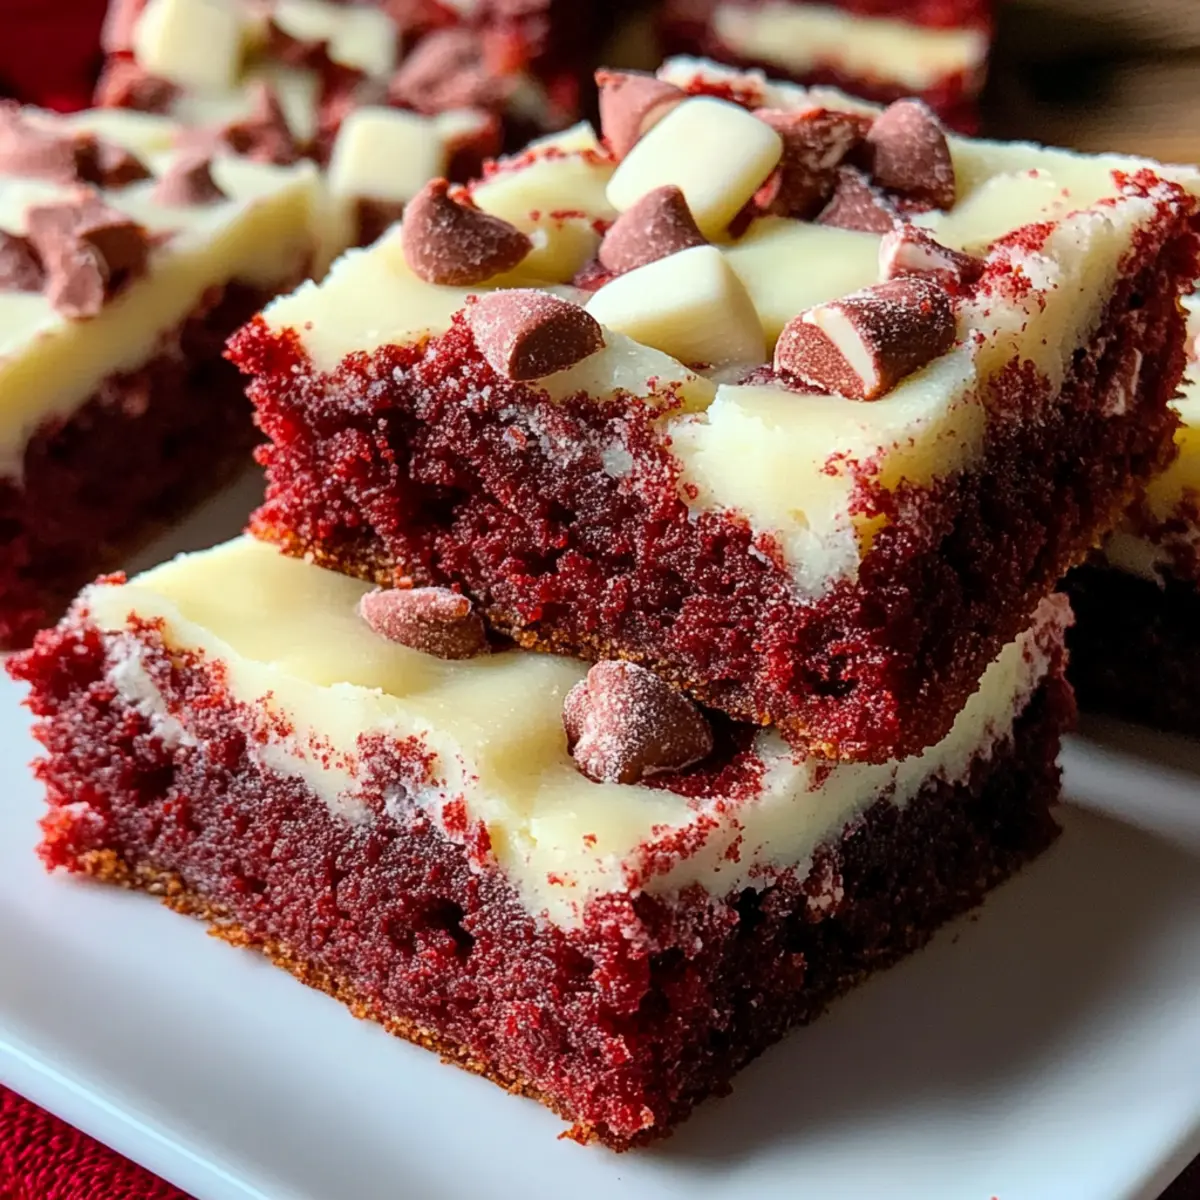
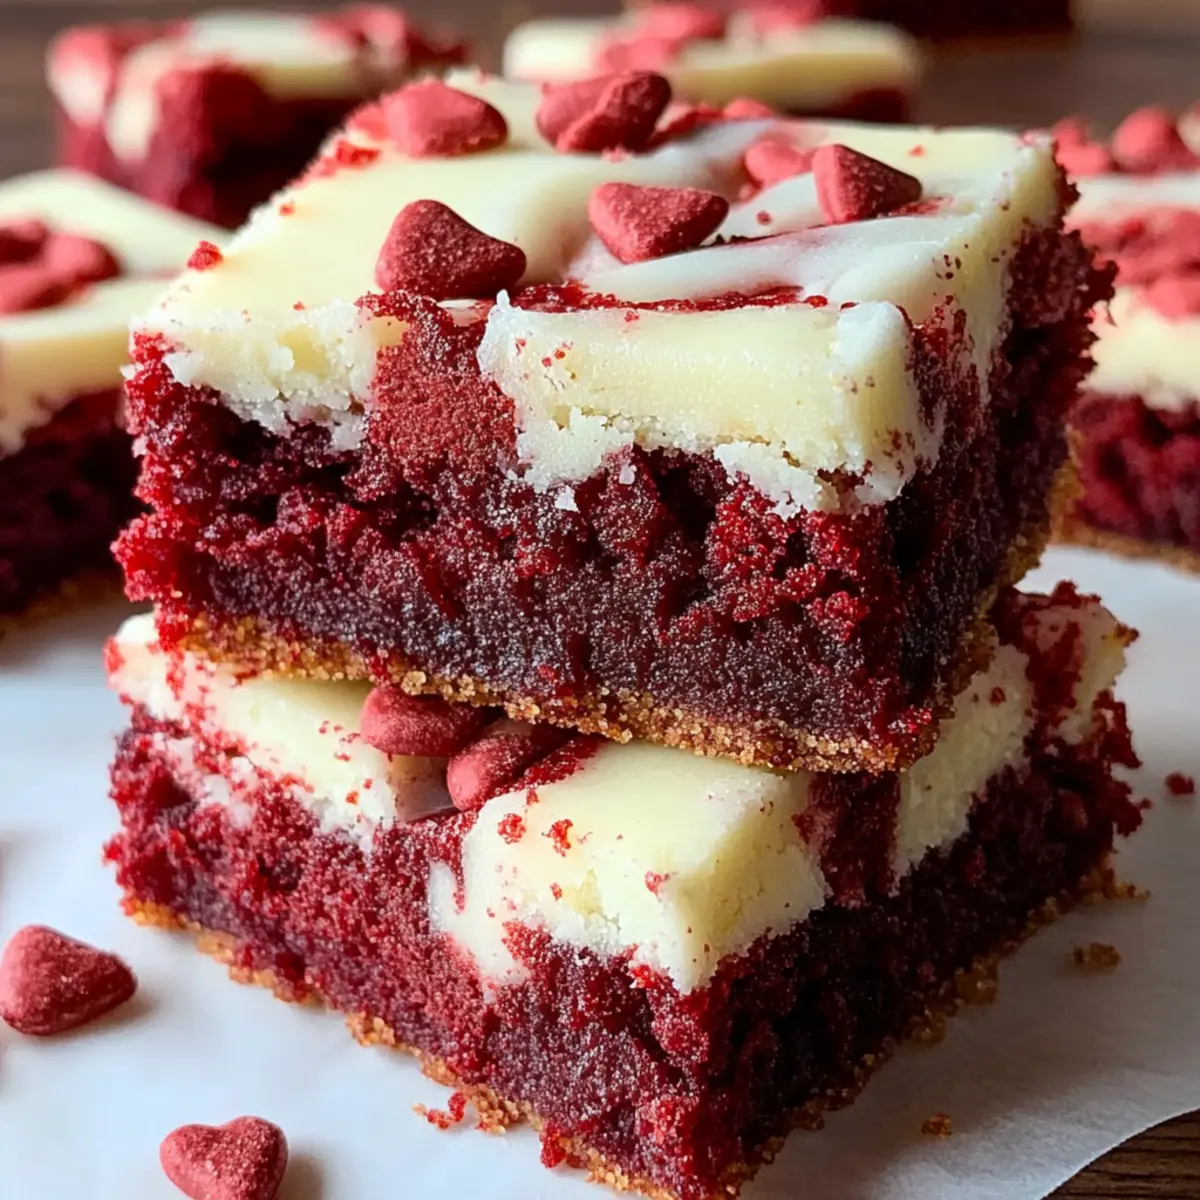
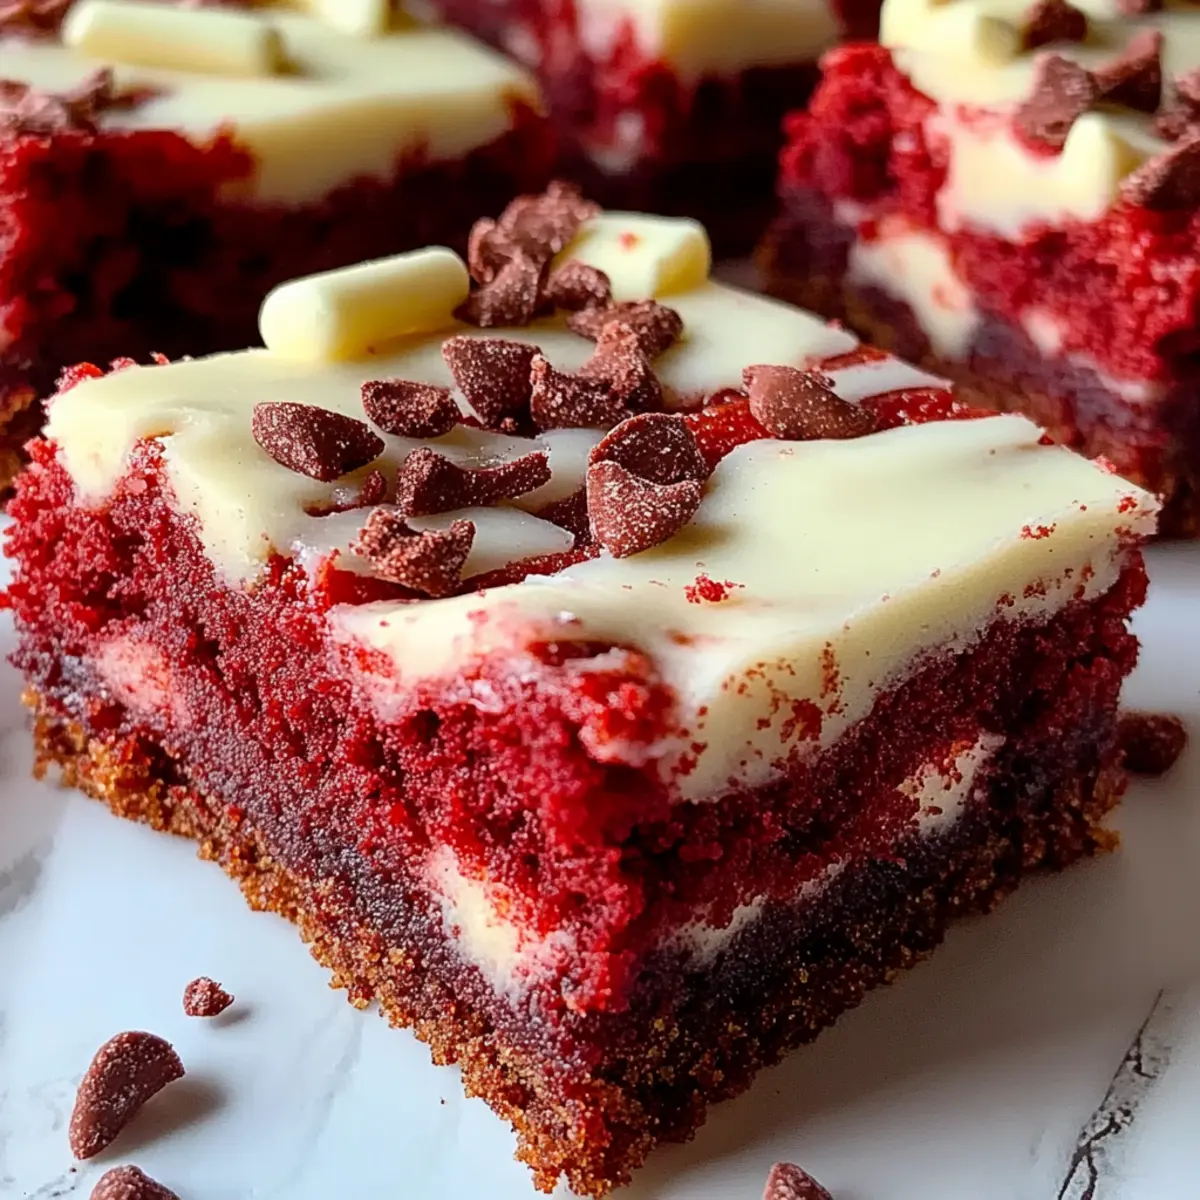
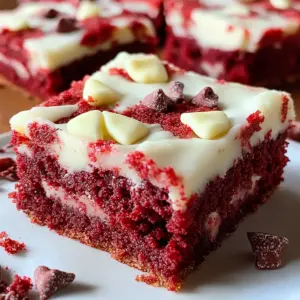
As I stood in my kitchen, the sweet aroma of baking cookies filled the air, wrapping me in a warm hug. Today, I'm sharing my delightful Red Velvet Cookie Bars, a soft and chewy wonder that’s perfect for any occasion. These treats are not only visually stunning with their rich red hue, but they are also incredibly simple to make—showcasing your baking prowess without spending hours in the kitchen. With a luscious cream cheese frosting topping and the indulgent crunch of white chocolate chips, they’re sure to become a crowd favorite. So, grab your mixing bowl and let’s create something special. What celebration will you bring these beauties to?
Why are Red Velvet Cookie Bars irresistible?
Visual Appeal: The stunning red hue of these cookie bars is sure to catch anyone’s eye at your next gathering.
Velvety Texture: Each bite offers a soft, chewy indulgence that melts in your mouth, leaving you craving more.
Frosting Delight: Topped with rich cream cheese frosting, this dessert is a perfect balance of sweet and tangy.
Crowd Favorite: Whether it’s a party or a cozy night in, these bars are perfect for sharing—everyone loves them!
Quick and Easy: With just over an hour from prep to plate, you can whip these up whenever the craving strikes.
Elevate your dessert game today! If you're looking for more delightful treats, check out my S'mores Bars or make some fun Pencil Cookies too!
Red Velvet Cookie Bars Ingredients
• Here’s everything you’ll need to create these delightful treats!
For the Cookie Bars
- 2 ½ cups all-purpose flour – gives structure and a soft texture to the cookie bars.
- 2 tablespoons cocoa powder – adds a subtle richness and enhances the chocolate flavor.
- 1 teaspoon baking soda – helps the bars rise and keeps them fluffy.
- ½ teaspoon salt – a pinch that balances the sweetness beautifully.
- 1 cup unsalted butter, softened – provides a creamy base and richness to the dough.
- 1 ½ cups granulated sugar – sweetness that complements the red velvet nicely.
- ½ cup brown sugar, packed – adds moisture and a hint of caramel flavor.
- 2 large eggs – bind the ingredients and add to the bars’ tenderness.
- 2 teaspoons vanilla extract – infuses the dough with warm, sweet notes.
- 1 tablespoon red food coloring – gives the cookie bars their signature vibrant color.
- 1 cup white chocolate chips – adds delightful sweetness and a creamy texture.
For the Topping
- 1 cup cream cheese frosting – the perfect finishing touch that adds creaminess and tanginess. Use store-bought or homemade based on your time and preference!
With these ingredients for your Red Velvet Cookie Bars, you’re just moments away from baking a truly spectacular dessert. Happy baking!
Step‑by‑Step Instructions for Red Velvet Cookie Bars
Step 1: Preheat and Prepare
Preheat your oven to 350°F (175°C). While the oven warms, grease a 9x13 inch baking pan with butter or line it with parchment paper, ensuring easy removal after baking. This initial step is crucial for achieving that perfect gooey texture in your Red Velvet Cookie Bars.
Step 2: Whisk Dry Ingredients
In a medium bowl, whisk together the all-purpose flour, cocoa powder, baking soda, and salt until well combined. This mixture is the foundation for your cookie bars and should be set aside to allow the flavors to meld while you prepare the wet ingredients.
Step 3: Cream Butter and Sugars
In a large mixing bowl, beat together the softened unsalted butter, granulated sugar, and brown sugar using a hand mixer or stand mixer on medium speed for about 3-4 minutes. Aim for a light and fluffy texture, which will ensure your Red Velvet Cookie Bars have that delightful melt-in-your-mouth quality.
Step 4: Add Eggs and Flavorings
Next, add the two large eggs one at a time, mixing thoroughly after each addition. Then, pour in the vanilla extract and red food coloring. Combine these ingredients until you have a beautifully smooth mixture, rich in flavor and color, perfect for your cookie bars.
Step 5: Combine Wet and Dry Ingredients
Gradually add the dry ingredient mixture to the wet mixture, stirring just until combined. Be cautious not to overmix, as you want to maintain the tender texture of your Red Velvet Cookie Bars. The dough should come together nicely, forming a luscious batter.
Step 6: Fold in White Chocolate Chips
Gently fold in the white chocolate chips with a spatula, ensuring they are evenly distributed throughout the dough. This step adds sweet bursts of flavor and a creamy texture that will elevate your cookie bars to the next level of deliciousness.
Step 7: Spread into Baking Pan
Pour the cookie dough into the prepared baking pan and use a spatula to spread it out evenly. Make sure to reach all corners so that your Red Velvet Cookie Bars bake uniformly, achieving that desired soft center and slightly crisp edge.
Step 8: Bake to Perfection
Place the pan in the preheated oven and bake for 25-30 minutes. Keep an eye on them; they’re ready when a toothpick inserted in the center comes out clean. The edges should be slightly firm but the center may look soft, which is just what you want for a chewy bar.
Step 9: Cool Before Frosting
Once baked, remove the pan from the oven and let the bars cool in the pan for about 10-15 minutes. Afterward, transfer them to a wire rack to cool completely. This cooling time helps set the bars while preventing the frosting from melting off.
Step 10: Frost the Cookie Bars
Once fully cooled, spread the cream cheese frosting evenly over the top of the cookie bars. The rich frosting adds a delicious tang that complements the sweet and soft texture of your Red Velvet Cookie Bars, making every bite a heavenly experience.
Step 11: Slice and Serve
Finally, cut the bars into squares, and they’re ready to serve! You can store any leftovers in an airtight container at room temperature, keeping these delightful treats fresh for your next sweet craving.
Make Ahead Options
These Red Velvet Cookie Bars are a dream for meal prep enthusiasts! You can prepare the cookie dough up to 24 hours in advance by following the mixing steps, then refrigerate it in an airtight container. This not only saves time but also intensifies the flavors. If you're short on time, you can bake the bars and let them cool to room temperature, then frost and slice them up to 3 days ahead of serving. Just be sure to store the bars in an airtight container to keep them fresh and moist. When you're ready to serve, just plate them up, and enjoy delicious, homemade treats that taste just as delightful as when they were first baked!
Red Velvet Cookie Bars Variations
Feel free to get creative and customize your Red Velvet Cookie Bars to match your tastes and dietary preferences!
-
Gluten-Free: Substitute all-purpose flour with a gluten-free blend for a delicious, gluten-friendly treat. Just ensure the blend has a good structure for best results!
-
Nutty Twist: Add 1 cup of chopped walnuts or pecans to enhance the flavor and add a delightful crunch. The richness of nuts pairs beautifully with the soft bars.
-
Chocoholic Upgrade: Swap out white chocolate chips for semi-sweet chocolate chips or dark chocolate chunks for a deeper chocolate flavor. This will add a rich, bold twist you won't forget!
-
Lighter Option: Use Greek yogurt in place of half the butter for a lower-fat version. This substitution will still yield moist, delightful bars, but with a little more health-conscious flair.
-
Seasonal Spice: Incorporate 1 teaspoon of cinnamon or a pinch of nutmeg for a warming spiced flavor, perfect for cozy gatherings and chilly weather. These spices will elevate the taste to something extraordinary!
-
Frosting Fun: Try different frostings like chocolate ganache or whipped cream cheese frosting instead of traditional cream cheese frosting for a unique flavor twist. Each offers a different flavor experience that keeps things fresh.
-
Bite-Sized Bliss: Make mini cookie bars by using a mini muffin tin. Bake the bars for a slightly shorter time—these little bites are perfect for parties and gatherings!
-
Heat It Up: For a spicy kick, add a pinch of cayenne pepper or a splash of chili powder to the batter. This unexpected heat will surprise and delight your taste buds!
Explore these variations to find your perfect version of Red Velvet Cookie Bars! For more delicious ideas, consider making some cozy Shrimp Alfredo next time you’re in the kitchen!
How to Store and Freeze Red Velvet Cookie Bars
Room Temperature: Store in an airtight container at room temperature for up to 3 days, ensuring they remain soft and chewy.
Fridge: To extend their freshness, place the bars in the fridge, where they can last up to 1 week. Just remember to cover them well to prevent dryness!
Freezer: For longer storage, freeze the cookie bars. Wrap them individually in plastic wrap and place in a freezer-safe bag, where they can be stored for up to 3 months.
Reheating: When ready to enjoy, thaw in the fridge overnight, then warm slightly in the microwave for about 10-15 seconds for that fresh-baked taste.
Expert Tips for Red Velvet Cookie Bars
Perfect Texture: Use softened butter at room temperature to achieve that light and fluffy texture essential for delicious Red Velvet Cookie Bars.
Avoid Overmixing: Combine dry and wet ingredients just until blended; overmixing can lead to tough bars, losing their delightful soft bite.
Bake Carefully: Watch the baking time closely. Remove the bars when a toothpick comes out clean but still moist for the perfect chewy consistency.
Cool Completely: Allow the bars to cool fully before frosting; this prevents the cream cheese frosting from melting and losing its charm.
Store Properly: Keep leftovers in an airtight container at room temperature to maintain freshness and texture for days.
What to Serve with Red Velvet Cookie Bars
Enhancing your dessert experience is easy when you pair these delightful treats with scrumptious accompaniments that elevate their flavors.
-
Classic Vanilla Ice Cream: The smooth, creamy texture of vanilla ice cream contrasts beautifully with the chewy cookie bars, providing a refreshing balance. Just a scoop beside your bar makes every bite feel like a decadent treat.
-
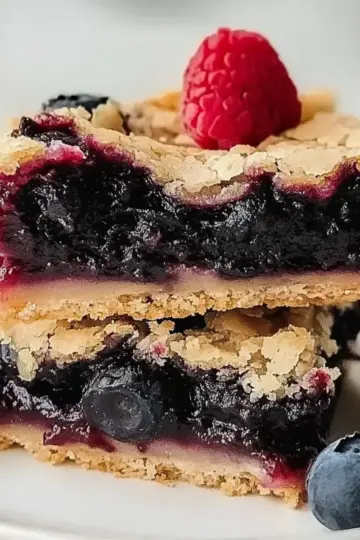
Fresh Berries: Ripe strawberries or raspberries add a tartness that cuts through the sweetness, offering a lovely pop of color and flavor. They serve as a fresh counterpoint to the richness of the cookie bars.
-
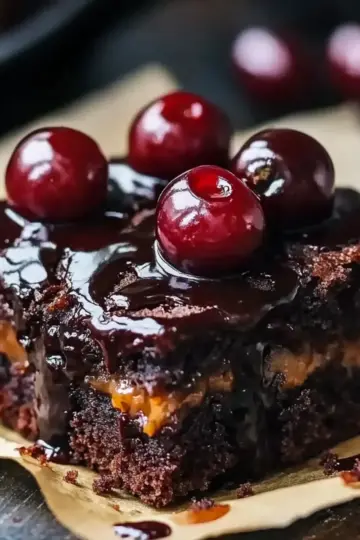
Chocolate Drizzle: A warm drizzle of rich chocolate sauce enhances the sweet profile of the bars and adds an extra layer of indulgence. This simple addition transforms your dessert into an elegant masterpiece.
-
Coffee or Espresso: A strong cup of coffee complements the sweetness of the Red Velvet Cookie Bars, creating a delightful balance. The bitterness of coffee enhances the overall flavor experience, making every bite even more irresistible.
-
Mimosa: For a brunch-inspired pairing, a light mimosa offers a sparkling contrast to the rich flavors of the cookie bars. The citrusy notes refresh your palate, allowing for another delicious nibble.
-
Milkshake: A thick and creamy milkshake, especially chocolate or vanilla, creates a nostalgic experience reminiscent of diner desserts. The luxurious combination makes this sweet treat even more enjoyable.
-
Nutty Topping: Sprinkle some crushed pecans or walnuts on top. The crunch and nutty flavor add an exciting texture contrast to the soft bars while enhancing their overall flavor profile.
-
Cream Cheese Coffee Cake: If you're dreaming of an extended dessert experience, pairing these cookie bars with a slice of cream cheese coffee cake will create a delightful dessert duo. The creamy frosting on both desserts ties them together beautifully.
Red Velvet Cookie Bars Recipe FAQs
How do I choose ripe ingredients for my Red Velvet Cookie Bars?
Absolutely! Selecting the right ingredients is key to success. For the best results, ensure your butter is softened to room temperature—this usually means leaving it out for about 30 minutes. When it comes to eggs, they should also be at room temperature; you can achieve this quickly by placing them in warm water for about 10 minutes. For the food coloring, ensure you're using a good quality gel color for the most vibrant red hue in your bars!
What’s the best way to store leftovers?
Very good question! You can store your Red Velvet Cookie Bars in an airtight container at room temperature for up to 3 days. If you want to keep them fresh for a longer period, place them in the fridge, where they'll last about a week. Just ensure they’re covered well to keep them moist and delicious!
Can I freeze these cookie bars?
Of course! Freezing is a fantastic way to prolong the life of your Red Velvet Cookie Bars. Wrap each cooled bar individually in plastic wrap, then place them in a freezer-safe bag. They can last in the freezer for up to 3 months. When you’re ready to enjoy, simply thaw them in the fridge overnight, and you can warm them up in the microwave for about 10-15 seconds for that just-baked taste.
What should I do if my cookie bars are too dry or crumbly?
Don't worry; this can happen sometimes! If your Red Velvet Cookie Bars come out dry, it might be due to overmixing or baking them for too long. To help salvage them, you can serve them with a scoop of ice cream or extra frosting to add moisture. If you're still in the baking process and notice the dough seems too dry, try adding a tablespoon of milk or more softened butter to the mixture to improve the texture.
Are these cookie bars suitable for those with allergies?
It's essential to consider dietary restrictions! The standard recipe contains gluten (from flour), eggs, and dairy (in butter and cream cheese). If you're catering to someone with allergies, consider substituting with gluten-free flour and using a dairy-free butter alternative. You can also use egg replacements like applesauce or flaxseed meal mixed with water for a bind—just remember to adjust your cooking time slightly, as these alternatives can change the texture!
Can I use different types of chocolate chips?
Certainly! While white chocolate chips complement the red velvet beautifully, you can use semi-sweet chocolate chips or even dark chocolate for a richer experience. I often make them with dark chocolate chips for a nice contrast in flavor; the choice is yours and adds a personal touch to your delicious Red Velvet Cookie Bars!
Indulge in Irresistible Red Velvet Cookie Bars Today
Equipment
- Mixing bowl
- hand mixer
- Spatula
- 9x13-inch baking pan
Ingredients
For the Cookie Bars
- 2.5 cups all-purpose flour gives structure and a soft texture to the cookie bars
- 2 tablespoons cocoa powder adds a subtle richness and enhances the chocolate flavor
- 1 teaspoon baking soda helps the bars rise and keeps them fluffy
- 0.5 teaspoon salt balances the sweetness beautifully
- 1 cup unsalted butter, softened provides a creamy base and richness to the dough
- 1.5 cups granulated sugar sweetness that complements the red velvet nicely
- 0.5 cup brown sugar, packed adds moisture and a hint of caramel flavor
- 2 large eggs bind the ingredients and add to the bars’ tenderness
- 2 teaspoons vanilla extract infuses the dough with warm, sweet notes
- 1 tablespoon red food coloring gives the cookie bars their signature vibrant color
- 1 cup white chocolate chips adds delightful sweetness and a creamy texture
For the Topping
- 1 cup cream cheese frosting adds creaminess and tanginess
Instructions
Step-by-Step Instructions
- Preheat your oven to 350°F (175°C). Grease a 9x13 inch baking pan with butter or line it with parchment paper.
- In a medium bowl, whisk together the all-purpose flour, cocoa powder, baking soda, and salt until well combined.
- In a large mixing bowl, beat together the softened unsalted butter, granulated sugar, and brown sugar using a mixer for about 3-4 minutes.
- Add the eggs one at a time, mixing thoroughly after each addition. Then pour in the vanilla extract and red food coloring.
- Gradually add the dry mixture to the wet mixture, stirring just until combined.
- Fold in the white chocolate chips gently with a spatula.
- Pour the cookie dough into the prepared baking pan and spread it out evenly.
- Bake for 25-30 minutes until a toothpick comes out clean.
- Let the bars cool in the pan for about 10-15 minutes before transferring to a wire rack.
- Spread the cream cheese frosting evenly over the top of the cooled bars.
- Cut into squares and store leftovers in an airtight container.
Leave a Reply