
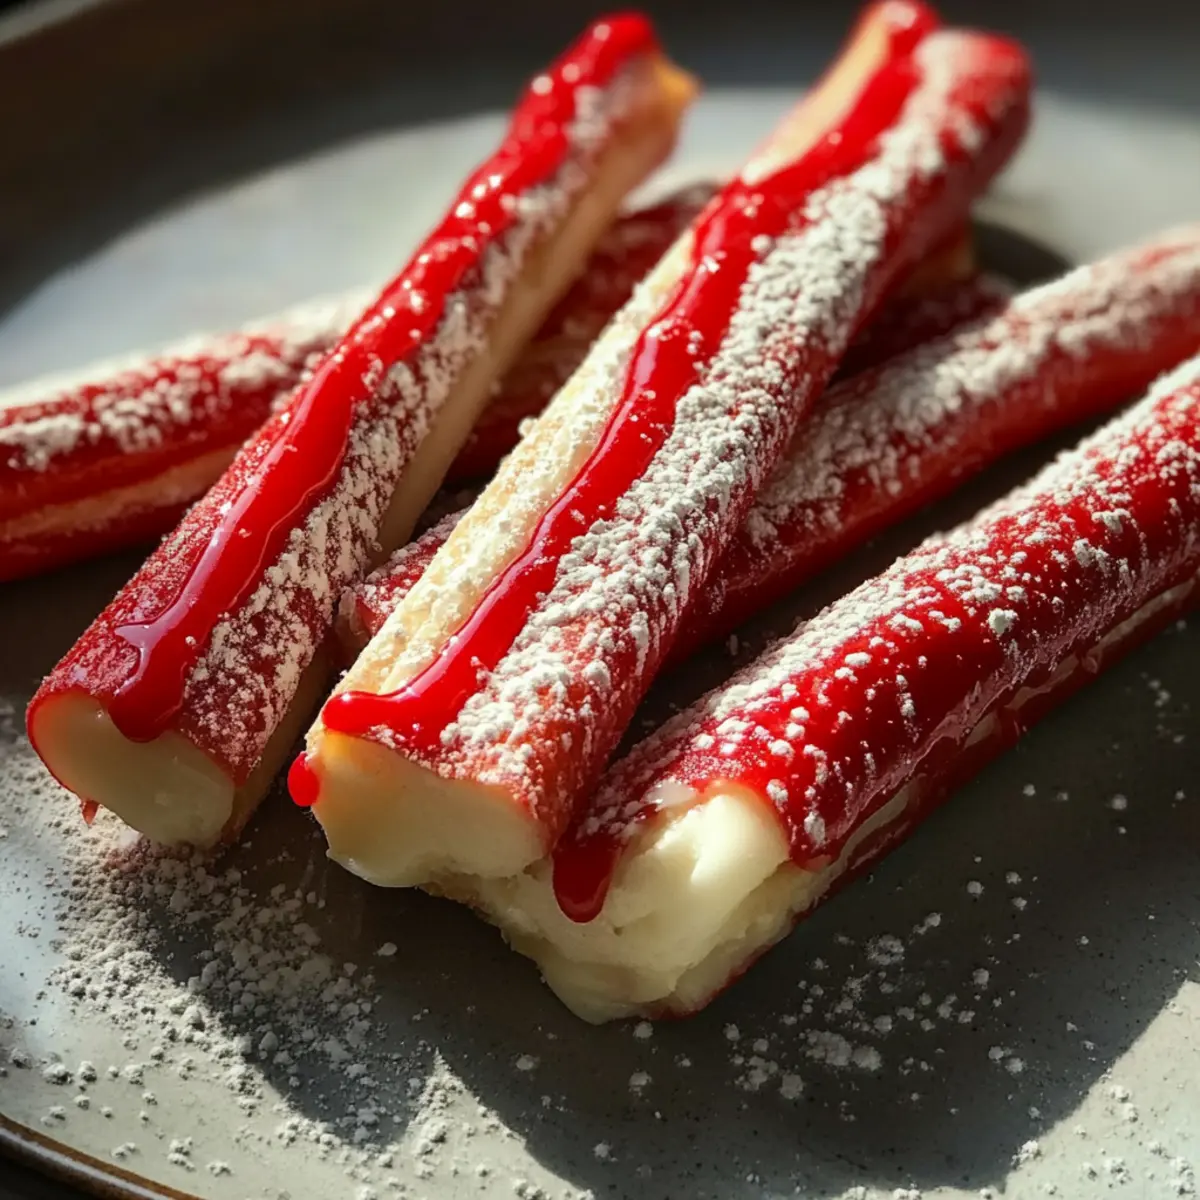
As the scent of fresh peppermint fills my kitchen, I can’t help but feel a wave of nostalgia wash over me. There’s something truly magical about making Homemade Christmas Peppermint Sticks, especially when you can share this delightful project with loved ones. This recipe not only elevates those festive gatherings but also brings a comforting, nostalgic touch to your holiday traditions. With just a bit of patience, you’ll create beautiful peppermint sticks that look stunning in gift boxes or as festive decorations around the home. Plus, the joy of crafting your own sweets is a delightful break from fast food and store-bought treats. Are you ready to step into a world of delicious holiday cheer? Let’s dive into the process and make this season unforgettable!
Why Make Homemade Christmas Peppermint Sticks?
Festive Fun: Crafting these delightful treats is a wonderful way to engage with family, perfect for holiday gatherings or simply brightening your home.
Customizable Colors: Want to mix it up? Feel free to experiment with different colors or even flavors!
Budget-Friendly: Instead of splurging on store-bought candies, this recipe lets you create beautiful sweets at home without breaking the bank.
Impressive Gifts: Gift these peppermint sticks in a jar or as part of a homemade gift basket for a thoughtful personal touch.
Quick Preparation: With only 20 minutes of prep time, you can enjoy the magic of homemade candy without spending all day in the kitchen.
Christmas Peppermint Sticks Ingredients
For the Candy Base
- Granulated sugar – essential for sweetening and creating that signature hard texture.
- Light corn syrup – helps to prevent sugar crystallization for a smoother candy.
- Water – combines with sugar for the right consistency; necessary for boiling to the hard-ball stage.
For Flavoring and Color
- Peppermint extract – provides that unmistakable fresh and minty flavor that screams holiday cheer.
- Red food coloring – adds a festive pop; perfect for creating eye-catching designs.
- White food coloring – to achieve that classic candy look; you can substitute with more peppermint extract if desired.
For Finishing Touches
- Powdered sugar – dust on the cooled candy to prevent sticking; a must for easy handling.
- Candy canes (optional) – beautiful for embellishment or to crush and add for extra texture.
Creating your own Christmas Peppermint Sticks not only gives you a heartfelt batch of sweets to share but also a chance to spark joy this holiday season!
Step‑by‑Step Instructions for Christmas Peppermint Sticks
Step 1: Prepare the Cooling Surface
Begin by dusting a clean surface with powdered sugar to prevent your Christmas Peppermint Sticks from sticking. This step is essential for easy handling later. Make sure to cover a large enough area to accommodate the finished candy, allowing it to cool properly without sticking together.
Step 2: Combine Ingredients
In a medium-sized saucepan, combine 2 cups of granulated sugar, ½ cup of light corn syrup, and ½ cup of water. Stir the mixture over medium heat until the sugar is completely dissolved, and the mixture becomes clear. This step should take about 5 minutes, so keep an eye on it as you prepare for the next phase.
Step 3: Bring to a Boil
Once the sugar is dissolved, stop stirring and increase the heat to bring the mixture to a boil. Use a candy thermometer to monitor the temperature, and boil until it reaches 260°F, which is the hard-ball stage. This process usually takes around 10–15 minutes, so be patient and watch for the thermometer to reach the right temperature.
Step 4: Rest the Mixture
After reaching 260°F, carefully remove the saucepan from the heat and let it sit undisturbed for about 5 minutes. This step allows the bubbles to settle and ensures a smooth texture in your Christmas Peppermint Sticks. It’s important not to stir during this resting period, so resist the urge!
Step 5: Add Peppermint Extract
With caution, stir in 1 teaspoon of peppermint extract into the cooled candy mixture. The mixture may bubble up, so ensure you are prepared for that! This step infuses your candy with the delightful peppermint flavor that will make these sticks a holiday favorite.
Step 6: Divide and Color
Next, divide the hot candy mixture evenly into two heatproof bowls. To one bowl, add ¼ teaspoon of red food coloring, and to the other, add ¼ teaspoon of white food coloring. Stir each bowl until the colors are fully incorporated, creating a festive red and white for your Christmas Peppermint Sticks.
Step 7: Cool the Candy
Allow the colored candy to cool for approximately 10–15 minutes until it is safe to handle and pliable. Keep an eye on the texture; it should be cool enough to work with but still warm enough to mold into shapes. This is the perfect time to prepare your work area for the next steps!
Step 8: Knead and Stretch
Lightly grease your hands with vegetable oil to prevent sticking, then take each color of candy and stretch and pull it until glossy and smooth. You’ll want to work each color separately to maintain the vibrant tones, ensuring that the texture is perfect for shaping into ropes.
Step 9: Create Rope Shapes
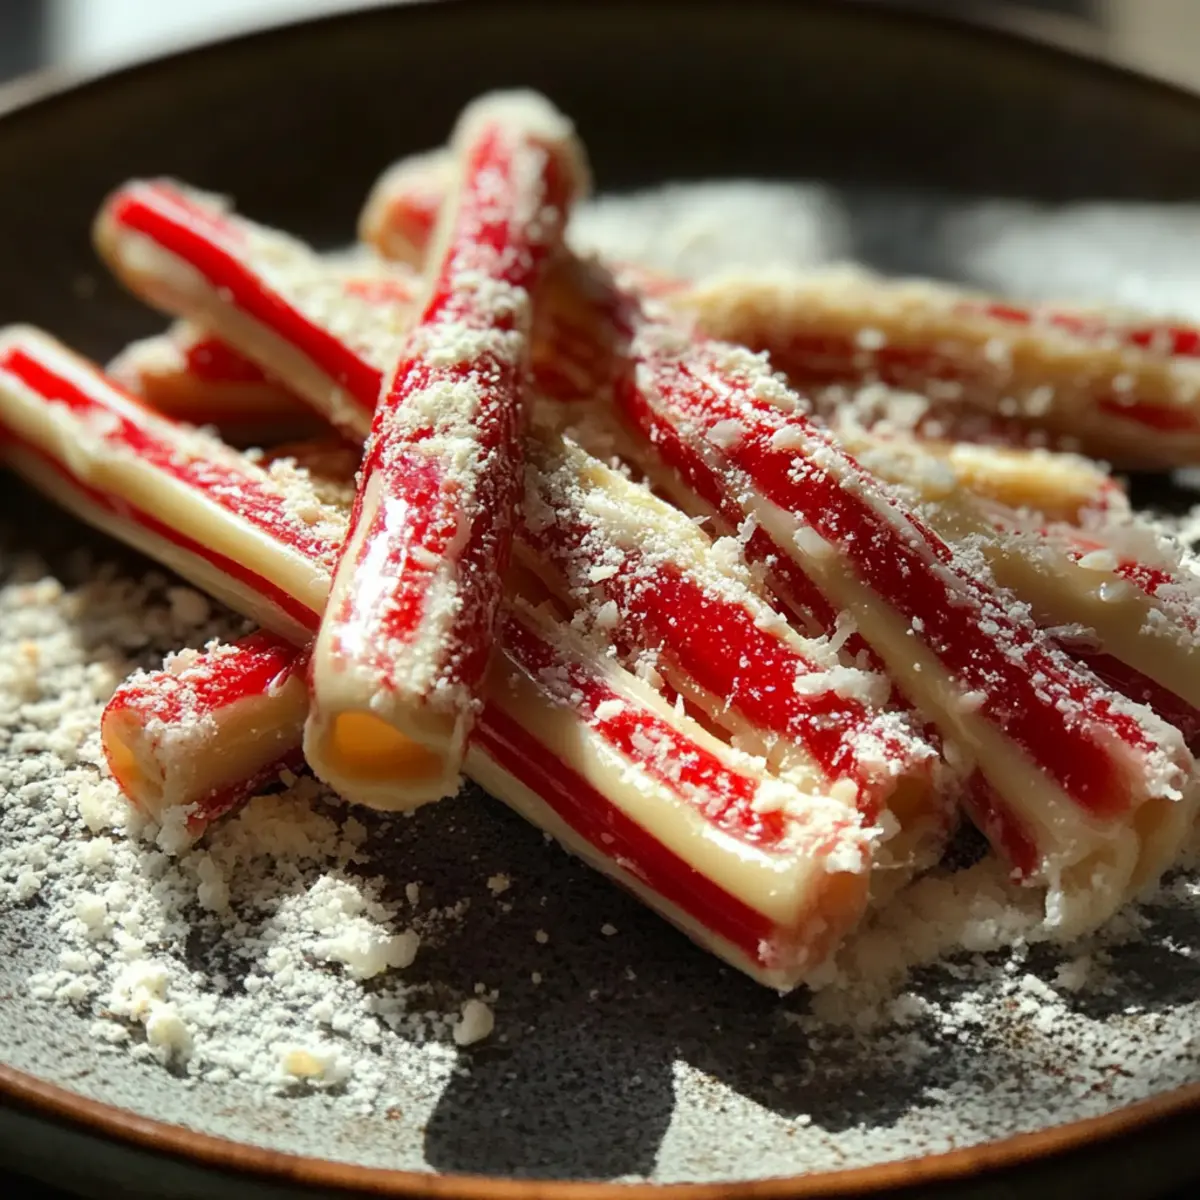
Roll out each color of candy into long ropes. Place the red and white ropes side by side, then carefully twist them together to create beautiful spiral ribbons. This visual appeal is what makes your Christmas Peppermint Sticks look so festive, so take your time here for even spirals!
Step 10: Cut and Shape
Using a sharp knife, cut the twisted ropes into 6-inch pieces. If you’d like, pinch the ends of each piece to form a classic hook shape for that traditional candy cane appearance. This step is all about shaping your Christmas Peppermint Sticks just right for presentation and enjoyment.
Step 11: Cooling Time
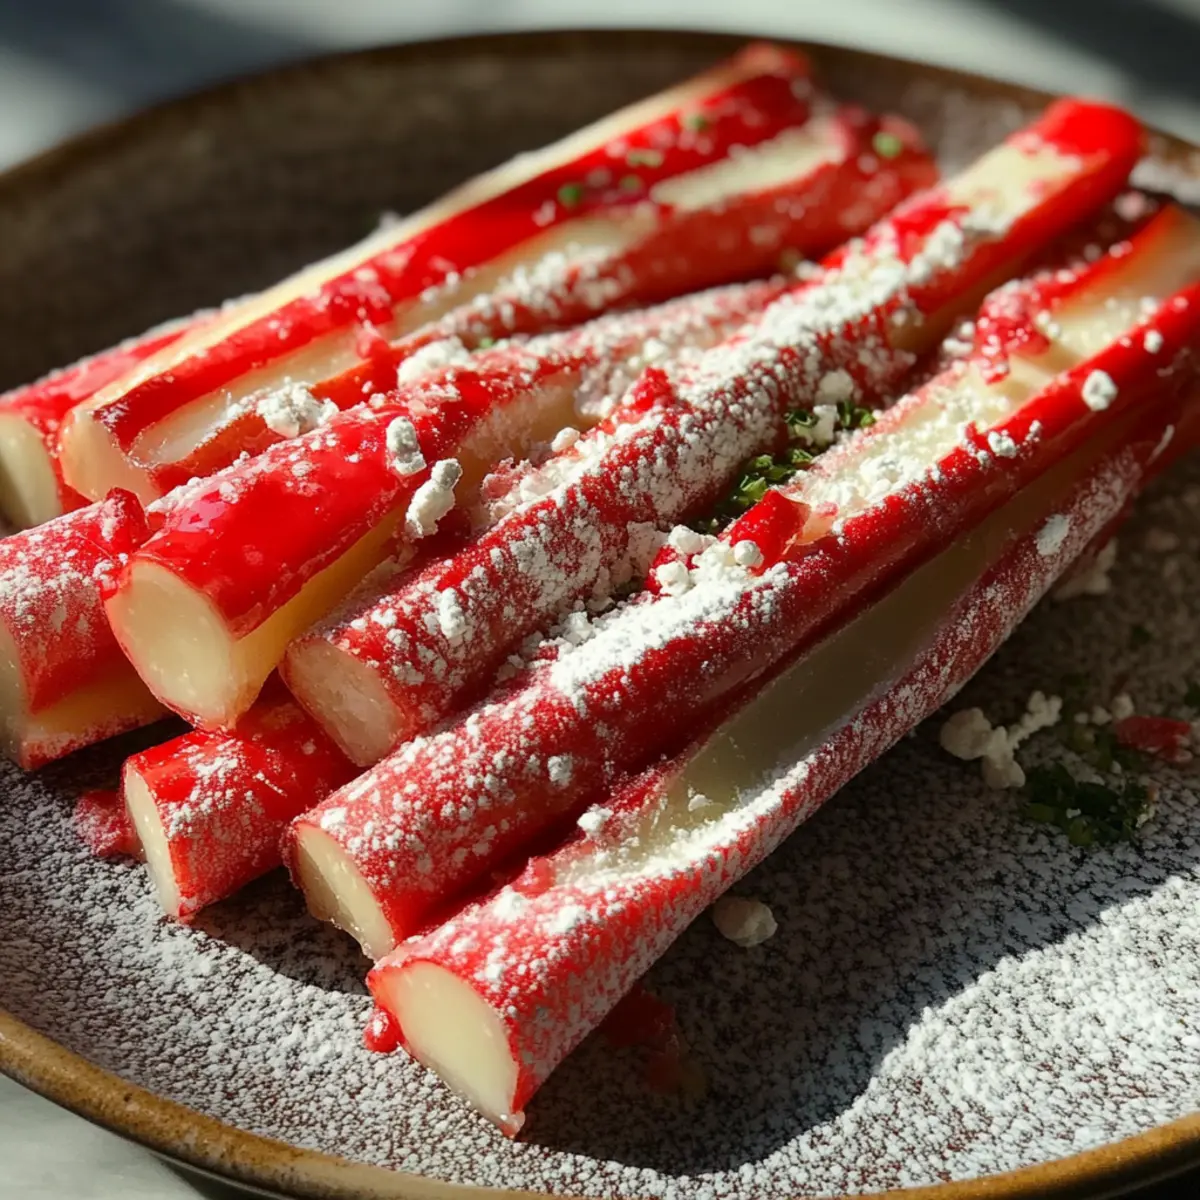
Carefully arrange the peppermint sticks on the prepared surface to cool completely. Allow them to sit for about 30 minutes, ensuring they set properly and firm up nicely. This patience will reward you with candies that hold their beautiful shape.
Step 12: Dust with Powdered Sugar
Finally, once the peppermint sticks are completely set, dust them lightly with more powdered sugar to keep them from sticking together. This last touch not only enhances the visual appeal but also adds that extra sweetness, making your homemade Christmas Peppermint Sticks irresistible!
What to Serve with Christmas Peppermint Sticks
As you create a festive atmosphere, these delightful treats beckon for fun companions that complete the holiday experience.
- Rich Hot Chocolate: The creamy texture and deep chocolate flavor perfectly balance the minty freshness of your peppermint sticks.
- Spiced Almonds: Crunchy and warm, they add a savory element that complements the sweetness and brightens your holiday table.
- Winter Fruit Salad: A vibrant mix of pomegranate, citrus, and apples infuses freshness and color, making a beautiful contrast to your treats.
- Peppermint Coffee: This warm drink enhances the peppermint flavor while providing a cozy way to enjoy your candy during chilly evenings.
- Sugar Cookies: Soft and buttery, they pair wonderfully with the candy's crunch, creating a nostalgic holiday moment when enjoyed together.
- Chocolate Dipped Pretzels: The sweet-and-salty combination gives a playful texture that enhances the overall dessert experience of your festive gathering.
These pairings not only elevate your Christmas Peppermint Sticks but also spark joy, fostering sweet moments cherished with loved ones during the holiday season.
Expert Tips for Christmas Peppermint Sticks
Keep it Clean: Use powdered sugar not just for dusting the cooling surface, but on your hands too, to prevent sticking.
Watch the Temperature: Ensure your candy thermometer is accurate; boiling to 260°F is crucial for the perfect texture of Christmas Peppermint Sticks.
Color Control: Don’t rush the coloring process! Mix the food coloring thoroughly, ensuring even distribution for vibrant candy.
Stretch with Care: When kneading the warm candy, take your time. Pull slowly to avoid tearing and to achieve that glossy finish.
Shape Smartly: Use a sharp knife to cut the twisted ropes to prevent squishing; creating clean edges will enhance presentation!
Make Ahead Options
These Christmas Peppermint Sticks are perfect for busy home cooks looking to save time during the festive season! You can make the candy base (steps 1-6) up to 24 hours in advance, allowing the mixture to cool and color before storing it in airtight containers to maintain freshness. For best results, refrigerate the colored mixtures until you’re ready to stretch and twist them (steps 7-10). When you're ready to finish the recipe, simply bring the candy to room temperature, knead it slightly if it's hardened, and follow the final shaping and cooling steps (11-12). Rest assured that your homemade Christmas Peppermint Sticks will be just as delicious and visually stunning even after being prepped ahead!
How to Store and Freeze Christmas Peppermint Sticks
Room Temperature: Store your Christmas Peppermint Sticks in an airtight container at room temperature for up to 2 weeks to maintain freshness and flavor.
Fridge: If you want to extend their shelf life, keep them in the refrigerator for up to 1 month. Be sure to separate layers with parchment paper to prevent sticking.
Freezer: For longer storage, freeze them in a single layer on a baking sheet, then transfer to a freezer-safe bag for up to 3 months. Thaw at room temperature before enjoying!
Reheating: There's no need to reheat—these delightful candies are perfect as is, but you can soften them slightly by letting them sit in a warm kitchen for a few minutes.
Christmas Peppermint Sticks Variations
Feel free to let your creativity shine by adding personal twists to your Christmas Peppermint Sticks!
- Dairy-Free: Substitute light corn syrup with agave syrup for a dairy-free version that still maintains sweetness.
- Colorful Swirls: Use multiple food coloring shades to create a rainbow effect, making your sticks extra festive and playful! The more colors, the merrier!
- Spicy Alternative: Add a dash of cayenne pepper or red pepper flakes for a spicy twist that balances the mintiness with a surprising kick. It's an adventurous flavor explosion!
- Chocolate Dipped: Dip the cooled peppermint sticks in melted dark or white chocolate for a rich, indulgent treat. This combination is simply divine!
- Flavored Extracts: Swap out peppermint extract for other flavors, like almond or vanilla, to create unique candy sticks that surprise the taste buds. Explore a world of flavors beyond the ordinary!
- Crushed Candy Topping: Crush up some peppermint candies and sprinkle them on top before the candy sets, adding a delightful crunch and extra minty flavor. Who doesn’t love a little extra crunch?
- Nutty Twist: Incorporate finely chopped nuts like almonds or pecans into the mixture for delightful texture and nutty flavor that complements the mint. It’s a wonderful surprise!
- Gift-Worthy Variants: Package your sticks with homemade gift tags and a recipe card to share the love of homemade candy. It adds a personal touch for friends and family!
As you venture into creating these delightful treats, don't forget to check out other ideas for crafting homemade sweets like DIY Chocolate-Covered Pretzels or fun No-Bake Holiday Cookies. Happy cooking!
Christmas Peppermint Sticks Recipe FAQs
How do I select the right ingredients for my Christmas Peppermint Sticks?
Absolutely! When choosing your ingredients, opt for granulated sugar that’s fine and free of clumps. For the corn syrup, light corn syrup is best for this recipe as it offers the right consistency without altering the flavor. Ensure your peppermint extract is pure for the most authentic flavor. When it comes to food coloring, look for gel or liquid varieties that can give you vibrant hues with just a little amount!
How should I store my Christmas Peppermint Sticks?
You can keep your Christmas Peppermint Sticks in an airtight container at room temperature for up to 2 weeks. This way, they maintain that delightful freshness and minty flavor! If you’d like to extend their life a bit longer, you can refrigerate them for up to 1 month; just make sure to separate layers with parchment paper to prevent any sticking.
Can I freeze my Christmas Peppermint Sticks?
Very! To freeze your Christmas Peppermint Sticks, start by laying them out in a single layer on a baking sheet lined with parchment paper. Place the baking sheet in the freezer until the sticks are solid, then transfer them to a freezer-safe bag or container. They can be stored this way for up to 3 months. When you’re ready to enjoy them, simply thaw at room temperature for a bit before indulging!
What should I do if my candy doesn’t harden properly?
If your candy doesn’t set as expected, it may not have reached the ideal temperature of 260°F during boiling. To troubleshoot, you can return the mixture to the stove and gently reheat it, making sure to monitor with a candy thermometer until it reaches the proper stage again. If it still doesn’t harden, you could repurpose the softer mixture by pouring it into molds for peppermint lollipops!
Are Christmas Peppermint Sticks safe for pets or individuals with allergies?
While the ingredients in Christmas Peppermint Sticks are generally safe for most people, keep in mind that peppermint can upset some pets’ stomachs, so it’s best to avoid sharing these candies with your furry friends. If you have someone with a food allergy, check the labels on your extracts and other ingredients to ensure there are no allergens. Plus, make the festive treats with love while considering chocolate for those who may not enjoy peppermint!
Can I customize the flavors in my Christmas Peppermint Sticks?
Of course! The beauty of homemade candies lies in your creativity. You can experiment with different extracts, such as vanilla or almond, to craft a unique flavor profile. Another fun idea is to add crushed nuts or cocoa powder to the mix before coloring. It’s a delightful way to put a personal twist on your Christmas Peppermint Sticks!
Deliciously Easy Christmas Peppermint Sticks to Make at Home
Equipment
- medium-sized saucepan
- Candy thermometer
- clean surface
- Sharp knife
Ingredients
For the Candy Base
- 2 cups granulated sugar
- ½ cup light corn syrup
- ½ cup water
For Flavoring and Color
- 1 teaspoon peppermint extract
- ¼ teaspoon red food coloring
- ¼ teaspoon white food coloring or more peppermint extract if desired
For Finishing Touches
- 1 cup powdered sugar for dusting
- to taste candy canes optional for embellishment
Instructions
Step-By-Step Instructions
- Dust a clean surface with powdered sugar to prevent sticking.
- In a medium-sized saucepan, combine 2 cups of granulated sugar, ½ cup of light corn syrup, and ½ cup of water. Stir until dissolved.
- Increase heat and bring the mixture to a boil, monitoring with a thermometer to reach 260°F.
- Remove from heat and let it sit undisturbed for about 5 minutes.
- Stir in 1 teaspoon of peppermint extract with caution.
- Divide the mixture into two bowls; add red food coloring to one, and white food coloring to the other.
- Allow the mixture to cool for 10–15 minutes until pliable.
- Grease hands with vegetable oil and knead each color until glossy and smooth.
- Roll out each color into long ropes and twist them together.
- Cut the twisted ropes into 6-inch pieces and pinch the ends into hooks if desired.
- Arrange on the prepared surface to cool completely for about 30 minutes.
- Dust the finished peppermint sticks with powdered sugar to prevent sticking.
Leave a Reply