
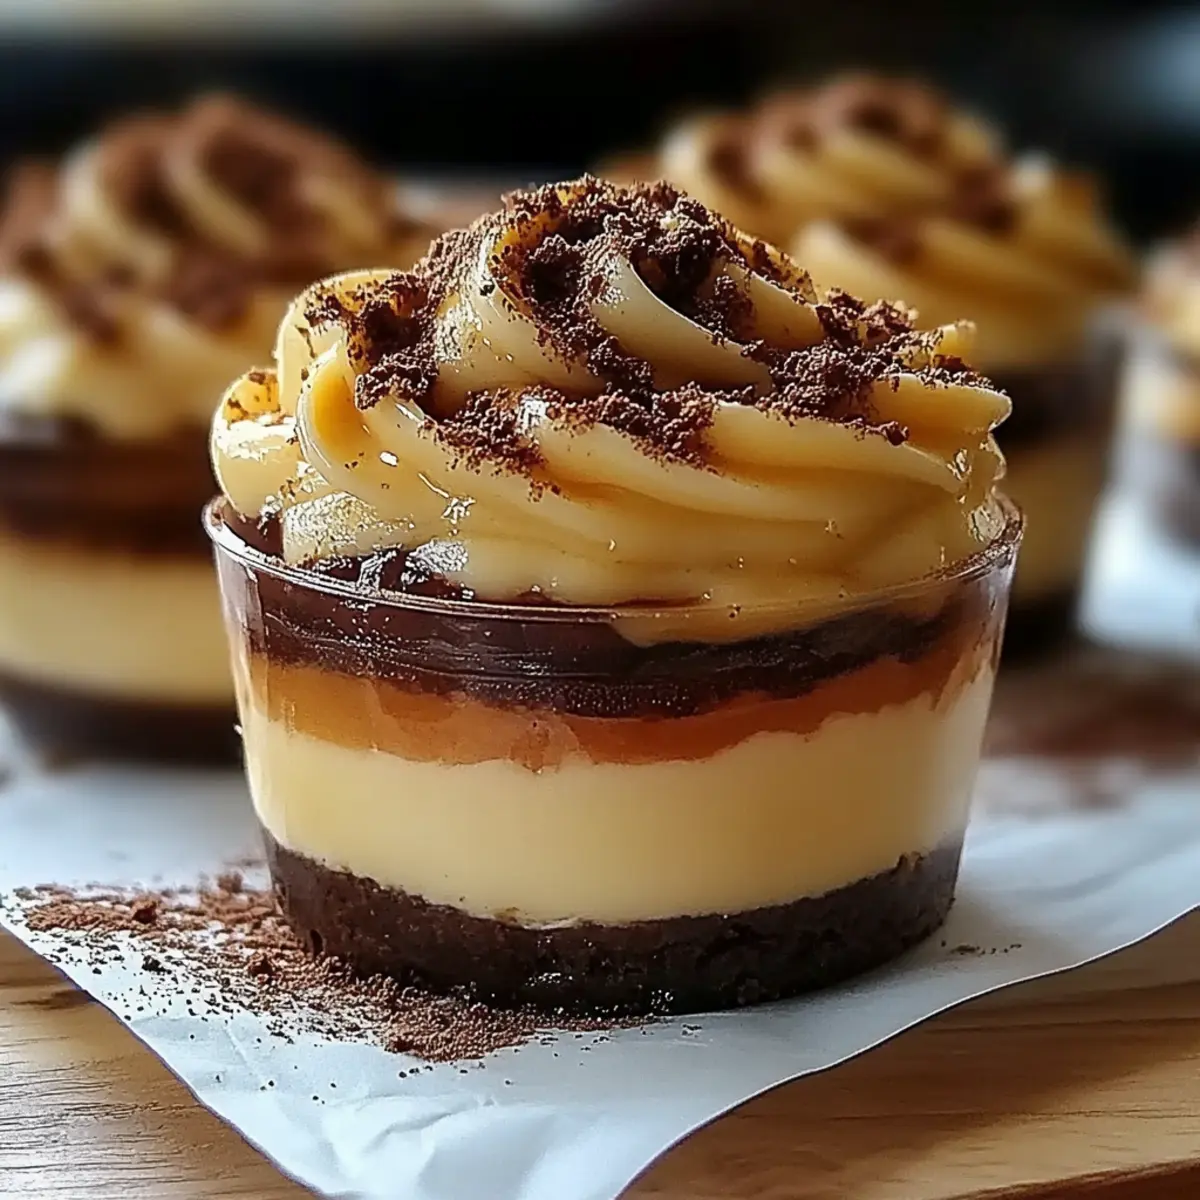
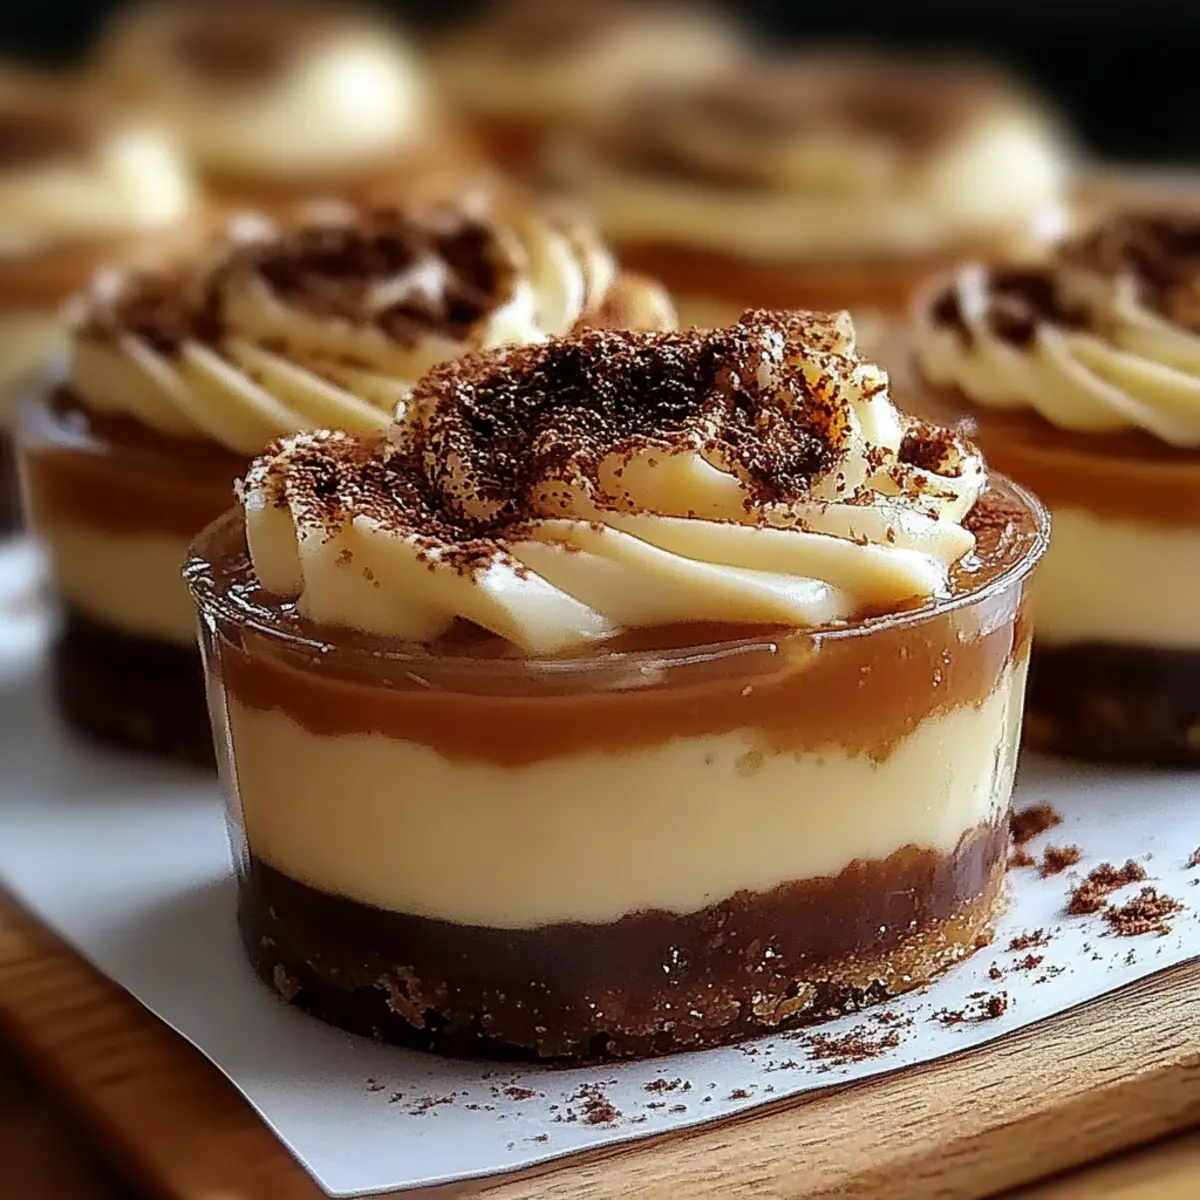
As I celebrated a close friend's birthday recently, I saw her eyes light up at the sight of an elegant dessert—Mini Tiramisu Cups! These delightful treats are not just a feast for the eyes, but a luscious experience that transports you straight to a cozy café in Italy. This recipe is perfect for anyone who’s ready to elevate their dessert game without spending all day in the kitchen. With just 30 minutes of prep time, these mini cups are both a crowd-pleaser and a wonderful way to delight your loved ones with homemade goodness. Plus, they can be made ahead and chilled, allowing you to enjoy the celebration without the stress. Intrigued by how simple yet impactful these can be? Let’s get started on creating these heavenly bites!
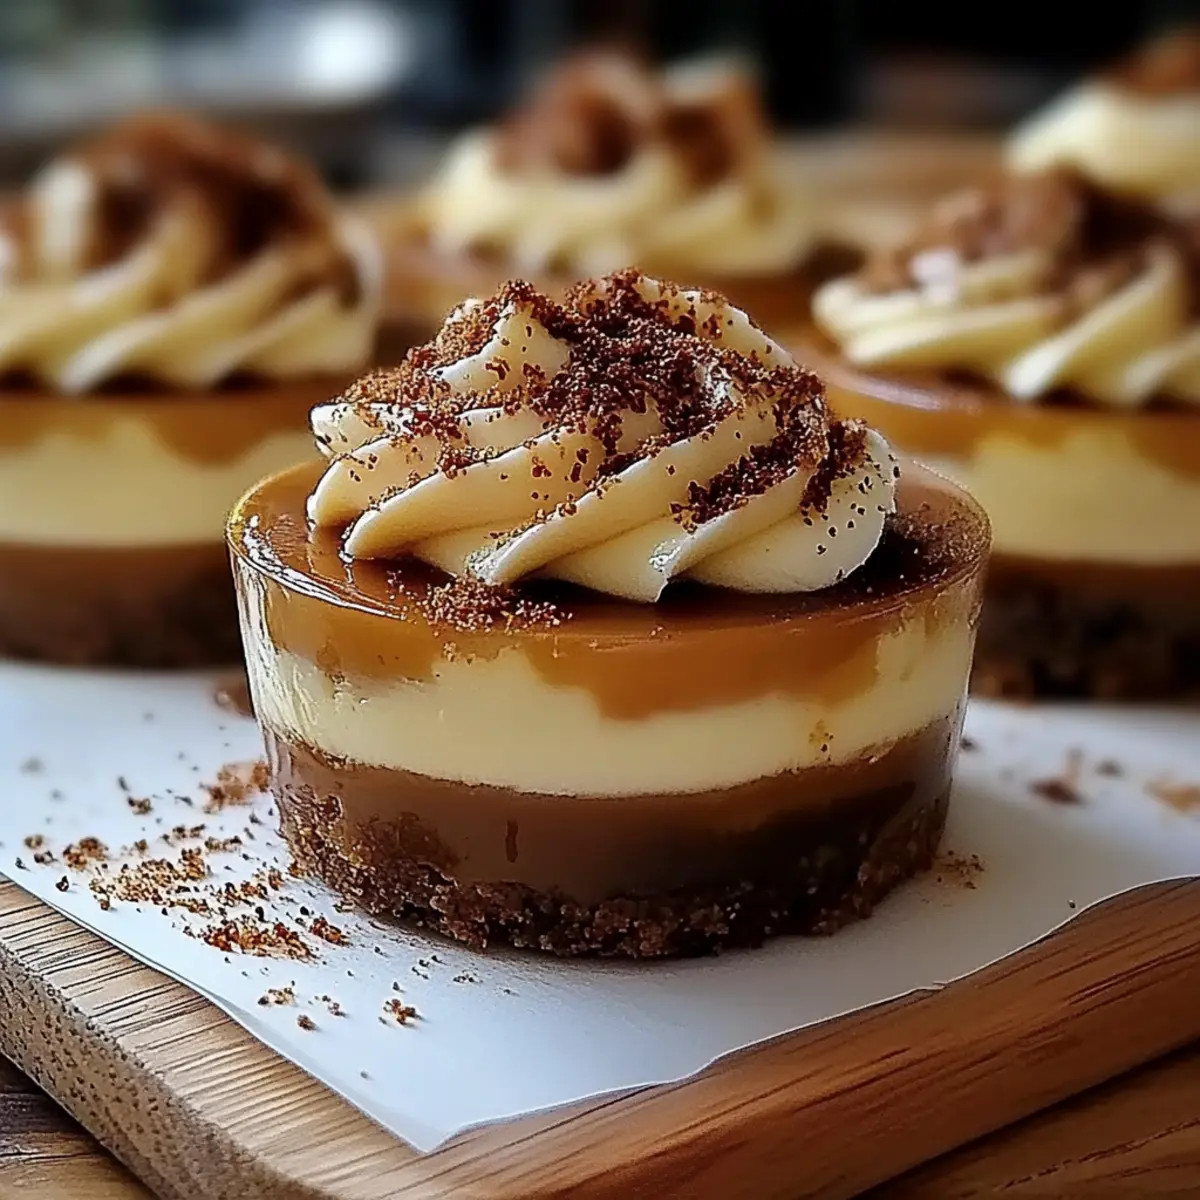
What Makes Mini Tiramisu Cups Special?
Decadent flavor: The rich mascarpone cream, combined with bold coffee, creates a delightful contrast that will satisfy any sweet tooth.
Quick prep: You only need 30 minutes to whip these up, meaning you can spend less time in the kitchen and more time with your guests.
Chill factor: Prepare ahead of time and just let them chill—great for effortless entertaining during your next gathering.
Versatile dessert: These cups can be tailored with different spirits or flavored coffee for a twist, ensuring you can customize to your heart's desire.
Elegant presentation: Each mini cup looks beautiful, making them perfect for any special occasion or as a delightful end to a cozy family dinner.
Once you give these delightful Mini Tiramisu Cups a try, you'll wonder why you ever settled for store-bought desserts!
Mini Tiramisu Cups Ingredients
• Get ready for a sweet adventure!
For the Cream Mixture
- Mascarpone cheese – this creamy ingredient is key for that authentic tiramisu flavor.
- Heavy cream – make sure it's chilled to achieve the perfect whipped texture.
- Powdered sugar – adds sweetness without graininess, keeping your cream smooth.
- Vanilla extract – enhances the flavors with a warm, comforting touch.
For the Ladyfinger Layer
- Ladyfingers – a must-have; they soak up coffee beautifully for a delightful texture.
- Strong brewed coffee – choose espresso or an Arabica blend for a robust kick in your dessert.
For the Finishing Touch
- Cocoa powder – dust this lightly on top for a classic tiramisu finish that adds both flavor and beauty.
These Mini Tiramisu Cups are sure to impress your family and friends. Let’s gather these ingredients and dive into the layers of deliciousness!
Step‑by‑Step Instructions for Mini Tiramisu Cups
Step 1: Prepare the Cream Mixture
In a mixing bowl, combine 1 cup of mascarpone cheese, 1 cup of chilled heavy cream, ½ cup of powdered sugar, and 1 teaspoon of vanilla extract. Using an electric mixer, whip the mixture on medium-high speed for about 3-4 minutes until soft peaks form. You want a smooth, creamy texture that holds its shape as you lift the whisk out of the bowl.
Step 2: Soak the Ladyfingers
Brew 1 cup of strong coffee, using either espresso or Arabica blend for bold flavors, and allow it to cool slightly. Quickly dip each ladyfinger into the warm coffee for about 1-2 seconds per side—just enough to soak them without becoming too soggy. This quick dip will ensure the ladyfingers absorb the coffee flavor while maintaining their structure for the Mini Tiramisu Cups.
Step 3: Build the First Layer
Start assembling your Mini Tiramisu Cups by placing a layer of soaked ladyfingers at the bottom of each cup. Arrange them neatly to cover the bottom and utilize about 2 ladyfingers per cup, depending on their size. The ladyfingers should fit snugly, creating a solid base that will soak up the delicious cream mixture to come.
Step 4: Add the Cream Mixture
Using a spatula or a piping bag, carefully spoon or pipe a generous layer of the mascarpone cream mixture over the soaked ladyfingers. Aim for a smooth, even layer, ensuring all the ladyfingers are covered. This layer of cream will add a rich, luscious flavor to your Mini Tiramisu Cups, setting the stage for the next delicious layer.
Step 5: Repeat the Layering Process
Continue the layering process by adding another layer of soaked ladyfingers on top of the cream mixture, followed by another layer of the mascarpone cream. Repeat this until your cups are nearly full, making sure to finish with a layer of the creamy mixture on top. This builds height and makes each cup visually appealing, as well as delectable.
Step 6: Dust with Cocoa Powder
Using a fine sieve, dust a generous layer of cocoa powder over the top of each Mini Tiramisu Cup. This step not only adds an elegant touch but also enhances the overall flavor with a hint of chocolate bitterness. Aim for an even coating; the cocoa powder will also serve as the final visual detail that makes these cups irresistible.
Step 7: Chill Before Serving
Place the assembled Mini Tiramisu Cups in the refrigerator and let them chill for at least 4 hours or, for best results, overnight. This chilling time allows the flavors to meld beautifully and the layers to set, ensuring that each cup is a delight to taste when served. The anticipation will be worth it!
What to Serve with Mini Tiramisu Cups
Ready to elevate your dessert experience? Pair these charming treats with complementary flavors for a roundly delightful meal!
- Rich Espresso: The bold flavors in a shot of espresso enhance the coffee notes in your Mini Tiramisu Cups, creating a harmonious pairing.
- Light Berry Salad: A refreshing mix of berries provides a crisp contrast to the creamy textures of the tiramisu, balancing out the sweetness beautifully.
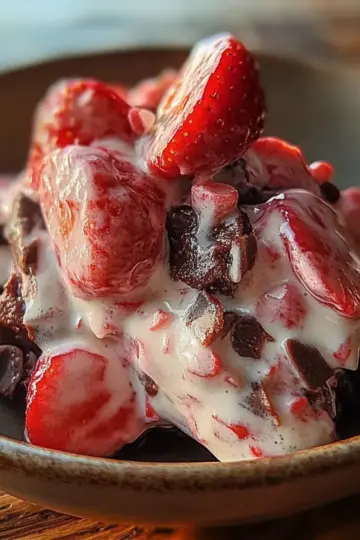
- Chocolate-Dipped Strawberries: Indulge in the decadence of chocolate-dipped strawberries; their sweetness and acidity brighten up each bite of the cups.
- Savory Bruschetta: The freshness of tomatoes and basil in bruschetta offers a delicious counterpoint to the rich and creamy dessert, keeping your palate engaged.
- Limoncello: A chilled glass of limoncello offers a refreshing, zesty bite that complements the rich mascarpone and coffee flavors perfectly.
- Coconut Macaroons: These sweet, chewy cookies have a delightful crunch that pairs wonderfully with the smooth creaminess of the tiramisu.
- Vanilla Ice Cream: A scoop of silky vanilla ice cream adds extra creaminess and a classic flavor that pairs well with the chocolatey top of the cups.
- Whipped Cream: Adding an extra dollop of freshly whipped cream can enhance the overall creaminess of the Mini Tiramisu Cups for an indulgent touch.
- Hazelnut Coffee: For a nutty twist, serve with hazelnut-infused coffee, echoing the classic chocolate and coffee notes found in your dessert.
- Mint Chocolate Brownies: These rich, fudgy brownies with a hint of mint provide a satisfying texture that contrasts wonderfully with the lightness of the tiramisu.
Make Ahead Options
These Mini Tiramisu Cups are perfect for meal prep, allowing you to enjoy a delightful dessert with minimal last-minute effort! You can prepare the mascarpone cream mixture up to 24 hours ahead; simply cover the bowl tightly with plastic wrap and refrigerate to keep it fresh. Additionally, you can soak the ladyfingers in coffee and assemble the cups up to 3 days in advance—just ensure they’re stored in an airtight container to prevent them from drying out. When you’re ready to serve, give the cups a final dusting of cocoa powder for that elegant touch. This way, you’ll have a lush, creamy treat that’s just as delicious and ready to impress your guests!
Expert Tips for Mini Tiramisu Cups
-
Coffee Quality: Use high-quality espresso: The flavor of your Mini Tiramisu Cups largely depends on the coffee. A robust espresso enhances the richness of the dessert.
-
Perfect Soaking: Don’t over-soak ladyfingers: Quick dips in coffee are essential; soggy ladyfingers can ruin the texture. Aim for just 1-2 seconds per side.
-
Whipping Technique: Use chilled equipment: Ensure your mixing bowl and beaters are cold for optimal whipping. This helps the cream achieve soft peaks easily.
-
Layering Care: Build layers carefully: For aesthetic appeal, alternate your layers evenly. Uneven layers can lead to a messy presentation when serving.
-
Chill Time: Patience is key: Allowing your Mini Tiramisu Cups to chill for at least 4 hours (preferably overnight) enhances the flavors and textures. Don’t rush this step!
These tips will help you create perfect Mini Tiramisu Cups that will leave everyone wanting more!
Storage Tips for Mini Tiramisu Cups
Fridge: Keep your Mini Tiramisu Cups covered in the refrigerator for up to 3 days. This helps preserve their fresh flavors and creamy texture while they're waiting to be enjoyed.
Freezer: If you’d like to store them longer, freeze the cups (before dusting with cocoa powder) for up to 2 months in airtight containers. Thaw in the fridge overnight before serving.
Reheating: No reheating necessary! Simply enjoy these delightful cups straight from the fridge or after thawing from the freezer for the best experience.
Mini Tiramisu Cups Variations
Feel free to get creative and make these delightful cups your own with a few fun twists!
-
Dairy-Free: Substitute mascarpone and heavy cream with coconut cream and a dairy-free whipped topping for a creamy alternative.
-
Gluten-Free: Use gluten-free ladyfingers or biscuit alternatives to ensure everyone can indulge in these sweet treats.
-
Flavor Infusion: Add a touch of peppermint or orange extract to the mascarpone cream for a unique, festive flair.
-
Alcohol Boost: Incorporate a splash of coffee liqueur or rum into the coffee for an adult twist that elevates classic flavors.
-
Nutty Crunch: Sprinkle crushed hazelnuts or almonds between layers for a delightful crunch and added texture contrast.
-
Chocolate Delight: Fold in mini chocolate chips or grated chocolate into the mascarpone cream for that irresistible chocolate sweetness.
-
For a Spicy Twist: Add a dash of cinnamon or cayenne to the cream for a surprisingly delightful heat that surprises the palate.
-
Low-Sugar Option: Swap powdered sugar with a sugar substitute or coconut sugar to suit any dietary preferences without sacrificing flavor.
Each of these variations allows you to tailor your Mini Tiramisu Cups. Once you’ve experimented, don’t forget to share your tasty creations! You might even inspire others to try their hand at making personalized desserts, much like these delectable Mini Tiramisu Cups.
Mini Tiramisu Cups Recipe FAQs
How do I know if my mascarpone cheese is good to use?
Absolutely! Look for mascarpone cheese that is creamy and smooth in texture. It should be free of any discoloration or off-smells. Fresh mascarpone is usually white to pale yellow and should have a mild, slightly sweet flavor. A quick sniff or taste test can confirm its quality!
How should I store Mini Tiramisu Cups?
For optimal freshness, keep your Mini Tiramisu Cups covered in the refrigerator for up to 3 days. Make sure to use an airtight container or cover them with plastic wrap to prevent any odors from other foods affecting their flavor. Store them on a flat surface to maintain their beautiful layers.
Can I freeze Mini Tiramisu Cups?
Certainly! To freeze your Mini Tiramisu Cups, assemble them without the cocoa dusting, and then place them in airtight containers. They can be frozen for up to 2 months. When ready to serve, simply thaw them in the refrigerator overnight and dust with cocoa powder just before serving. This makes it a breeze to enjoy this treat whenever you want!
What if my ladyfingers are too soggy?
Very often, soggy ladyfingers can occur if they are soaked for too long in the coffee. Aim for a quick dip of 1-2 seconds per side; this will allow the ladyfingers to absorb the coffee flavor without becoming mushy. If this happens, you might consider using fewer layers of soaked ladyfingers next time to help maintain that delightful texture!
Are there any dietary restrictions I should consider?
Yes! Keep in mind that this recipe contains dairy (mascarpone cheese and heavy cream) and gluten (ladyfingers). For dairy-free or gluten-free alternatives, consider using dairy-free cream and gluten-free ladyfingers. Always check labels for allergens if serving to guests with food sensitivities. This way, everyone can enjoy these lovely Mini Tiramisu Cups!

Decadent Mini Tiramisu Cups You Can Make at Home
Equipment
- Mixing bowl
- Electric mixer
- Spatula
- Piping Bag
- fine sieve
Ingredients
For the Cream Mixture
- 1 cup mascarpone cheese
- 1 cup heavy cream chilled
- ½ cup powdered sugar
- 1 teaspoon vanilla extract
For the Ladyfinger Layer
- 24 pieces ladyfingers
- 1 cup strong brewed coffee espresso or Arabica blend
For the Finishing Touch
- 2 tablespoons cocoa powder
Instructions
Step-by-Step Instructions
- In a mixing bowl, combine the mascarpone cheese, heavy cream, powdered sugar, and vanilla extract. Whip until soft peaks form.
- Brew the strong coffee and let it cool slightly, then quickly dip each ladyfinger into the coffee for 1-2 seconds per side.
- Place a layer of soaked ladyfingers at the bottom of each cup, using about 2 ladyfingers per cup.
- Spoon or pipe a layer of the mascarpone cream mixture over the ladyfingers.
- Repeat the layering process with another layer of ladyfingers followed by cream mixture until the cups are nearly full.
- Dust cocoa powder over the top of each Mini Tiramisu Cup.
- Refrigerate the cups for at least 4 hours or overnight before serving.


Leave a Reply