
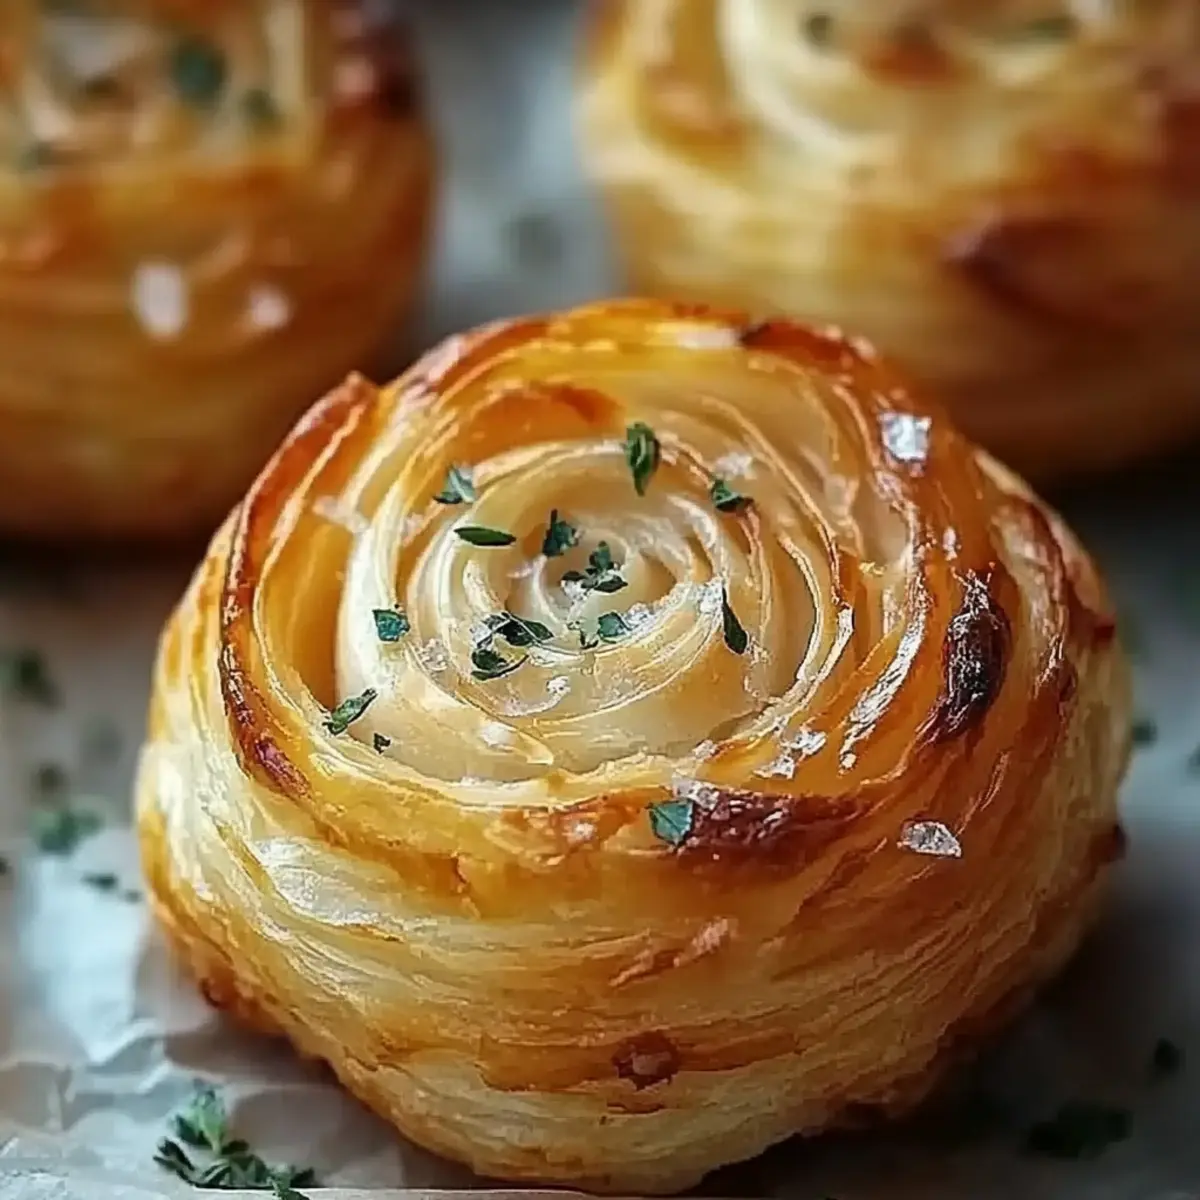
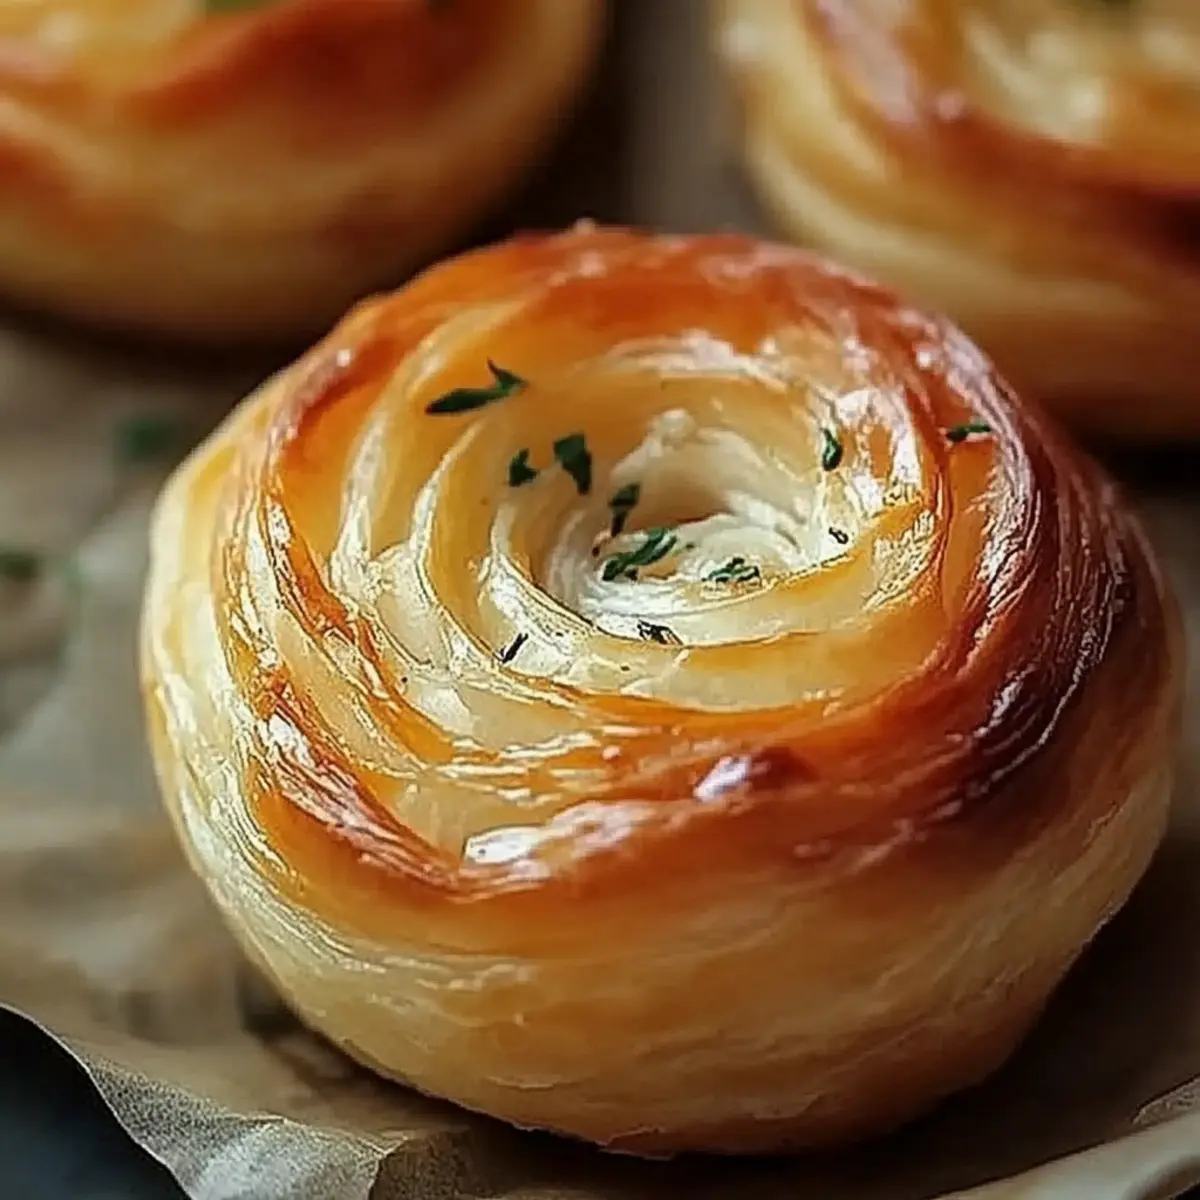
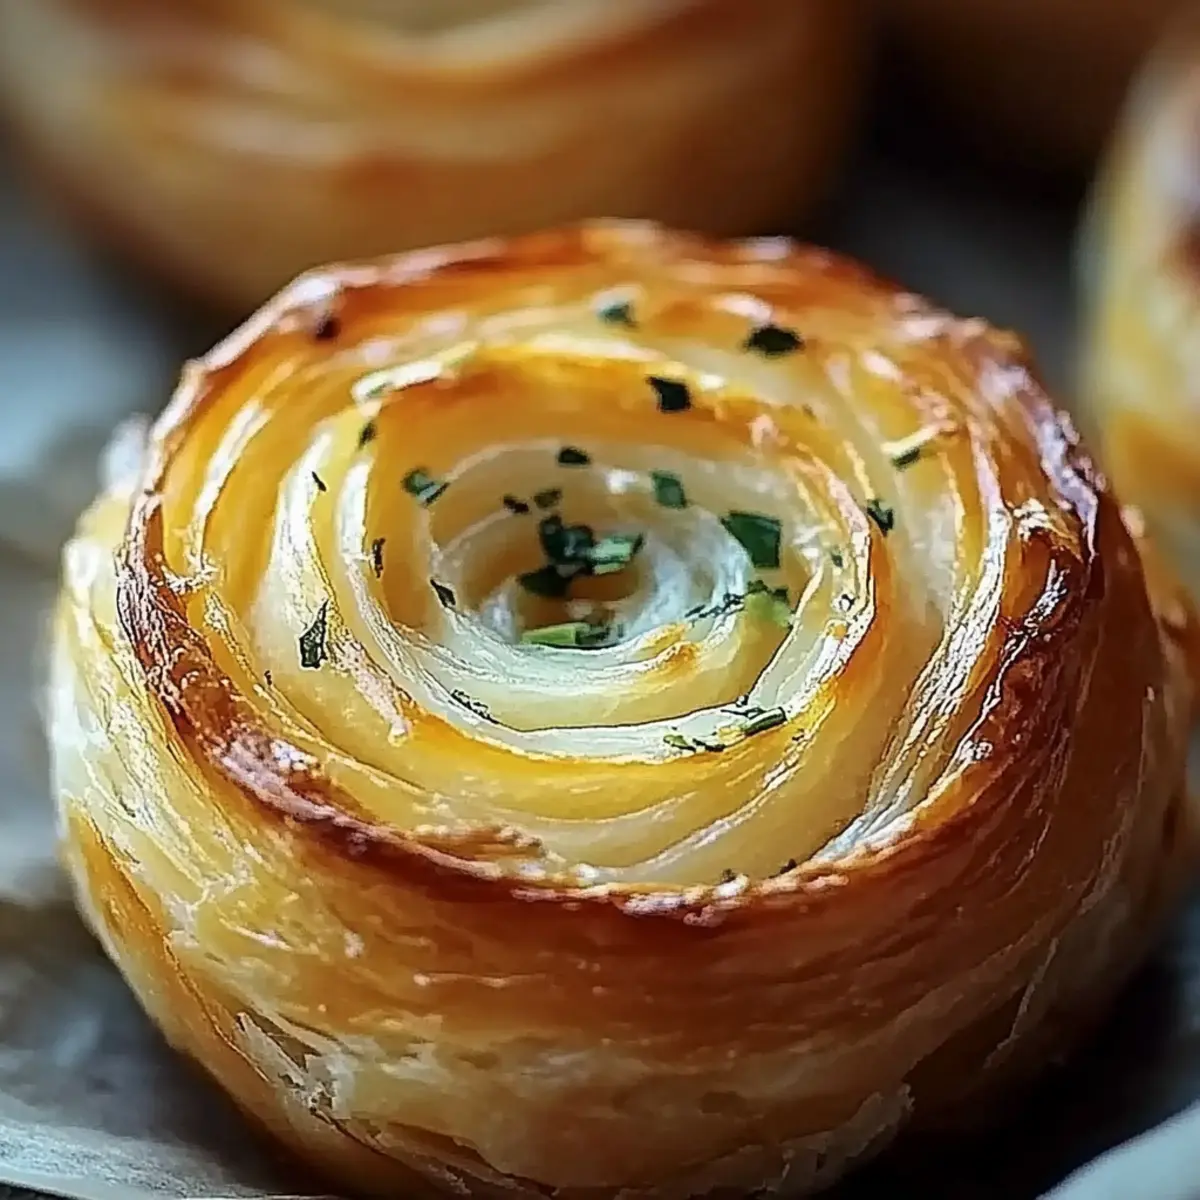
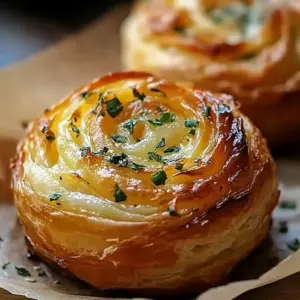
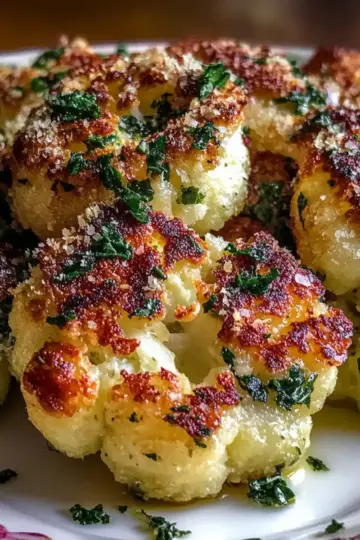
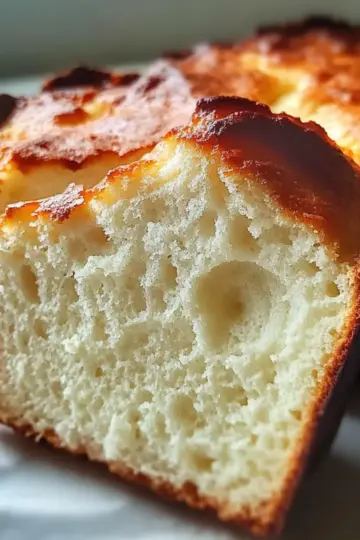
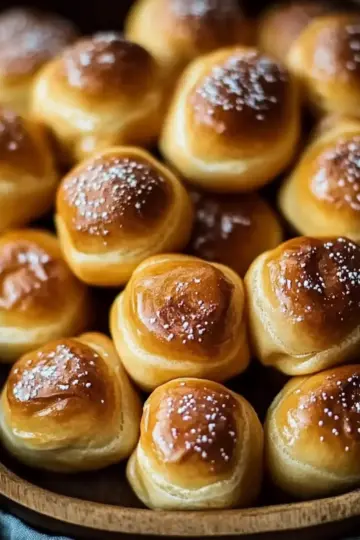
As the aroma of baking bread fills the air, I'm transported to cozy kitchens and family gatherings, where nothing beats the warmth of freshly baked goods. Today, I'm excited to share my recipe for Cheesy Garlic Cruffins, a delightful creation that marries the comforting textures of muffins with a savory twist. Not only are these cruffins easy to whip up in just 45 minutes, but they also promise to be a crowd-pleaser that will elevate any meal. With a golden exterior that hints at cheesy goodness and a burst of garlic in every bite, they’re perfect for brunch or as an irresistible snack. Who can resist that cheesy, garlicky flavor? Are you ready to bring this deliciousness into your kitchen?
Why Are Cheesy Garlic Cruffins a Must-Try?
Unmatched Flavor: Each bite delivers a burst of cheesy goodness and savory garlic, making them the ultimate indulgence.
Quick and Easy: You can whip these up in just 45 minutes, perfect for busy weeknights or spontaneous brunch gatherings.
Versatile Treat: Enjoy them as a side dish, a snack, or even breakfast; they fit any occasion seamlessly.
Crowd-Pleasing: With their irresistible aroma and delightful texture, they're sure to impress family and friends alike. Don’t forget to check out my tips for quick baking to elevate your skills!
Cheesy Garlic Cruffins Ingredients
Get ready to savor the delightful flavors of these cruffins!
For the Batter
• All-purpose flour – a solid base that gives your cruffins a fluffy texture.
• Baking powder – ensures that your cruffins rise perfectly and are light as air.
• Salt – enhances the overall flavor, bringing out the cheesiness.
• Garlic powder – adds an extra layer of garlic flavor; you can also use roasted garlic for a sweeter twist.
For the Wet Mixture
• Unsalted butter – melts into the batter for richness; feel free to substitute with coconut oil for a dairy-free version!
• Milk – adds moisture and tenderness to the cruffins; non-dairy milk works great too.
• Large egg – binds the ingredients together, creating a cohesive mix.
For the Flavor
• Shredded cheddar cheese – the star of the show; choose sharp cheddar for a bolder flavor!
• Minced garlic – fresh garlic brings an aromatic kick that pairs beautifully with cheese.
• Chopped fresh parsley – adds a pop of color and freshness to balance the richness.
• Grated Parmesan cheese – a finishing touch that gives a delightful crust on top.
With these Cheesy Garlic Cruffins ingredients, you're on your way to baking up a storm! Happy cooking!
Step‑by‑Step Instructions for Cheesy Garlic Cruffins
Step 1: Preheat and Prep
Begin by preheating your oven to 375°F (190°C). While it warms up, grease a muffin tin with cooking spray or butter to prevent the Cheesy Garlic Cruffins from sticking. This step ensures that your cruffins will pop out effortlessly once baked, paving the way for easy serving and cleanup later.
Step 2: Mix Dry Ingredients
In a large mixing bowl, combine 2 cups of all-purpose flour, 1 tablespoon of baking powder, ½ teaspoon of salt, and ½ teaspoon of garlic powder. Whisk together until thoroughly blended. This dry mixture forms the base of your cruffins, ensuring a light and fluffy texture that pairs beautifully with the cheesy, garlicky flavors.
Step 3: Combine Wet Ingredients
In a separate bowl, whisk together ½ cup of melted unsalted butter, ¾ cup of milk, and 1 large egg until the mixture is smooth. This wet mixture adds richness and moisture to the Cheesy Garlic Cruffins. Take your time to create a homogenous blend, as it will help to perfectly moisten the dry ingredients in the next step.
Step 4: Combine Mixtures
Carefully add the wet ingredients to the dry ingredients, stirring gently with a spatula until just combined. Be cautious not to overmix; a few lumps are perfectly fine and will lead to tender cruffins. The goal is to bring everything together without losing the lightness that makes these Cheesy Garlic Cruffins so delightful.
Step 5: Fold in Flavor
Gently fold in 1 cup of shredded cheddar cheese, 2 tablespoons of minced garlic, and 2 tablespoons of chopped fresh parsley into the batter. This step infuses your cruffins with bold flavors and adds delightful texture. Ensure the cheese and garlic are evenly distributed, as they will each bring their unique essence to every bite.
Step 6: Fill Muffin Pan
Divide the cruffin batter evenly among the prepared muffin cups, filling each about ¾ full. This allows the Cheesy Garlic Cruffins to rise beautifully while baking, creating a lovely dome shape. Make sure to leave a little room at the top, as these treats will puff up and develop a delightful golden crust.
Step 7: Add Finishing Touches
Sprinkle a generous amount of grated Parmesan cheese on top of each filled muffin cup. The Parmesan will create a deliciously crispy crust, enhancing the overall flavor and appearance of your Cheesy Garlic Cruffins. Watch how it melts and forms a lovely golden layer as they bake!
Step 8: Bake to Perfection
Place the muffin tin in the preheated oven and bake for 20-25 minutes, or until the tops of the cruffins are golden brown and a toothpick inserted into the center comes out clean or with just a few crumbs attached. The smell of baking will fill your kitchen, signaling that deliciousness is on the way.
Step 9: Cool and Serve
Once baked, remove the Cheesy Garlic Cruffins from the oven and allow them to cool in the muffin tin for a few minutes before transferring them to a wire rack. This resting time will help them set while keeping the bottoms from becoming soggy. Serve warm for the best cheesy, garlicky experience.
Expert Tips for Cheesy Garlic Cruffins
Quality Ingredients: Use fresh garlic and high-quality cheese for the best flavor in your Cheesy Garlic Cruffins. Fresh ingredients make a noticeable difference!
Don’t Overmix: Gently fold the wet and dry ingredients until just combined. Overmixing can lead to dense cruffins instead of the light texture you want.
Test for Doneness: Ensure you insert a toothpick into the center; it should come out clean or with a few moist crumbs. This will ensure your cruffins are perfectly baked.
Cool Them Slightly: Allow your Cheesy Garlic Cruffins to cool in the pan for a few minutes before transferring them to a wire rack to prevent sogginess.
Add Your Twist: Feel free to mix in other herbs or spices to customize flavors. Enjoy experimenting, but remember not to overwhelm the core garlic and cheese essence!
Cheesy Garlic Cruffins Variations
Feel free to get creative with these delightful Cheesy Garlic Cruffins and tailor them to your taste!
-
Gluten-Free: Substitute all-purpose flour with a 1:1 gluten-free flour blend for a gluten-free option. This way, everyone can enjoy the taste without compromise!
-
Cheese Lovers: Mix in different types of cheese like mozzarella or pepper jack. Each cheese will impart its unique flavor, making your cruffins even more delightful.
-
Herb-Infused: Swap the parsley for fresh thyme or chives for a different herbaceous twist. The aromatic flavors will take your cruffins to new heights!
-
Spicy Kick: Add a pinch of red pepper flakes or diced jalapeños to the batter for an extra layer of heat. This will sure liven up your cruffins, perfect for those who enjoy a little spice in their life!
-
Veggie Boost: Fold in ½ cup of finely chopped spinach or roasted red peppers for added nutrition and flavor. These veggies will add a burst of freshness and color to every bite.
-
Sweet Twist: If you’re feeling adventurous, incorporate ¼ cup of grated zucchini; it adds moisture without overpowering your cheesy goodness. Surprise your taste buds with a subtle sweetness!
-
Garlic Lovers: Increase the minced garlic to 4 tablespoons for a more intense garlic flavor. This is a must-try for those who can’t get enough of garlic’s aromatic allure!
-
Savory Bacon: Mix in ½ cup of crumbled cooked bacon for a smoky flavor. The savory bits elevate the cruffins to a whole new level of mouthwatering delight!
Experiment with these variations, and don’t forget to share your delicious creations with friends and family. For more tasty ideas, check out my tips for quick baking and how to store leftovers to make the most of your culinary adventures!
How to Store and Freeze Cheesy Garlic Cruffins
Room Temperature: Store leftover Cheesy Garlic Cruffins in an airtight container for up to 2 days on your kitchen counter. They are best enjoyed fresh but can still be delicious at room temperature!
Fridge: Keep cruffins in the refrigerator for up to 5 days. Wrap each cruffin individually in plastic wrap or place them in a sealed container to maintain freshness.
Freezer: For longer storage, freeze the cruffins for up to 3 months. Place them in a freezer-safe bag, making sure to remove excess air. Thaw in the fridge overnight before enjoying.
Reheating: To reheat, pop them in the oven at 350°F (175°C) for about 10 minutes or microwave for 20-30 seconds until warm. This will help maintain their cheesy, garlicky goodness!
What to Serve with Cheesy Garlic Cruffins
As you enjoy these cheesy, garlicky delights, consider complementing them with some tasty sides that round out your meal perfectly.
-
Fresh Garden Salad: A vibrant mix of greens with a tangy vinaigrette balances the richness of the cruffins, enhancing your dining experience. The crispiness of the salad adds a refreshing crunch.
-
Creamy Tomato Soup: This classic pairing creates a warm and comforting feast. Sip the rich, savory soup between cruffin bites for a delightful contrast.
-
Roasted Veggies: Savory roasted vegetables, like carrots and Brussels sprouts, provide a hearty texture that beautifully complements the fluffy cruffins. Their caramelized notes enhance the overall depth of flavors.
-
Herbed Quinoa: Light and nutritious, herbed quinoa offers a subtle earthiness to match the bold flavors of the cruffins. Its fluffy texture makes it a satisfying side.
-
Garlic Butter Pasta: Buttery, garlicky pasta echoes the cruffins’ flavors while adding a luxurious touch. It's a comforting duo that feels indulgent.
-
Sparkling Apple Cider: This bubbly drink brightens the palate between bites, making it a refreshing choice alongside the cheesy garlic goodness. The sweetness enhances the umami in the cruffins.
Each of these pairings highlights the delightful flavors of your Cheesy Garlic Cruffins, creating a meal that is satisfying and memorable.
Make Ahead Options
These Cheesy Garlic Cruffins are perfect for meal prep enthusiasts looking to save time during busy weeks! You can prepare the batter up to 24 hours in advance by mixing the dry ingredients and storing them in an airtight container, then refrigerate the wet mixture (melted butter, milk, and egg) separately. When you're ready to bake, simply combine the wet and dry ingredients, fold in the cheese and garlic, and bake as directed. This way, you’ll enjoy fresh, warm cruffins with minimal effort! To maintain their delightful texture, be sure to grease the muffin tin well and allow them to cool slightly before serving, ensuring that every bite is just as delicious as freshly made.
Cheesy Garlic Cruffins Recipe FAQs
What is the best way to select ripe ingredients for this recipe?
For the best Cheesy Garlic Cruffins, choose fresh garlic that is firm and free from sprouting or dark spots. Your cheddar cheese should be freshly shredded from a block for optimal melting. If using parsley, look for vibrant green leaves without any wilting. These small details can elevate the flavor of your cruffins!
How should I store leftover Cheesy Garlic Cruffins, and how long do they last?
Absolutely! Once cooled, store leftover Cheesy Garlic Cruffins in an airtight container. They can be kept at room temperature for up to 2 days. If you want them to last longer, refrigerate them for up to 5 days. Always wrap them individually to maintain freshness if you're stashing them in the fridge.
Can I freeze Cheesy Garlic Cruffins, and if so, how?
Yes, you can! To freeze your Cheesy Garlic Cruffins, wait until they are completely cool. Then, wrap each cruffin tightly in plastic wrap and place them in a freezer-safe bag. Squeeze out the excess air to prevent freezer burn. They can be stored for up to 3 months. When ready to enjoy, thaw them in the fridge overnight and reheat at 350°F (175°C) for about 10 minutes.
What should I do if my cruffins are dense or do not rise?
Very! If your Cheesy Garlic Cruffins turn out dense, it may be due to overmixing the batter or using expired baking powder. Ensure you gently combine the wet and dry ingredients until just mixed and check the freshness of your baking powder before starting the recipe. If they don't rise, maybe your oven temperature was too low or the baking powder wasn't effective.
Are there any dietary considerations I should be aware of before making Cheesy Garlic Cruffins?
Yes! For those with gluten sensitivities, you can substitute all-purpose flour with a 1:1 gluten-free flour blend. Additionally, for lactose intolerance, use dairy-free butter and non-dairy milk to enjoy these savory treats. If serving to pets, remember that garlic is toxic to dogs, so be sure to keep these cruffins away from them.
Cheesy Garlic Cruffins: Your New Favorite Comfort Snack
Equipment
- muffin tin
- Mixing bowls
- Whisk
- Spatula
Ingredients
For the Batter
- 2 cups All-purpose flour
- 1 tablespoon Baking powder
- 0.5 teaspoon Salt
- 0.5 teaspoon Garlic powder
For the Wet Mixture
- 0.5 cups Unsalted butter (melted) can substitute with coconut oil
- 0.75 cups Milk can use non-dairy milk
- 1 large Egg
For the Flavor
- 1 cups Shredded cheddar cheese use sharp cheddar for bolder flavor
- 2 tablespoon Minced garlic
- 2 tablespoon Chopped fresh parsley
- 0.5 cups Grated Parmesan cheese for topping
Instructions
Cooking Instructions
- Preheat your oven to 375°F (190°C) and grease a muffin tin.
- In a bowl, combine the dry ingredients: flour, baking powder, salt, and garlic powder.
- In another bowl, whisk together the wet ingredients: melted butter, milk, and egg.
- Add the wet ingredients to the dry ingredients and stir until just combined.
- Fold in the cheddar cheese, minced garlic, and parsley.
- Divide the batter among the muffin cups, filling each about ¾ full.
- Sprinkle grated Parmesan cheese on top of each filled muffin cup.
- Bake for 20-25 minutes until golden brown and a toothpick comes out clean.
- Let them cool in the muffin tin for a few minutes before transferring to a wire rack.
Leave a Reply