
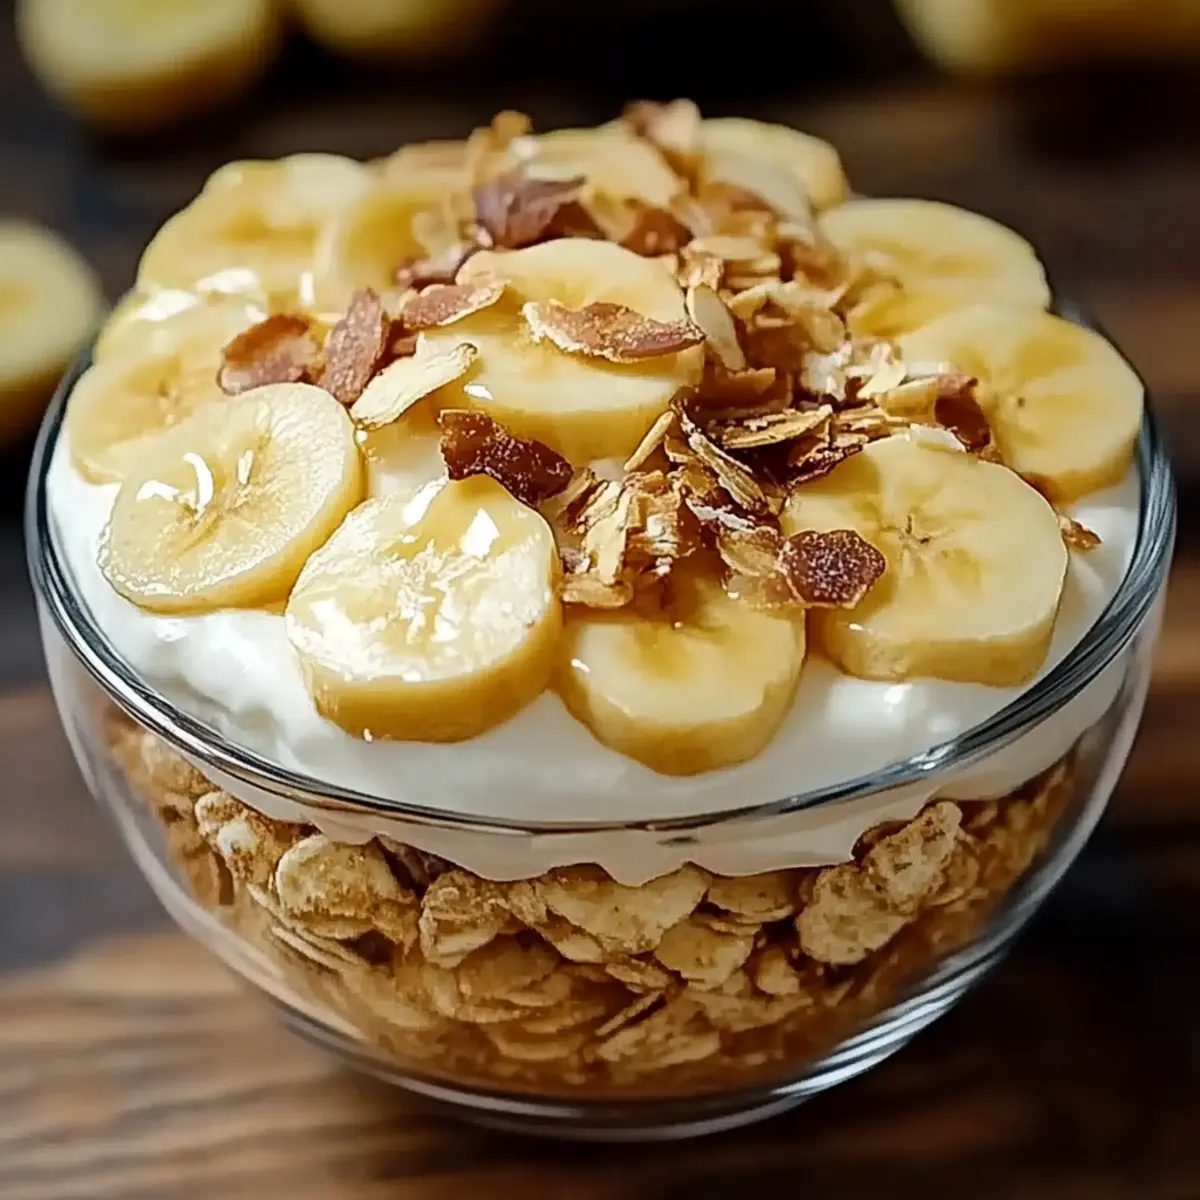
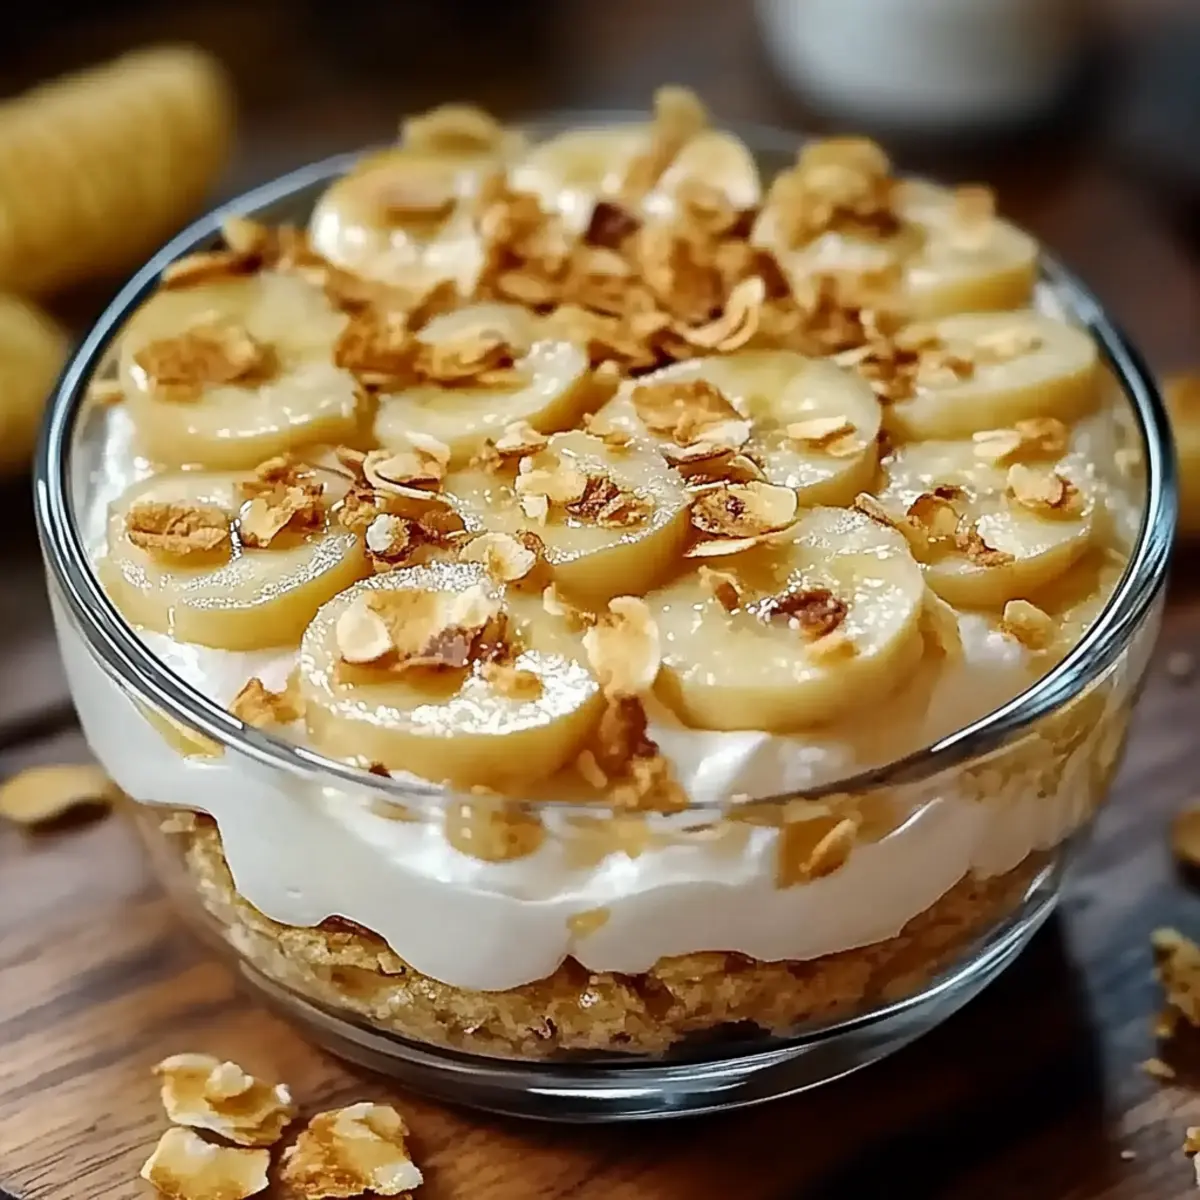
As I stood in my kitchen with the sweet scent of ripe bananas wafting through the air, I felt transported back to my grandmother's home, where every family gathering revolved around her beloved banana pudding. This Old-Fashioned Homemade Banana Pudding is more than just a dessert; it's a nostalgic hug on a plate. With its simple yet satisfying layers of creamy pudding, fresh bananas, and crunchy vanilla wafers, this recipe is a crowd-pleasing delight that brings comfort to any gathering. Plus, it’s an easy make-ahead treat, allowing you to savor moments with loved ones instead of fussing over dessert. So, are you ready to dive into this timeless classic that will have everyone asking for seconds?
Why is this banana pudding unforgettable?
Comforting and nostalgic, this Old-Fashioned Homemade Banana Pudding brings back sweet memories with every bite. Layered perfection combines creamy pudding, fresh bananas, and crunchy vanilla wafers, making it a delightful dessert for any occasion. Easy to prepare ahead of time, giving you more moments to enjoy with family. Crowd-pleaser qualities ensure everyone will be asking for seconds, while the rich, creamy flavor will take you back to simpler times. Whip up this classic treat and experience the joy it brings!
Banana Pudding Ingredients
• The perfect blend of flavors awaits!
For the Pudding
- Milk – 2 cups of whole milk adds creaminess that’s essential for the best banana pudding.
- Granulated Sugar – ½ cup sweetens the pudding just right, balancing the natural sweetness of the bananas.
- All-Purpose Flour – ⅓ cup acts as a thickening agent to achieve that luscious, smooth texture.
- Salt – ¼ teaspoon enhances the flavors, making the pudding truly irresistible.
- Large Eggs – 3 provides richness and stability to our creamy filling.
- Unsalted Butter – 2 tablespoons mixed in at the end adds a silky finish to the pudding.
- Vanilla Extract – 1 tablespoon brings out the warmth of the flavors, giving your banana pudding depth.
For the Layers
- Ripe Bananas – 3 fresh bananas deliver natural sweetness and that unmistakable banana flavor in each creamy layer.
- Vanilla Wafers – 12 ounces create the perfect crunchy contrast to the smooth pudding and soft bananas, making your banana pudding experience delightful.
Embrace this classic banana pudding recipe and get ready to create delectable memories!
Step‑by‑Step Instructions for Old-Fashioned Homemade Banana Pudding
Step 1: Combine Dry Ingredients
In a medium saucepan, whisk together 2 cups of milk, ½ cup granulated sugar, ⅓ cup all-purpose flour, and ¼ teaspoon salt until smooth. Set the saucepan over medium heat, stirring continuously. Keep your eye on the mixture until it thickens and begins to bubble, which should take about 8–10 minutes. Once thickened, remove it from the heat to prevent overcooking.
Step 2: Prepare the Eggs
While the pudding mixture thickens, crack 3 large eggs into a separate bowl and whisk them until well combined. This step is crucial for ensuring a smooth pudding texture. Once the milk mixture has thickened, gradually add a small amount of the hot mixture to the beaten eggs while whisking continuously. This process is known as tempering and prevents the eggs from scrambling.
Step 3: Cook the Egg Mixture
Return the tempered egg mixture back to the saucepan with the remaining pudding mixture. Place the saucepan over medium-low heat, stirring constantly for an additional 2-3 minutes. You're aiming for a smooth, creamy consistency, so keep a close watch to ensure it doesn’t stick to the bottom or burn. Once done, remove the saucepan from the heat.
Step 4: Add Flavor and Finish
Mix in 2 tablespoons of unsalted butter and 1 tablespoon of vanilla extract into the thickened pudding mixture until they are fully incorporated. This will add a rich, velvety touch to your banana pudding. Allow the pudding to cool slightly while you prepare the layering process, as a warm mixture is easier to work with.
Step 5: Layer the Ingredients
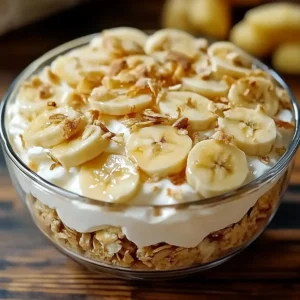
In a large serving dish, start by layering 12 ounces of vanilla wafers on the bottom, followed by sliced bananas from 3 ripe bananas. Pour a generous layer of the creamy pudding over the bananas. Repeat these layers—vanilla wafers, bananas, and pudding—until all ingredients are used, finishing with a layer of pudding on top for a polished look.
Step 6: Chill Before Serving
Once layered, cover the dish tightly with plastic wrap or a lid. Place it in the refrigerator to chill for at least 4 hours, or until the pudding is set and flavors meld together beautifully. This chilling time is essential for achieving that classic banana pudding texture, ensuring it’s perfectly creamy and delicious when served.
Helpful Tricks for Banana Pudding
• Use Ripe Bananas: Choose bananas that are perfectly ripe; they'll provide the sweetest flavor and best texture for your banana pudding.
• Temper Eggs Correctly: Gradually mix hot pudding into beaten eggs while whisking to avoid scrambling; this ensures a silky smooth consistency for your pudding.
• Chill Fully: Be patient with the chilling time—4 hours allows the flavors to meld and the pudding to set correctly, creating that classic banana pudding texture.
• Avoid Overcooking: Stir constantly while cooking the milk mixture to prevent it from sticking or burning; this is key to getting that thick, creamy base for your banana pudding.
• Layer Generously: Don’t skimp on the layering! Ensure even layers of wafers, bananas, and pudding to create a visually stunning and delicious banana pudding that everyone will love.
Banana Pudding Variations & Substitutions
Feel free to get creative and customize your banana pudding to suit your taste buds!
-
Dairy-Free: Substitute the milk with almond or coconut milk for a delicious dairy-free twist.
-
Gluten-Free: Replace all-purpose flour with a gluten-free flour blend for a suitable option without sacrificing flavor.
-
Caramel Drizzle: Add a layer of caramel sauce between the layers for an indulgent caramelized flavor that will elevate your dessert.
-
Chocolate Pudding: Swap out half of the milk with chocolate milk to create a rich, chocolatey version of banana pudding that chocolate lovers will adore.
-
Nutty Crunch: Sprinkle chopped walnuts or pecans between the layers for added texture and a delightful nutty flavor.
-
Coconut Twist: Incorporate shredded coconut into the layers for a tropical flair that brings a new dimension to the classic recipe.
-
Spicy Kick: Add a dash of cinnamon or nutmeg to the pudding mixture for a warm, spiced flavor that adds depth to the sweetness.
-
Banana Foster: Oh, for a truly decadent experience, sauté sliced bananas in butter and brown sugar before layering—this will give your pudding that comforting, classic banana foster feel.
Whether you choose to stick with tradition or try something new, this banana pudding recipe can easily adapt to your favorite flavors! If you're looking for more delicious twists on classic desserts, check out my chocolate banana pudding for another treat the whole family will love!
What to Serve with Old-Fashioned Homemade Banana Pudding
Dive into delightful combinations that transform your dessert into a full-sensory experience, perfect for sharing with loved ones.
-
Creamy Mashed Potatoes: The smooth texture and buttery flavor offer a comforting contrast that beautifully balances the sweetness of banana pudding.
-
Spicy Fried Chicken: Juicy, crispy chicken adds a savory punch, creating a warm, inviting meal that pairs wonderfully with the sweet notes of pudding.
-
Fresh Fruit Salad: A mix of vibrant fruits brings a refreshing, tart element to the table, perfectly complementing the rich creaminess of banana pudding.
-
Buttered Corn on the Cob: Sweet, buttery corn adds a polite sweetness and fun crunch to your meal, harmonizing beautifully with the pudding's texture.
-
Classic Coleslaw: Crunchy and tangy, coleslaw adds an irresistible crunch that balances the creamy dessert, making each bite a delightful contrast.
-
Sweet Tea: This refreshing drink adds a touch of Southern charm to the meal, enhancing the overall experience as you indulge in the banana pudding.
-
Chocolate Chip Cookies: Serve warm alongside your banana pudding for a nostalgic dessert combination that invites smiles and cherished memories.
Prepare these sides to elevate your Old-Fashioned Homemade Banana Pudding into a delicious feast that your family will remember fondly!
Make Ahead Options
These Old-Fashioned Homemade Banana Pudding are perfect for busy weeknights and meal prep! You can prepare the pudding mixture (steps 1-4) up to 24 hours in advance and refrigerate it, keeping it tightly covered to maintain freshness and prevent any unwanted flavors. Additionally, slice the bananas just before layering to prevent browning, but you can stack the vanilla wafers ahead of time. Simply assemble the dessert by layering the bananas and pudding when you're ready to serve. By prepping this classic banana pudding ahead of time, you’ll save precious moments and still delight in a creamy, nostalgic dessert that tastes just as delicious as when freshly made!
How to Store and Freeze Banana Pudding
Fridge: Store leftover banana pudding in the refrigerator for up to 3 days. Cover it tightly with plastic wrap to keep it fresh and prevent it from absorbing other flavors.
Freezer: For longer storage, you can freeze banana pudding for up to 2 months. However, the texture may change slightly, so consider freezing the pudding without bananas and wafers, then layering them fresh upon thawing.
Reheating: If you'd like to refresh your banana pudding, remove it from the fridge, give it a gentle stir, and enjoy it cold. For any frozen pudding, thaw it overnight in the fridge before serving.
Serving Suggestion: For the best flavor and texture, serve homemade banana pudding straight from the fridge after chilling—a true delight that everyone will crave!

Old-Fashioned Homemade Banana Pudding Recipe FAQs
How do I choose the best bananas for this recipe?
Choosing perfectly ripe bananas is crucial! Look for bananas that have a vibrant yellow color with just a few brown specks; they'll provide the sweetest flavor and creamy texture that's perfect for your banana pudding.
How long can I store leftover banana pudding?
You can store leftover banana pudding in the refrigerator for up to 3 days. Be sure to cover the dish tightly with plastic wrap or a lid to keep it fresh and prevent it from absorbing other refrigerator odors.
Can I freeze banana pudding?
Absolutely! You can freeze banana pudding for up to 2 months. However, for the best texture, I recommend freezing the pudding without the bananas and wafers. When you're ready to enjoy it, thaw the pudding overnight in the fridge and layer with fresh bananas and wafers just before serving.
What should I do if my pudding is too runny?
If your banana pudding turns out too runny, it may not have thickened enough during cooking. To fix this, return the pudding to the stovetop and heat it gently over medium-low heat, stirring constantly while gradually adding a mixture of 1 tablespoon of flour and 2 tablespoons of milk mixed into a slurry until thickened. Allow it to cook for a few more minutes for the best results.
Is this banana pudding safe for pets to eat?
While the ingredients in banana pudding are safe in small amounts for dogs, it's best to avoid giving any pudding to your pets. Ingredients like sugar and eggs might not sit well with them. Always consult with your veterinarian if you're unsure about sharing human food with your furry friends.
Can I make this banana pudding gluten-free?
Very! To make this banana pudding gluten-free, simply swap the all-purpose flour for your favorite gluten-free flour blend. Just keep in mind that the texture might vary slightly, but it should still be deliciously creamy!
Irresistibly Creamy Banana Pudding for the Soul
Equipment
- Medium saucepan
- Mixing bowl
- Whisk
- large serving dish
Ingredients
For the Pudding
- 2 cups whole milk adds creaminess
- 0.5 cups granulated sugar sweetens the pudding
- 0.33 cups all-purpose flour acts as a thickening agent
- 0.25 teaspoon salt enhances flavors
- 3 large eggs provides richness
- 2 tablespoons unsalted butter adds a silky finish
- 1 tablespoon vanilla extract brings warmth to flavors
For the Layers
- 3 ripe bananas provides natural sweetness
- 12 ounces vanilla wafers creates the crunchy contrast
Instructions
Step-by-Step Instructions
- Combine dry ingredients in a medium saucepan and whisk until smooth.
- Set over medium heat, stirring continuously until thickened, about 8-10 minutes.
- Remove from heat once thickened.
- Whisk eggs in a bowl, then temper by adding hot mixture gradually.
- Return tempered mixture to the saucepan and cook for an additional 2-3 minutes.
- Add butter and vanilla extract to the pudding mixture until fully incorporated.
- Layer vanilla wafers, sliced bananas, and pudding in a serving dish.
- Repeat layering until all ingredients are used, finishing with pudding on top.
- Cover tightly and refrigerate for at least 4 hours.

Leave a Reply