
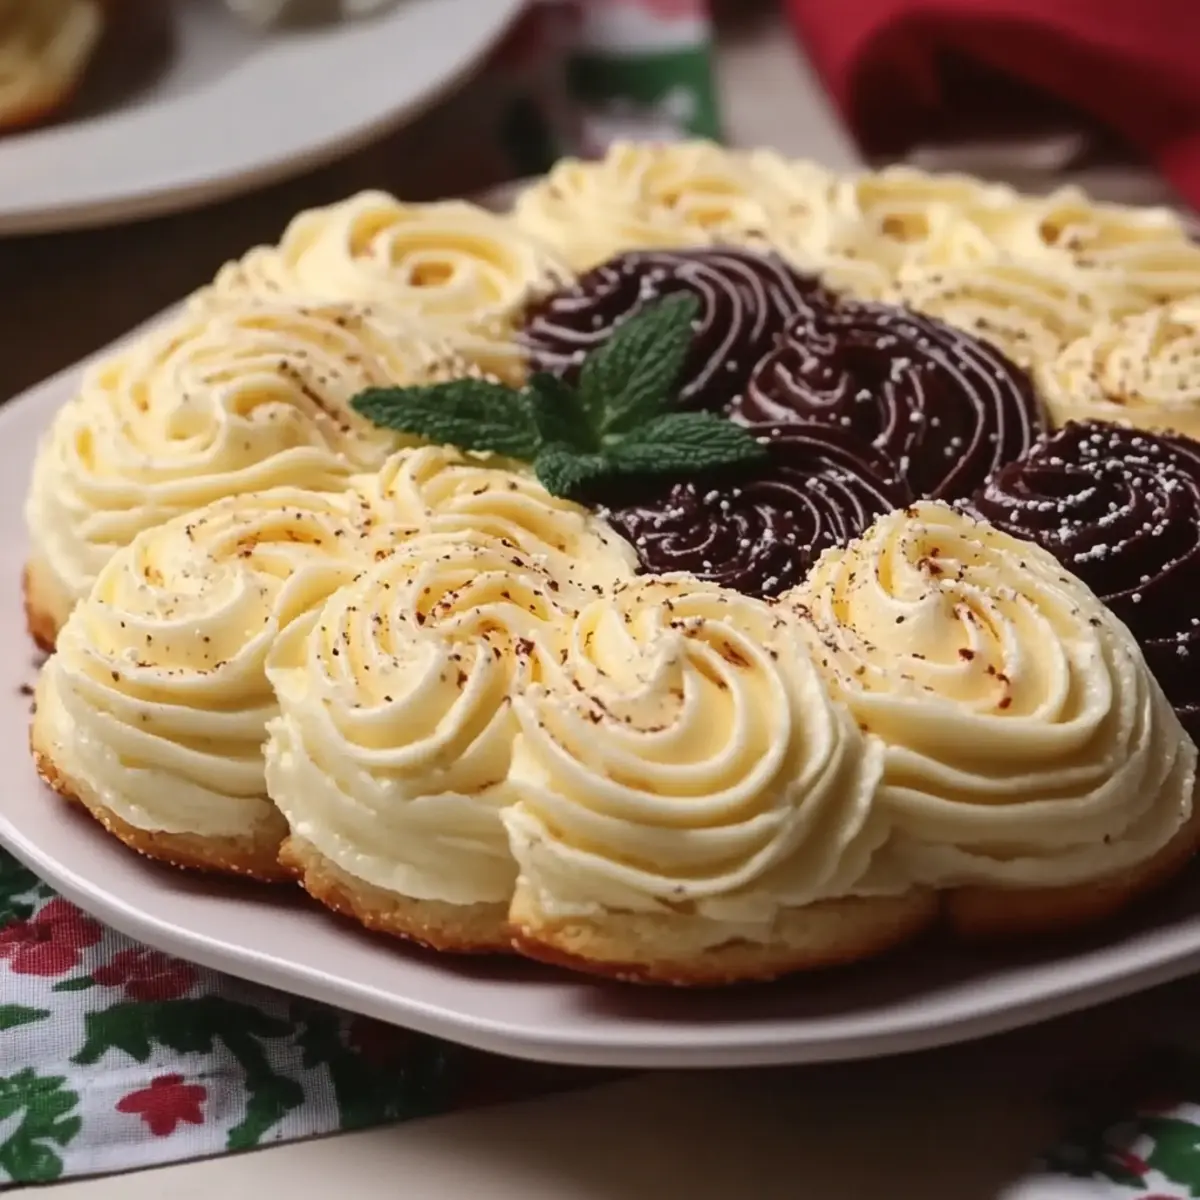
The first time I spread homemade Danish Butter on warm, crusty bread, it was as if I had unlocked a secret culinary treasure. This delightfully creamy blend of unsalted butter and powdered sugar, with notes of vanilla, provides a perfect foundation for both sweet and savory dishes. This easy recipe not only requires just 10 minutes of prep but also allows you to customize flavors with a splash of lemon juice or a dollop of heavy cream. Say goodbye to overly sweet or industrial options—this Danish Butter is a crowd-pleaser that elevates breakfast, pairs beautifully with pancakes, and transforms your baked treats. Ready to elevate your meals with a touch of homemade indulgence?

Why is Danish Butter a Must-Try?
Unmatched creaminess: This Danish Butter is a velvety blend that transforms any dish into a luxurious experience. Quick preparation: With just 10 minutes of active time, you can whip up this flavorful delight effortlessly. Versatile use: Whether slathered on bread or enhancing desserts, its adaptability shines through. Customizable flavor: Add lemon juice or heavy cream for a personal touch that suits every palate. Once you taste it, you’ll agree—it far surpasses store-bought spreads!
Danish Butter Ingredients
• Elevate your homemade delight with these simple ingredients!
For the Butter Blend
• Unsalted butter – Use room temperature for that luscious, creamy texture.
• Powdered sugar – A touch of sweetness that complements the butter perfectly.
• Vanilla extract – Infuses rich flavor that makes this Danish Butter irresistible.
• Salt – Enhances flavor and balances the sweetness for a savory twist.
Optional Add-Ins
• Heavy cream – Adds richness and a smooth mouthfeel; perfect for those creamy cravings.
• Lemon juice – A splash brightens the flavor and adds a refreshing zest to your Danish Butter.
Step‑by‑Step Instructions for Danish Butter
Step 1: Soften the Butter
Begin by allowing 1 cup of unsalted butter to come to room temperature, which typically takes about 30 minutes. This is crucial for achieving a smooth and creamy texture in your Danish Butter. As it softens, you'll notice it should feel pliable to the touch, making it easier to blend and incorporate the other ingredients.
Step 2: Mix Ingredients
In a mixing bowl, combine the softened butter with 1 cup of powdered sugar, 1 teaspoon of vanilla extract, and 1 teaspoon of salt. Using an electric mixer on medium speed, blend these ingredients for about 2-3 minutes until you achieve a smooth and creamy consistency. The mixture should be well-combined and light in texture, indicating it’s ready for the next step.
Step 3: Enhance Flavor
If you desire an extra layer of flavor in your Danish Butter, now is the time to add optional ingredients such as 1 tablespoon of heavy cream and/or 1 tablespoon of lemon juice. Beat the mixture for an additional 1-2 minutes until these flavors are fully incorporated and the butter is silky smooth. This step not only enriches the flavor but also adds a delightful complexity.
Step 4: Adjust Sweetness and Salt
Taste your Danish Butter and see if it meets your preference for sweetness and saltiness. If needed, adjust by adding more powdered sugar for sweetness or a pinch of salt for balance. Blend for another minute to ensure any adjustments are fully mixed, and the flavor is just right for your palate.
Step 5: Containerize the Butter
Spoon the delicious butter mixture into an airtight container or a silicone mold. Smooth the top with a spatula for a nice finish. Cover it tightly to maintain its freshness and place it in the refrigerator. Allow it to chill for at least 30 minutes to firm up, making it perfect for spreading later.
Step 6: Serve the Danish Butter
Once chilled and firm, your Danish Butter is ready to be served! Pair it with fresh bread, pancakes, or use it as a luxurious topping for muffins and cookies. Its creamy texture and delightful taste will enhance your meals and desserts, making every bite a gourmet experience.
Variations & Substitutions for Danish Butter
Explore the endless possibilities to make this Danish Butter your own, igniting all your culinary creativity!
- Dairy-Free: Substitute unsalted butter with a plant-based alternative like coconut oil or vegan butter for a delicious vegan version.
- Sugar-Free: Use powdered erythritol or another sugar substitute to create a guilt-free, low-calorie option that's just as delightful.
- Herbed Delight: Fold in finely chopped fresh herbs like rosemary or thyme for a savory twist that will elevate your breads and meats.
- Citrus Zing: Try adding a splash of orange or lime juice instead of lemon for a unique flavor that brightens up your Danish Butter even more.
- Nutty Flavor: Blend in some finely chopped toasted nuts such as almonds or pecans for added texture and a beautiful, rustic finishing touch.
- Spicy Kick: Add a pinch of cayenne pepper or some chopped jalapeños to create a spicy Danish Butter that adds excitement to any dish.
- Chocolate Indulgence: Incorporate unsweetened cocoa powder and a drizzle of melted chocolate for a rich, dessert-style butter to enjoy on your pastries.
- Maple Twist: Swap powdered sugar for maple sugar to impart a warm, aromatic sweetness that's perfect for breakfast or as a treat alongside pancakes.
Each of these variations allows you to personalize your Danish Butter and match it to any meal or occasion! Don’t forget to check out our tips on elevating your butter experience with accents like lemon juice or heavy cream for that personal touch in every spread. For even more kitchen inspiration, try our delightful recipes for brunch or a sophisticated dessert pairing!
Tips for the Best Danish Butter
Softened Butter: Ensure your unsalted butter is completely softened at room temperature. This step is vital for achieving a creamy, smooth blend.
Mixing Speed: Use medium speed on your electric mixer for even blending. Too fast can introduce unnecessary air, causing a light but fluffy texture that's not ideal for Danish Butter.
Taste Test: Always taste the mixture before chilling. Don’t hesitate to adjust sweetness or salt, ensuring your Danish Butter perfectly suits your palate.
Chill Time: Refrigerate your butter for at least 30 minutes. This allows it to firm up, making it easier to spread when you're ready to enjoy it.
Versatile Pairings: Besides fresh bread or pancakes, think outside the box—try this Danish Butter with roasted vegetables or as a topping on grilled meats for a delightful twist!
What to Serve with Danish Butter?
Imagine a cozy breakfast table where the aroma of fresh bread mingles with the sweet scent of Danish Butter melting into a warm, buttery delight.
- Fresh Bread: The classic pairing for Danish Butter, perfect for absorbing its creamy richness into each bite should not be overlooked.
- Fluffy Pancakes: The lightness of pancakes complements the rich texture of Danish Butter, creating a breakfast experience that feels indulgent.
- Warm Waffles: With their crispy exterior and soft interior, waffles create a delightful canvas for the smooth, sweet butter.
- Moist Muffins: Top warm, fresh muffins with Danish Butter for a lavish treat that enhances the sweetness while adding a gourmet touch.
- Savory Scones: The buttery, flaky layers in scones are beautifully complemented by the sweetness of Danish Butter, adding a delightful contrast.
- Grilled Vegetables: For a surprising twist, use Danish Butter as a topping for grilled vegetables, elevating their flavors with a rich creaminess.
- Vanilla Ice Cream: Drizzling a bit of this butter over vanilla ice cream creates an unexpected yet heavenly dessert that will wow your guests.
- Herbal Tea: Enjoy a cup of calming herbal tea alongside your Danish Butter spread for a comforting, indulgent experience.
- Cold Brew Coffee: The bold flavor of coffee pairs harmoniously with the sweetness of Danish Butter, creating a lovely balance of tastes at brunch.
- Savory Cheesecake: Whether it’s the sweet or savory variety, spreading Danish Butter atop a cheesecake adds richness and a creamy texture to your dessert.
How to Store and Freeze Danish Butter
Fridge: Store your Danish Butter in an airtight container in the fridge, where it will stay fresh for up to 2 weeks. This keeps it creamy and ready for spreading!
Freezer: For long-term storage, freeze Danish Butter in a silicone mold or an airtight container. It can last for up to 3 months. Just make sure to label it for easy identification!
Reheating: When you're ready to enjoy your frozen Danish Butter, transfer it to the fridge to thaw overnight. If you need it quickly, let it sit at room temperature for about 15-20 minutes until spreadable.
Room Temperature: For optimal spreading, take your Danish Butter out of the fridge about 15 minutes before use, allowing it to soften slightly.
Make Ahead Options
Danish Butter is an excellent choice for those who love to meal prep, making your busy days a little smoother! You can prepare the entire butter mixture up to 3 days in advance—simply follow the instructions until the containerizing step. After mixing, store the butter in an airtight container and refrigerate it for optimal freshness. To serve, just take it out of the fridge about 15 minutes before you need it, allowing it to soften slightly at room temperature for easy spreading. This planning not only saves time but ensures that your Danish Butter is just as delicious, enhancing your breakfasts or snacks effortlessly while keeping flavors intact!

Danish Butter Recipe FAQs
How should I select the perfect butter for this Danish Butter?
Absolutely! Look for high-quality unsalted butter, preferably from a brand that you trust. Ensure it’s fresh; unsalted butter should be pale yellow and firm, without any dark spots or a rancid smell. Using butter at room temperature is key to achieving that smooth, creamy texture in your final product.
What is the best way to store Danish Butter, and how long will it last?
Danish Butter should be stored in an airtight container in the refrigerator, where it will remain fresh for up to 2 weeks. Keeping it sealed protects it from picking up other odors in the fridge while maintaining its lovely creamy texture, ready to enhance your next meal or snack!
Can I freeze Danish Butter, and what is the process?
Very much so! To freeze your Danish Butter, spoon it into a silicone mold or an airtight container, ensuring it's compressed without air pockets. Label the container with the date, and it should be good for up to 3 months. When you're ready to use it, thaw it overnight in the refrigerator or for about 15-20 minutes at room temperature for perfect spreading consistency.
What should I do if my Danish Butter is too sweet or salty?
Great question! If you find your Danish Butter too sweet, you can balance it by mixing in a pinch more of salt. If it’s too salty, you can incorporate a bit more powdered sugar to sweeten it. Blend for an additional minute, and give it a taste test—it’s all about finding that perfect harmony of flavors!
Can this Danish Butter cater to dietary restrictions?
Certainly! For a dairy-free option, you can substitute regular butter with plant-based butter alternatives. Just ensure the alternatives are suitable for any allergies you may have. Additionally, if you're avoiding sugar, you could experiment with powdered erythritol or another sugar substitute, keeping in mind that adjustments may alter the taste slightly.

Creamy Danish Butter: Elevate Your Homemade Delights
Equipment
- Mixing bowl
- Electric mixer
- Spatula
- Airtight Container
Ingredients
For the Butter Blend
- 1 cup unsalted butter room temperature
- 1 cup powdered sugar
- 1 teaspoon vanilla extract
- 1 teaspoon salt
Optional Add-Ins
- 1 tablespoon heavy cream
- 1 tablespoon lemon juice
Instructions
Step‑by‑Step Instructions for Danish Butter
- Begin by allowing the unsalted butter to come to room temperature for about 30 minutes.
- In a mixing bowl, combine the softened butter with powdered sugar, vanilla extract, and salt. Blend for about 2-3 minutes.
- Add optional heavy cream and lemon juice if desired. Beat for an additional 1-2 minutes.
- Taste and adjust sweetness or salt to your preference, blending for another minute if needed.
- Spoon the mixture into an airtight container or mold and smooth the top. Refrigerate for at least 30 minutes.
- Once chilled, serve your Danish Butter with bread, pancakes, or desserts.


Leave a Reply