
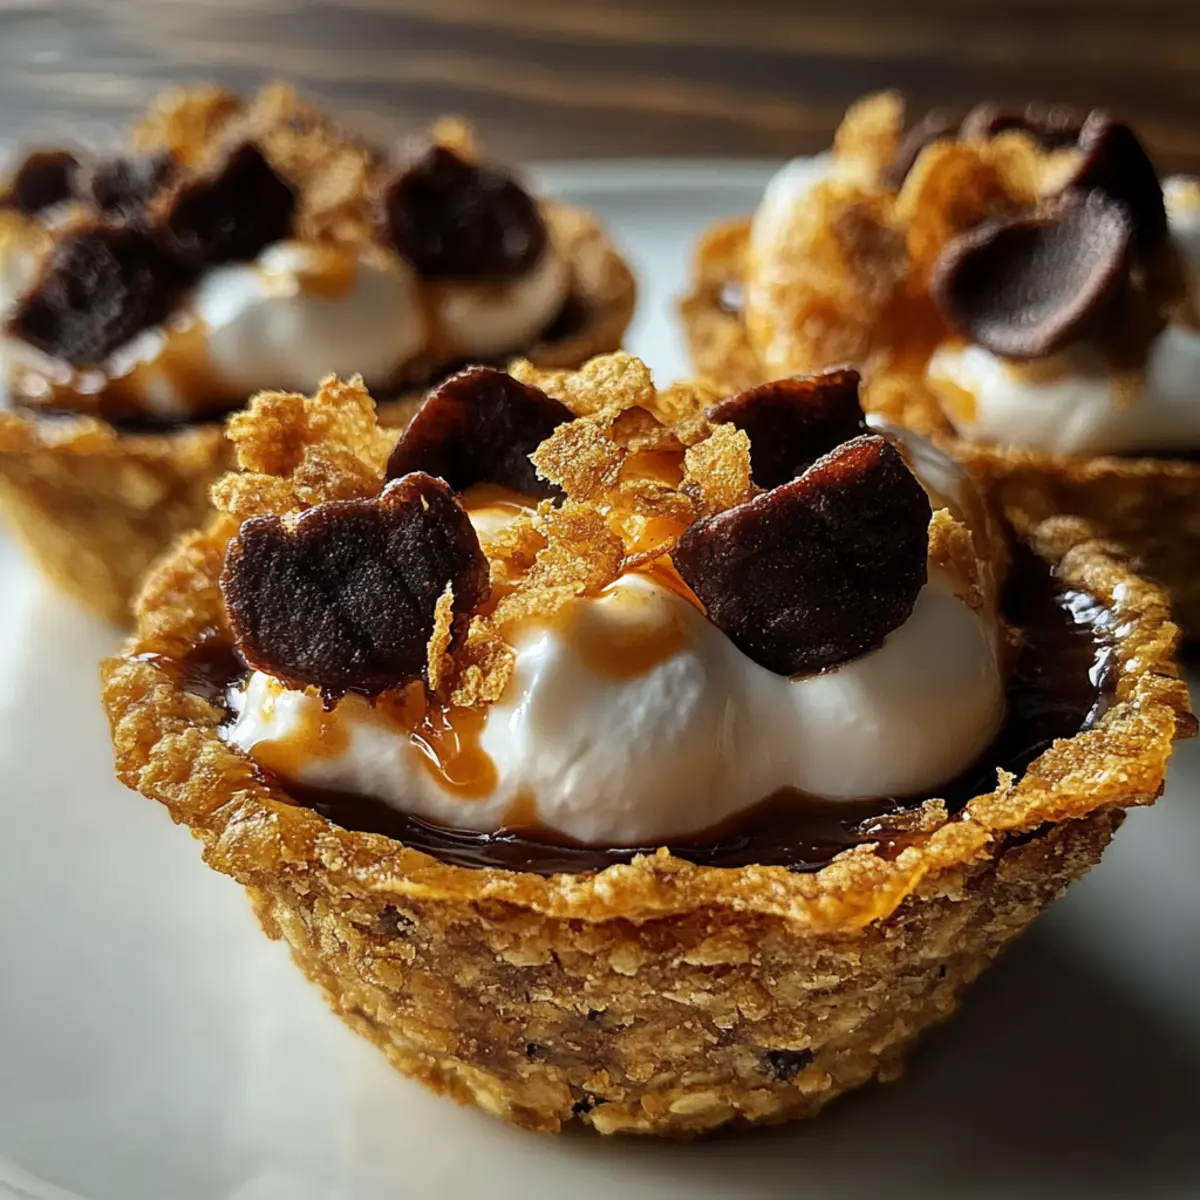
As I stirred together rich butter and sweet sugars, the warm, inviting scent wafted through my kitchen, instantly transporting me to bonfire nights under the stars. It’s this nostalgic vibe that inspired my S’mores Cookie Cups—little bites of joy that combine all the gooey goodness of classic s’mores with a delightful cookie twist. These treats are not only quick to whip up, but they also come together in a mini muffin pan, making them perfect for sharing with friends or family. You won’t believe how simple they are to make, and trust me, they disappear faster than you can say “marshmallow.” Ready to bring some warmth and joy into your kitchen? Let’s dive into these delicious S’mores Cookie Cups!
Why are S’mores Cookie Cups a must-try?
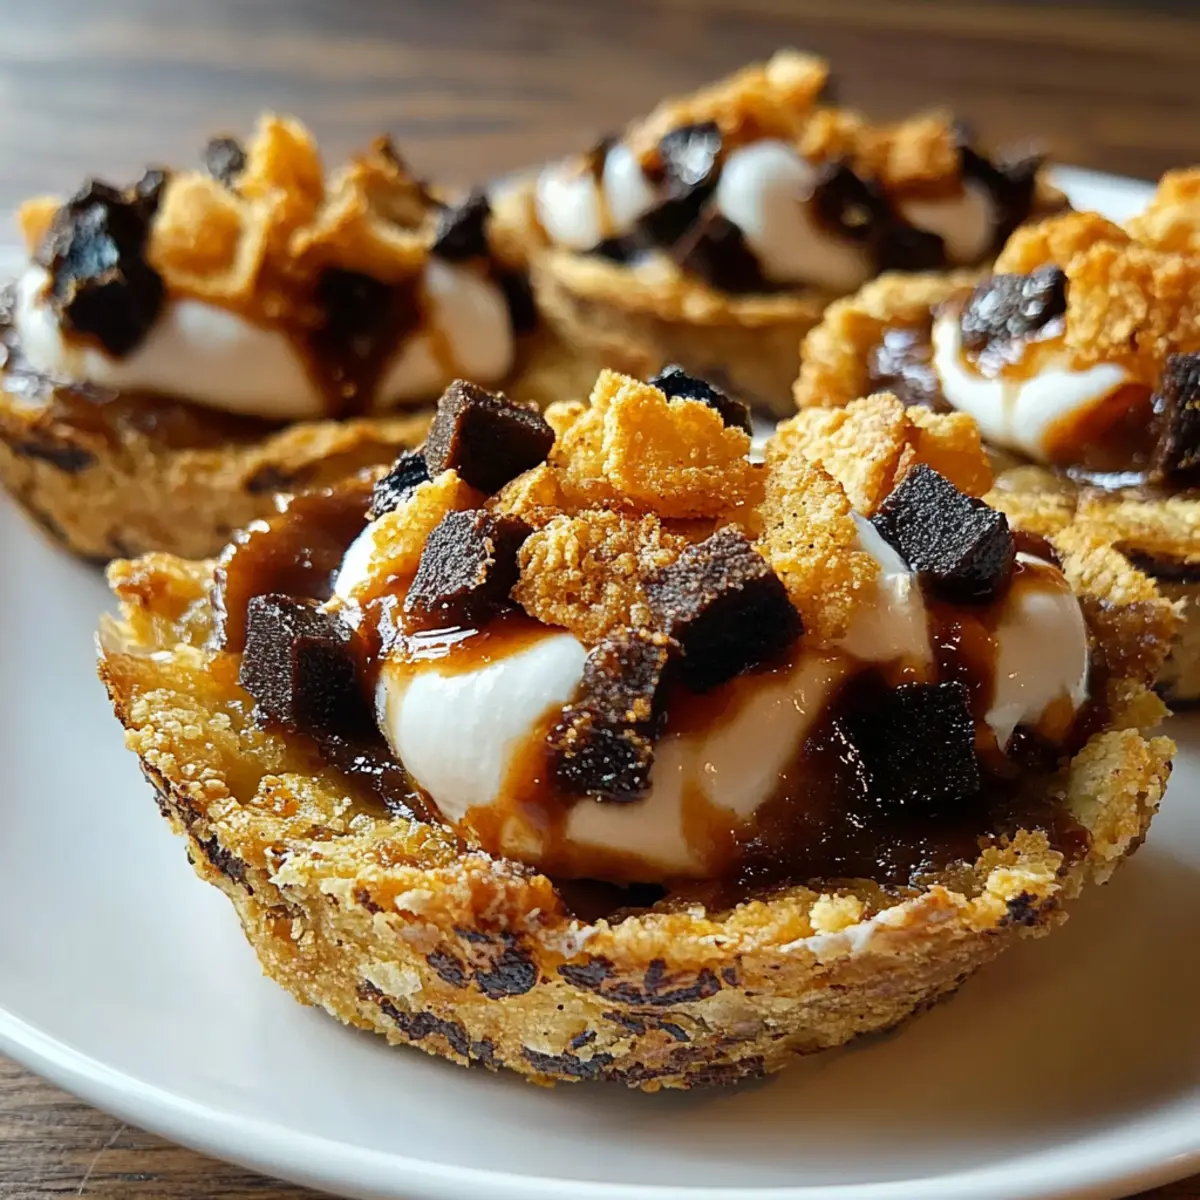
Irresistible flavors: These S’mores Cookie Cups are packed with gooey marshmallows and rich chocolate, creating a taste sensation that brings back childhood memories.
Quick and easy: With only 20 minutes of prep time, you can have these delicious treats baking in no time.
Perfect for sharing: Made in a mini muffin pan, they’re ideal for parties, potlucks, or a sweet family night—everyone will want a taste!
Versatile: Feel free to customize the fillings; add nuts or swap in dark chocolate for something a bit different.
Crowd-pleasing: These little delights are bound to impress guests and family alike, leaving them clamoring for the recipe! If you love quick homemade treats, you might also enjoy my Classic Chocolate Chip Cookies.
S’mores Cookie Cups Ingredients
For the Dough
• Unsalted butter – this adds a rich creaminess that makes the cookies tender.
• Granulated sugar – provides sweetness and helps achieve a nice texture.
• Packed brown sugar – adds moisture and a hint of caramel flavor.
• Large eggs – binds the ingredients together and adds richness.
• Vanilla extract – a splash brings out the sweetness and adds depth.
• All-purpose flour – the base for the cookie structure.
• Baking soda – ensures the cookies rise beautifully.
• Salt – enhances the flavors of the other ingredients.
For the Fillings
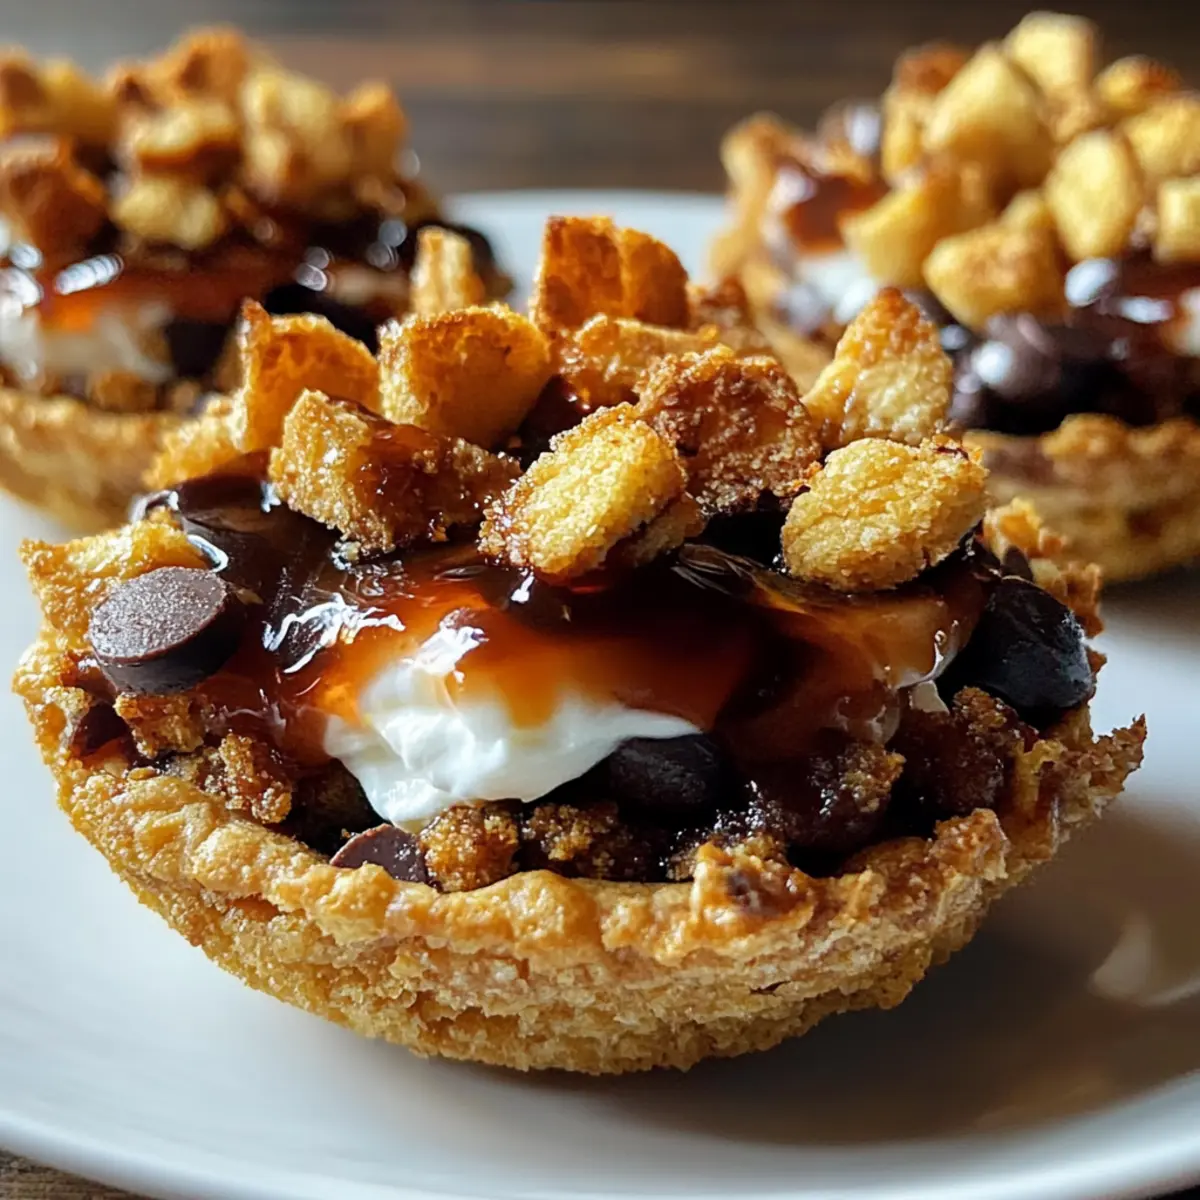
• Milk chocolate chips – melt into gooey pockets of chocolate goodness.
• Graham cracker squares – the classic s’mores base; they add texture and a touch of crunch.
• Large marshmallows – halved to create that iconic toasted topping.
These S’mores Cookie Cups are sure to become a family favorite!
Step‑by‑Step Instructions for S’mores Cookie Cups
Step 1: Preheat the Oven
Begin by preheating your oven to 350°F (175°C) and lightly greasing a mini muffin pan with cooking spray or butter. This little step ensures that your S’mores Cookie Cups will slide out effortlessly once baked. Set the pan aside and get ready to whip up the cookie dough!
Step 2: Cream the Butter and Sugars
In a large mixing bowl, cream together 1 cup of softened unsalted butter, 1 cup of granulated sugar, and 1 cup of packed brown sugar using an electric mixer on medium speed. Beat until the mixture is light and fluffy, which should take about 3-5 minutes. The texture will become airy, giving your S’mores Cookie Cups a delightful softness.
Step 3: Incorporate Eggs and Vanilla
Add 2 large eggs, one at a time, to the butter and sugar mixture, mixing well after each addition. Then, pour in 1 teaspoon of vanilla extract and blend until just combined. This will infuse your dough with rich vanilla flavor, creating a delicious base for your cookie cups.
Step 4: Combine Dry Ingredients
In a separate bowl, whisk together 2 ½ cups of all-purpose flour, 1 teaspoon of baking soda, and ½ teaspoon of salt. Slowly add this dry mixture to your wet ingredients, stirring gently until just combined. Be careful not to overmix, as we want to maintain the tender texture of these S’mores Cookie Cups.
Step 5: Fold in Chocolate Chips
Now, gently fold in 1 cup of milk chocolate chips into your cookie dough using a spatula. The chocolate chips will melt beautifully during baking, creating gooey pockets of chocolate throughout each cup. Take a moment to enjoy the sweet aroma as everything comes together!
Step 6: Prepare the Muffin Pan
Press a few graham cracker pieces into the bottom of each well of the mini muffin pan. This will serve as the delicious crust of your S’mores Cookie Cups and add that classic graham flavor. Make sure to cover each bottom generously for the best texture.
Step 7: Fill the Muffin Wells
Scoop the cookie dough into each muffin well, filling them about two-thirds full. Gently press the dough down to shape it into cup-like forms. This step is key to achieving that perfect shape for your S’mores Cookie Cups as they bake and rise in the oven.
Step 8: Bake to Perfection
Place the muffin pan in the preheated oven and bake for about 10 minutes or until the edges turn golden brown. Keep a close eye on them, as oven temperatures may vary. You want a beautiful golden color that promises chewy goodness in every bite.
Step 9: Add Marshmallow Topping
Remove the pan from the oven and immediately place a half of a large marshmallow on top of each cookie cup. The heat from the freshly baked cookie cups will start to melt the marshmallow, creating that divine s'mores experience we all love.
Step 10: Broil for Toasted Goodness
Return the muffin pan to the oven and switch to the broil setting, cooking for an additional 1-2 minutes. Watch carefully, as marshmallows can brown quickly. The goal is to achieve that gorgeous toasted look, reminiscent of campfire s'mores.
Step 11: Cool and Transfer
Once the marshmallows are perfectly toasted, remove the pan and let the S’mores Cookie Cups cool in the pan for 5 minutes. This will help them set before transferring them to a wire rack. Use a small spatula to gently ease them out, ensuring they keep their delightful shape.
Step 12: Enjoy the Final Treat
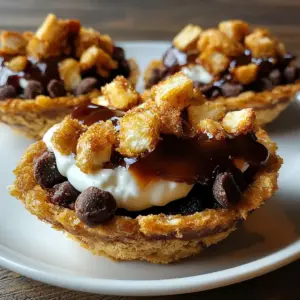
Allow the S’mores Cookie Cups to cool completely on the wire rack. As they cool, the delightful flavors meld together, creating an irresistible treat that’s perfect for sharing. Get ready to savor each bite of these scrumptious little cookie cups!
Make Ahead Options
These delightful S'mores Cookie Cups are perfect for busy home cooks looking to save time! You can prepare the cookie dough up to 24 hours in advance—simply follow the first five steps and then refrigerate the dough in an airtight container. The graham cracker base can also be placed in the muffin pan ahead of time, making it even easier when you’re ready to bake. When it’s time to serve, simply scoop the prepared dough into the wells, bake as directed, and top with toasted marshmallows for that irresistible finish. Trust me, even prepped ahead, these treats will be just as delicious as freshly made!
What to Serve with S’mores Cookie Cups
As you savor these sweet, melty treats, think about creating an unforgettable meal experience with delightful pairings that balance flavors and textures.
-
Vanilla Ice Cream: A scoop of vanilla ice cream brings a creamy contrast to the rich chocolate and gooey marshmallows, making every bite heavenly.
-
Chocolate Milkshake: The classic combination of a frosty chocolate milkshake enhances the indulgent flavors of the cookie cups, taking you back to childhood treats.
-
Fresh Berries: Juicy raspberries or strawberries brighten the plate with their tartness, providing a refreshing counterpoint to the sweetness of the cookies.
-
Hot Cocoa: Cozy up with a warm cup of hot cocoa. The chocolatey depth complements the cookies, creating a comforting, nostalgic dessert experience.
-
Whipped Cream: Light and airy whipped cream adds a velvety touch that elevates the s'mores experience, making each bite feel incredibly indulgent.
-
Coffee: A rich cup of freshly brewed coffee balances the sweetness while introducing a warm, inviting flavor that complements the cookies beautifully.
Experience the joy of these pairings and turn your dessert into a moment to cherish, where flavors meld and memories are made!
S’mores Cookie Cups Variations
Feel free to get creative and personalize your S’mores Cookie Cups with these fun variations!
-
Gluten-Free: Substitute all-purpose flour with a gluten-free baking mix for a wholesome twist.
-
Nutty Bliss: Add ½ cup chopped nuts, like walnuts or pecans, to the cookie dough for added crunch and flavor. The richness of the nuts complements the chocolate perfectly!
-
Peanut Butter Delight: Mix in ½ cup of creamy peanut butter into the dough for a deliciously nutty and savory twist. This variation will take your S’mores to the next level!
-
Dark Chocolate: Swap milk chocolate chips for dark chocolate chips for a richer taste. Dark chocolate adds a sophisticated depth that chocolate lovers will adore.
-
Extra S’mores Crunch: Crush leftover graham crackers and sprinkle on top for an added texture that echoes the classic s'mores experience. This crunchy layer elevates their appeal and taste!
-
Spicy S’mores: For a kick, add a pinch of cayenne pepper to the dough or top with a sprinkle of cinnamon. This surprising hint of heat will delight adventurous eaters.
-
Coconut Lover: Fold in ½ cup of shredded coconut for a tropical twist that complements the sweet and rich flavors beautifully. Coconut adds a lovely chewiness that harmonizes with the chocolate!
-
Caramel Drizzle: Drizzle melted caramel sauce over the marshmallows after broiling for an indulgent finishing touch. This gooey addition makes every bite even more decadently delightful!
Experimenting with these variations will make your kitchen feel like a world of sweet possibilities. For more delightful treats, consider trying my Peanut Butter Blossom Cookies or my favorite Chewy Oatmeal Raisin Cookies. Enjoy the baking adventure!
Expert Tips for S’mores Cookie Cups
Chill the Dough: Place the cookie dough in the refrigerator for 15–30 minutes before baking to help the S’mores Cookie Cups maintain their shape.
Don’t Overmix: Mix until just combined; overmixing can lead to tough cookies instead of soft and chewy delights.
Watch the Marshmallows: When broiling, keep a close eye on the marshmallows to avoid burning. They can go from perfectly toasted to charred in seconds!
Adjust Sweetness: For a less sweet treat, reduce the granulated sugar slightly. Balance is key when creating that perfect S’mores Cookie Cups flavor!
Use Fresh Ingredients: Ensure your butter and baking soda are fresh. This will help achieve that perfect rise and texture in your cookie cups!
How to Store and Freeze S’mores Cookie Cups
Room Temperature: Store completely cooled S’mores Cookie Cups in an airtight container at room temperature for up to 3 days. This keeps them soft and ready to enjoy!
Fridge: For longer freshness, place S’mores Cookie Cups in the fridge for up to 5 days. Just remember to allow them to come back to room temperature before indulging for the best taste.
Freezer: To freeze, wrap each cookie cup tightly in plastic wrap and place them in a freezer bag. They’ll stay fresh for up to 3 months. Thaw in the fridge overnight before enjoying!
Reheating: If you prefer your S’mores Cookie Cups warm, pop them in the microwave for 10-15 seconds. This will soften the chocolate and bring back that gooey, delightful experience.
S’mores Cookie Cups Recipe FAQs
How can I tell if my ingredients (like butter) are fresh enough?
Absolutely! For butter, check that it’s soft but not overly greasy. It should smell creamy, not sour. If you're unsure about your baking soda, a quick test is to mix 1 teaspoon with vinegar; if it bubbles vigorously, it's still good!
What’s the best way to store leftover S’mores Cookie Cups?
Very! Store your S’mores Cookie Cups in an airtight container at room temperature for up to 3 days. If you want to extend their freshness, refrigerate them for up to 5 days. Allow them to warm to room temperature for a delightful taste before enjoying each bite.
Can I freeze S’mores Cookie Cups for later?
Absolutely! To freeze, wrap each cooled S’mores Cookie Cup tightly in plastic wrap and place them in a freezer bag. They’ll stay fresh for up to 3 months. When you're ready to enjoy, simply thaw them in the fridge overnight. For a freshly-baked experience, warm them briefly in the microwave.
Why are my S’mores Cookie Cups flat or spreading too much?
The more the merrier! If your cookie cups are flat, it may be due to softened butter that was too warm or not enough flour. Ensure your butter is softened but still cool, and measure your flour accurately. If needed, chill the dough for about 15-30 minutes before baking to help them maintain their shape.
Are S’mores Cookie Cups suitable for people with nut allergies?
Absolutely! As written, these S’mores Cookie Cups are nut-free. However, if you plan to add nuts or substitute ingredients, always double-check if anyone has nut allergies. You can easily swap chocolate chips for a nut-free alternative if desired!
Delicious S’mores Cookie Cups for Easy Homemade Treats
Equipment
- mini muffin pan
- Electric mixer
- Mixing bowls
- Spatula
Ingredients
For the Dough
- 1 cup unsalted butter softened
- 1 cup granulated sugar
- 1 cup packed brown sugar
- 2 large eggs
- 1 teaspoon vanilla extract
- 2.5 cups all-purpose flour
- 1 teaspoon baking soda
- 0.5 teaspoon salt
For the Fillings
- 1 cup milk chocolate chips for melting
- 8 squares graham cracker for crust
- 8 large marshmallows halved
Instructions
Step‑by‑Step Instructions for S’mores Cookie Cups
- Preheat your oven to 350°F (175°C) and lightly grease a mini muffin pan.
- Cream together unsalted butter, granulated sugar, and packed brown sugar until light and fluffy for 3-5 minutes.
- Incorporate eggs one at a time, mixing well after each. Add vanilla extract and blend until just combined.
- In a separate bowl, whisk together all-purpose flour, baking soda, and salt. Slowly add this to the wet mixture until just combined.
- Fold in milk chocolate chips into the cookie dough gently using a spatula.
- Press graham cracker pieces into the bottom of each muffin well to form a crust.
- Scoop the cookie dough into each muffin well, filling them about two-thirds full and shaping them into cups.
- Bake for about 10 minutes or until edges are golden brown. Keep an eye on them as oven temperatures vary.
- Remove from the oven and place a half of a large marshmallow on top of each cookie cup.
- Return to the oven on the broil setting for 1-2 minutes until marshmallows are toasted. Watch closely to avoid burning.
- Let cool in the pan for 5 minutes before transferring to a wire rack.
- Allow to cool completely on the wire rack before serving.
Leave a Reply