
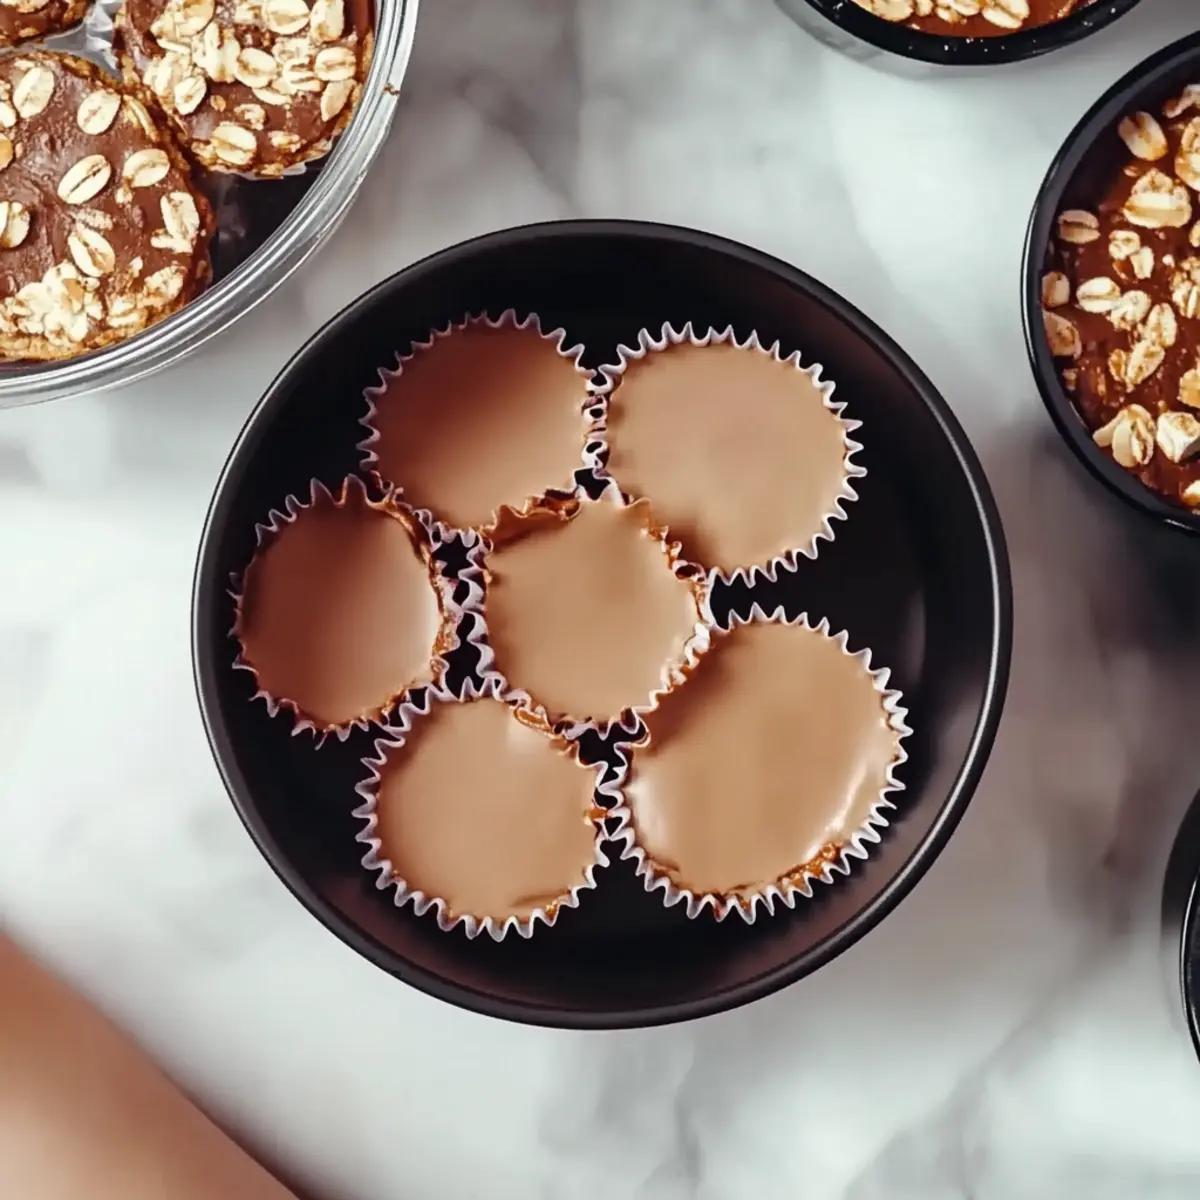
As I opened my pantry door, the sweet aroma of peanut butter whisked me back to carefree childhood days filled with snacks made by my mom. This simple, familiar essence led me to my latest creation: No Bake Peanut Butter Oat Cups. In just 10 minutes of prep time, I transformed basic pantry staples into these delightful, chewy treats that are perfect for busy days or a quick evening indulgence. Not only are these cups incredibly easy to make, but they also pack a wholesome punch with oats and honey that satisfy cravings without the guilt. So, are you ready to dive into this delicious no-bake adventure? Let's get started!
Why Are These Oat Cups Irresistible?
Quick Preparation: In just 10 minutes, you can whip up a batch of these delightful treats. Perfect for busy schedules or last-minute cravings!
Wholesome Ingredients: Made from peanut butter, oats, and honey, they’re not just tasty but also keep you fueled throughout the day.
Chocolaty Goodness: The addition of chocolate chips adds the perfect sweetness, turning these cups into a delightful treat that satisfies any sweet tooth.
Versatile Snack: Enjoy them as an energizing breakfast, post-workout snack, or a guilt-free dessert! You can easily customize them by swapping in your favorite mix-ins or add-ins for a unique spin on this classic.
Crowd-Pleasing: Whether you’re serving them at a party or just at home, everyone will love their chewy texture and rich flavor! These No Bake Peanut Butter Oat Cups are sure to impress, so why not pair them with a refreshing smoothie from our collection of smoothie recipes for a complete snack experience?
No Bake Peanut Butter Oat Cups Ingredients
For the Base
• Peanut Butter – A creamy or crunchy variety will work wonders in creating that rich flavor.
• Honey – This natural sweetener adds stickiness and sweetness; maple syrup is a great vegan alternative!
• Vanilla Extract – A splash of vanilla elevates the flavor, making each bite more aromatic.
For the Oats
• Rolled Oats – These give the cups their hearty texture; quick oats can be used in a pinch, but you'll lose some chewiness!
For the Sweetness
• Chocolate Chips – Semi-sweet or dark chocolate adds a delightful indulgence; feel free to swap for dried fruits for a healthier twist.
For Binding
• Milk – Any type of milk will help combine the ingredients and create that sticky consistency necessary for forming the cups.
These delightful No Bake Peanut Butter Oat Cups are just a few ingredients away—let’s make magic happen in your kitchen!
Step‑by‑Step Instructions for No Bake Peanut Butter Oat Cups
Step 1: Combine the Base Ingredients
In a medium-sized mixing bowl, add 1 cup of peanut butter, ¼ cup of honey, and 1 teaspoon of vanilla extract. Using a sturdy spatula, mix these ingredients together until they form a smooth, creamy consistency that's well blended, taking about 2-3 minutes. You want a uniform mixture without any lumps.
Step 2: Incorporate the Oats
Next, stir in 2 cups of rolled oats to the peanut butter mixture. Use your spatula to fold the oats into the mixture, ensuring that each oat is evenly coated with the peanut butter blend. This step is crucial as it builds the cup's texture, which should feel thick and sticky, taking another couple of minutes.
Step 3: Add Chocolate Chips
Now, fold in ¼ cup of chocolate chips gently into your oat mixture. Make sure they are distributed evenly throughout, offering a sweet touch in every bite. The chocolate should be surrounded by the thick mixture, making it feel like a delightful treasure in your No Bake Peanut Butter Oat Cups.
Step 4: Pour in the Milk
To help bring everything together, pour in ¼ cup of milk while stirring the mixture continuously. This will create a more cohesive, sticky batter that holds its shape. Aim for a consistency that feels thick yet pourable, which usually takes about 1-2 minutes of stirring.
Step 5: Prepare the Muffin Tin
Line a muffin tin with paper liners or lightly grease each cup to prevent sticking. Ensuring that the tin is prepped will make removing your No Bake Peanut Butter Oat Cups much easier after they set. This step takes just a minute, but it makes a big difference in cleanup later!
Step 6: Fill the Muffin Tin
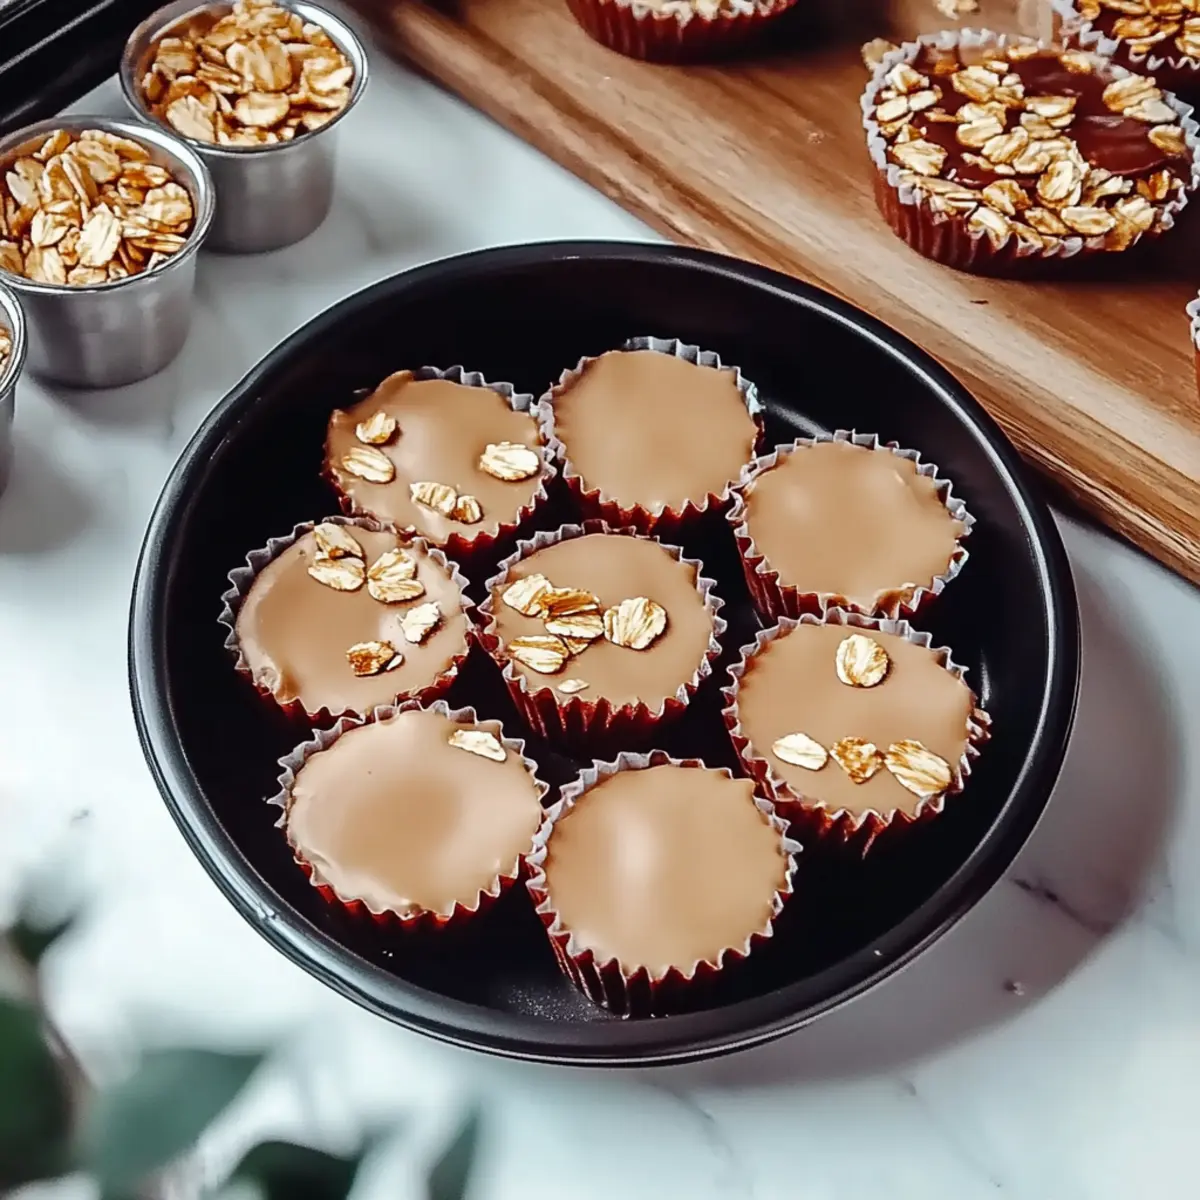
Using a spoon, carefully scoop the mixture into each muffin cup, ensuring you divide it evenly. Each cup should be filled to the top, creating a nice, rounded shape. This process should take about 3-5 minutes, so be patient and make sure each cup looks appetizing.
Step 7: Press Down Tightly
With the back of a spoon, firmly press the mixture down into each muffin cup. This compaction ensures that your No Bake Peanut Butter Oat Cups hold their shape once set. Take a minute to smooth the tops, making them even and nice-looking for when you serve.
Step 8: Chill the Cups
Place your filled muffin tin in the refrigerator and allow it to chill for at least 1 hour. This time will help firm them up to a satisfying firmness, making them easier to remove later. Check back after the hour; they should feel solid and not soft to the touch.
Step 9: Remove from the Muffin Tin
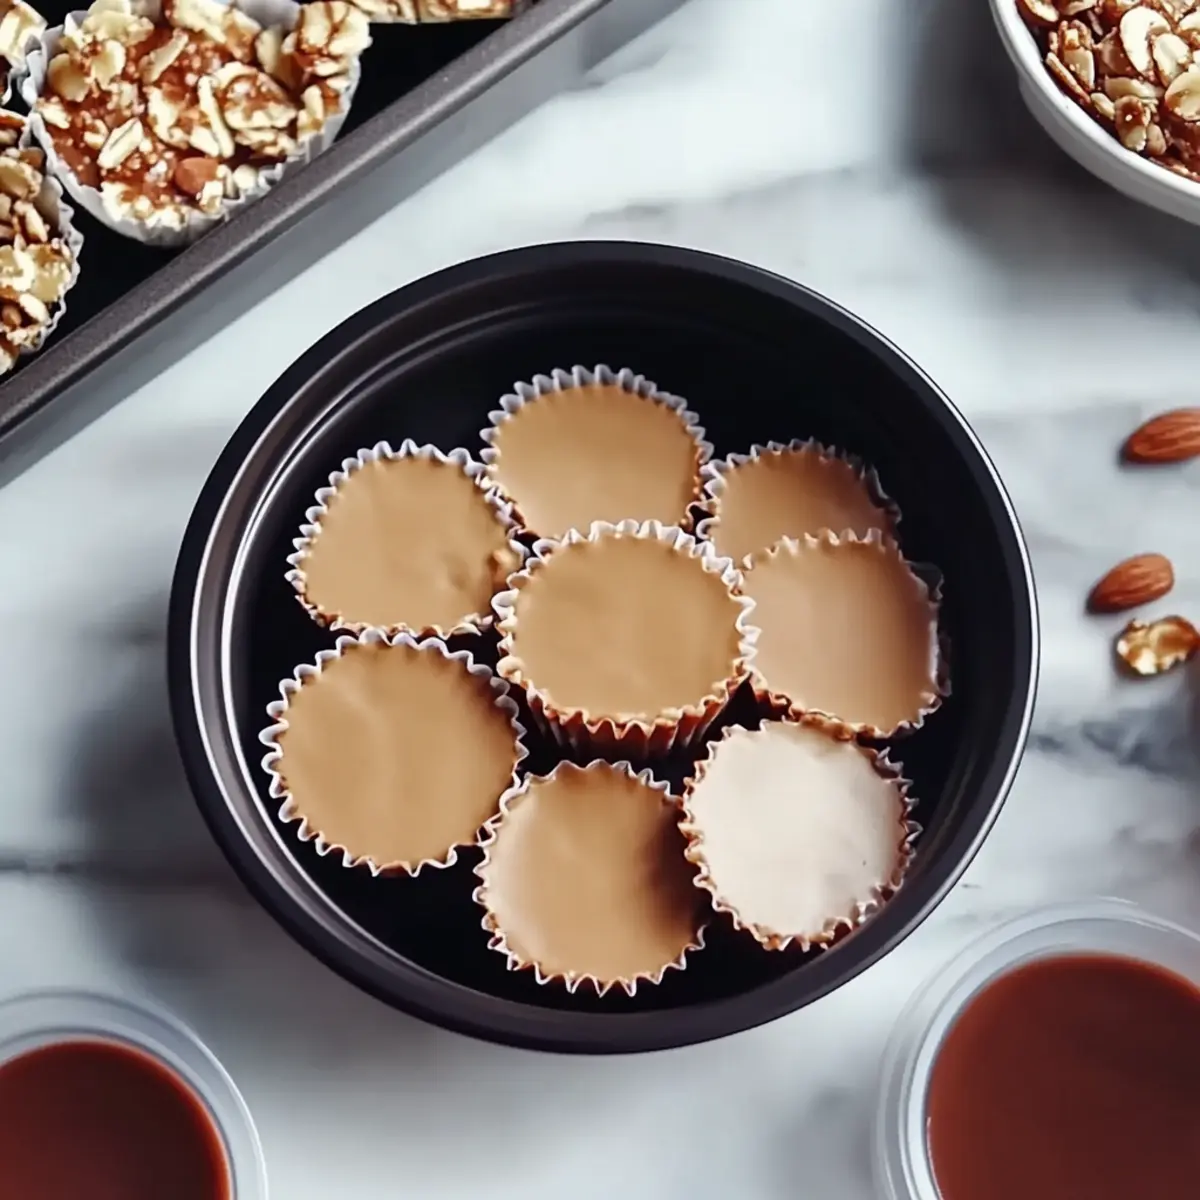
Once chilled and firm, it's time to remove the cups from the muffin tin. Carefully peel off the paper liners, if used, and gently pop each cup out. Your No Bake Peanut Butter Oat Cups should hold their shape perfectly—this is where the anticipation pays off!
Step 10: Store and Enjoy
Store your delicious No Bake Peanut Butter Oat Cups in an airtight container kept in the refrigerator. They can last for up to a week, so you’ll have a tasty snack ready for busy days or sweet cravings. Enjoy these wholesome treats as a guilt-free snack whenever you need a little pick-me-up!
How to Store and Freeze No Bake Peanut Butter Oat Cups
Fridge: Store your delicious No Bake Peanut Butter Oat Cups in an airtight container in the refrigerator for up to 1 week. They’ll stay fresh and ready for snacking at a moment’s notice!
Freezer: For extended storage, freeze the cups for up to 3 months. Just make sure to wrap each cup individually in plastic wrap or place them in a freezer-safe airtight container.
Thawing: When you're ready to enjoy, simply transfer the frozen cups to the fridge for a few hours or let them sit at room temperature for about 20–30 minutes.
Reheating: If you like them warm, pop a cup in the microwave for about 10 seconds to enjoy that melty, comforting taste!
No Bake Peanut Butter Oat Cups Variations
Feel free to spice up your No Bake Peanut Butter Oat Cups with these fun and delicious twists!
-
Nutty Crunch: Add ½ cup of chopped nuts for a satisfying crunch. Almonds or walnuts work beautifully! These nuts will complement the creamy peanut butter, adding flavor and texture to each bite.
-
Coconut Delight: Stir in ½ cup of shredded coconut for a tropical flair. The coconut adds a subtle sweetness while also enhancing the chewy texture—perfect for a sunny treat!
-
Fruity Flair: Incorporate ¼ cup of dried fruit like cranberries or raisins for a natural sweetness boost. Not only do they add flavor, but they also offer a little chewiness that pairs perfectly with the oats!
-
Protein Power: Mix in ¼ cup of your favorite protein powder to elevate the nutritional profile. The added protein makes these cups even more satisfying for post-workout recovery.
-
Chocolate Lovers: For an indulgent twist, use chocolate peanut butter instead of regular peanut butter. This adds a rich chocolate flavor that chocolate lovers will adore.
-
Spicy Kick: Add a pinch of cayenne pepper or a dash of cinnamon for a hint of warmth. These spices lend complex flavors that create a delightful surprise in every bite!
-
Vegan Version: Swap honey for maple syrup and use plant-based milk to keep it vegan-friendly. You can enjoy the same great taste while catering to dietary preferences!
For an extra treat, serve these cups with a side of fresh fruit or a creamy yogurt dip. They make the perfect addition to a wholesome breakfast or a delicious snack! If you're looking for more refreshing options, our smoothie recipes are a great place to find inspiration for pairing.
What to Serve with No Bake Peanut Butter Oat Cups
As you savor these delightful treats, think about creating a feast of flavors and textures that will bring joy to your table.
-
Creamy Yogurt Parfait: Layer with yogurt and fresh fruit for a refreshing contrast to the chewy oat cups; perfect for breakfast or a healthy snack!
-
Fresh Fruit Salad: A mix of citrus and berries brightens your meal, adding a tangy finish that complements the rich sweetness of the oats.
-
Nutty Trail Mix: Combine nuts, seeds, and dried fruits to create a crunchy contrast that enhances the soft texture of the oat cups, making each bite exciting.
-
Chocolate Smoothie: A silky chocolate smoothie pairs delightfully for that ultimate chocolate lover experience, balancing the flavor of the peanut butter beautifully.
-
Oatmeal Cookie Ice Cream Sandwiches: Take your dessert game up a notch by serving frozen treats between cookies, combining the chewy oat flavor with creamy softness.
-
Herbal Tea or Coffee: Relax with a warm cup; the earthy notes of tea or rich coffee enhance the nutty flavor of the oat cups, making your snack time cozy.
-
Vanilla Ice Cream: A scoop adds indulgence to the oat cups, creating a blissful fusion of flavors and temperatures that’s hard to resist.
-
Chocolate Dipping Sauce: Serve with a side of warm chocolate sauce for an interactive treat, allowing guests to dip the oat cups for an even more decadent experience.
These thoughtful pairings not only elevate your No Bake Peanut Butter Oat Cups but create a memorable culinary experience that everyone will love!
Make Ahead Options
These No Bake Peanut Butter Oat Cups are perfect for busy home cooks looking to save time! You can prepare the mixture up to 24 hours in advance by following the initial steps through Step 5, then cover the muffin tin and refrigerate. This method allows the flavors to meld beautifully while preventing the oats from browning. When you're ready to serve, simply finish by pressing the mixture into the muffin cups (Step 6-8) and chilling them for an hour to firm up. Stored in an airtight container in the fridge, they'll stay fresh and delicious for up to a week, ensuring you have a delightful snack ready whenever cravings hit!
Expert Tips for No Bake Peanut Butter Oat Cups
-
Ingredient Quality: Use natural peanut butter and raw honey for an authentic taste, avoiding added sugars and preservatives.
-
Chill Time Matters: Don’t rush the chilling process; allowing the cups to set for at least an hour ensures they hold their shape when removed.
-
Avoid Dry Mixture: If your mixture feels too crumbly, add a splash more milk until it reaches the desired sticky consistency.
-
Customizable Mix-ins: Experiment with different mix-ins like nuts or dried fruits, but maintain the balance of oats and peanut butter for the best No Bake Peanut Butter Oat Cups.
-
Storage Tip: Keep them stored in an airtight container to maintain freshness; they can last up to a week, but they'll likely disappear sooner!
No Bake Peanut Butter Oat Cups Recipe FAQs
How do I choose the right peanut butter for my oat cups?
Absolutely! When selecting peanut butter, look for natural varieties that have minimal ingredients—ideally just peanuts and salt. This helps avoid unnecessary sugars and oils. Creamy peanut butter creates a smooth texture, while crunchy adds enjoyable bits.
How long can I store No Bake Peanut Butter Oat Cups in the fridge?
These delightful oat cups can be stored in an airtight container in the refrigerator for up to 1 week. Just make sure they are well sealed to prevent them from drying out!
Can I freeze No Bake Peanut Butter Oat Cups? What’s the best way?
Yes, you can freeze these cups for up to 3 months! To freeze, wrap each cup individually in plastic wrap and place them in a freezer-safe airtight container. This prevents freezer burn and keeps them fresh. When you’re ready to enjoy, simply let them thaw in the fridge for a few hours or at room temperature for about 20-30 minutes.
What do I do if my mixture is too dry and crumbly?
Don’t worry! If your mixture feels a bit dry, just add a splash of milk (about 1 tablespoon at a time) until you reach a thick yet sticky consistency. Stir well to incorporate the milk, and ensure the oats are fully coated; this step is essential for the texture.
Are there any dietary restrictions I should consider?
Very! These No Bake Peanut Butter Oat Cups are naturally gluten-free if you use certified gluten-free oats. For nut allergies, you can substitute peanut butter with sunbutter or another nut-free alternative. Additionally, if you're vegan, opt for maple syrup instead of honey!
How can I customize the flavor of my oat cups?
The more the merrier! You can mix and match different mix-ins like chopped nuts, various dried fruits, or even seeds such as chia or flax for added nutrition. Just maintain the base ratio of oats to peanut butter to keep the structure intact while adding your personal twist!
Delicious No Bake Peanut Butter Oat Cups for Easy Snacking
Equipment
- Mixing bowl
- Spatula
- muffin tin
Ingredients
For the Base
- 1 cup peanut butter creamy or crunchy variety
- ¼ cup honey natural sweetener
- 1 teaspoon vanilla extract
For the Oats
- 2 cups rolled oats quick oats can be used in a pinch
For the Sweetness
- ¼ cup chocolate chips semi-sweet or dark
For Binding
- ¼ cup milk any type of milk
Instructions
Step-by-Step Instructions for No Bake Peanut Butter Oat Cups
- In a medium-sized mixing bowl, add peanut butter, honey, and vanilla extract. Mix until smooth and creamy, about 2-3 minutes.
- Stir in rolled oats to the peanut butter mixture and fold until each oat is evenly coated, about 2 minutes.
- Fold in chocolate chips gently until distributed evenly throughout the mixture.
- Pour in the milk while stirring to create a thick yet pourable batter, about 1-2 minutes.
- Line a muffin tin with paper liners or grease each cup to prevent sticking.
- Scoop the mixture into each muffin cup, filling to the top and creating a rounded shape, about 3-5 minutes.
- Press the mixture down firmly into each muffin cup to hold its shape.
- Place the filled muffin tin in the refrigerator to chill for at least 1 hour.
- Once firm, remove cups from the muffin tin and peel off paper liners if used.
- Store in an airtight container in the refrigerator for up to a week.
Leave a Reply