
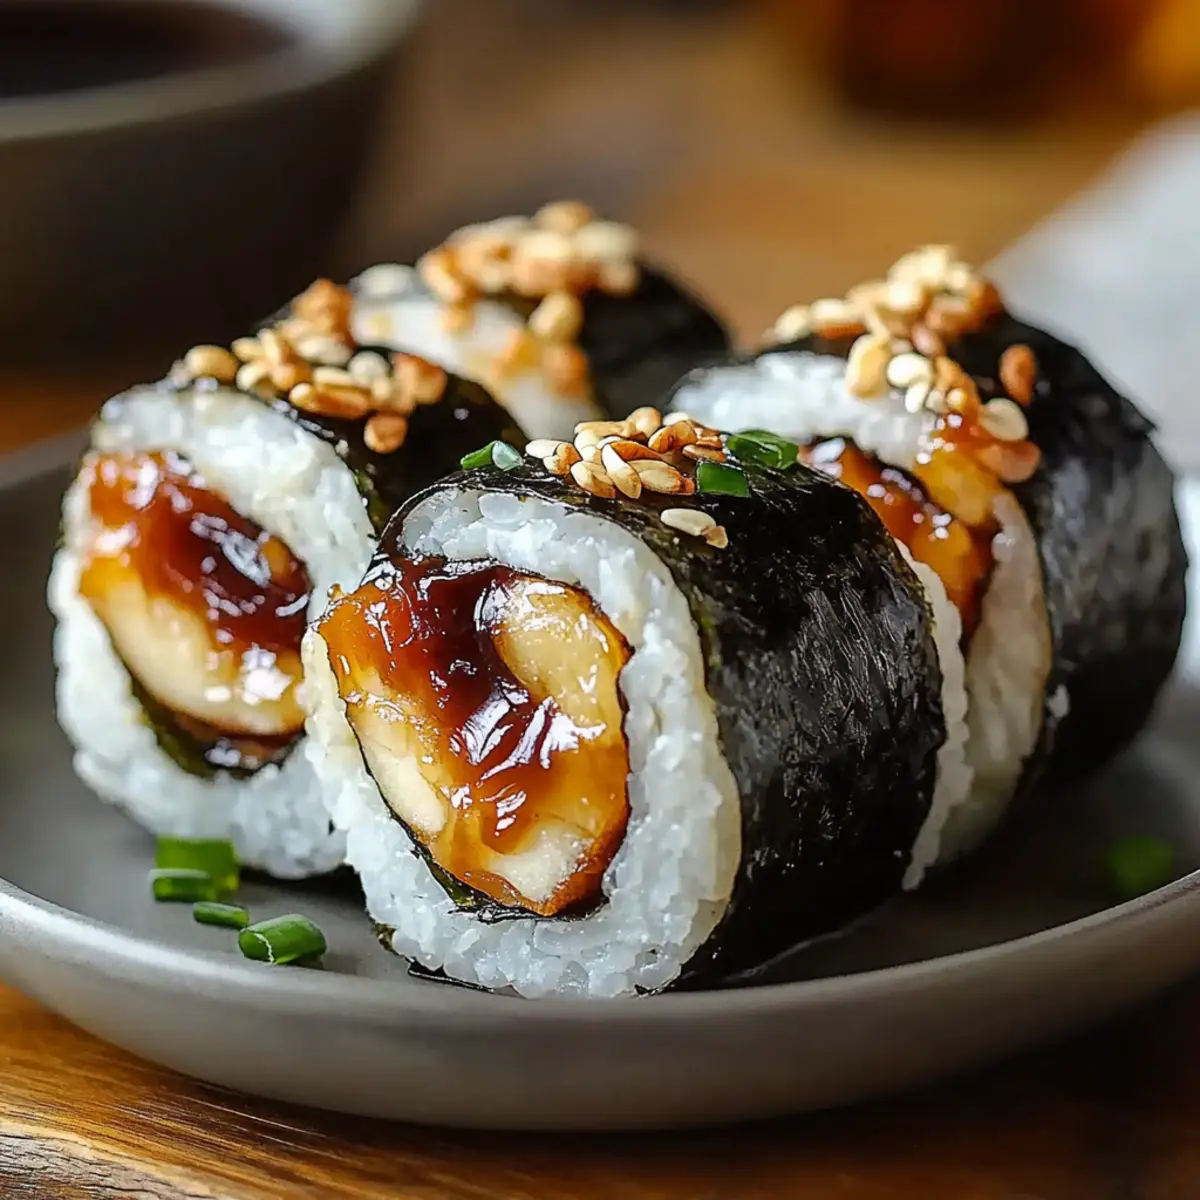
As I stood in my kitchen, the fragrant aroma of warm sushi rice filled the air, transporting me straight to my favorite sushi bar. The beauty of Chicken Onigiri lies in its simplicity and charm; it’s perfect for anyone seeking a delightful twist on a classic dish. This recipe not only allows for a quick prep time—making it a fantastic weeknight dinner choice—but it also transforms leftover chicken into something extraordinary. With just a few ingredients and a little creativity, you can create these hand-shaped rice balls that are irresistible to both kids and adults alike. Best of all, they’re easy to customize, offering endless possibilities. Ready to roll up your sleeves and impress your family with this mouthwatering Chicken Onigiri? Let’s dive in!
Why is Chicken Onigiri a Must-Try?
Flavor Explosion: The savory combination of tender chicken, seasoned sushi rice, and umami-packed soy sauce creates a taste sensation that is truly unforgettable.
Quick & Easy: With just 35 minutes from start to finish, this recipe is a perfect choice for busy weeknights—no need to compromise on flavor!
Versatile Delight: You can easily swap the chicken for your favorite proteins, making it a customizable dish everyone can enjoy.
Perfect for Leftovers: Transform your leftover chicken into something unique, reducing food waste while delighting your taste buds.
Fun to Make: Shaping these onigiri is a great way to involve the family in the kitchen, making cooking a memorable experience.
Crowd Pleaser: These charming rice balls are sure to impress friends and family, making them a delightful addition to any gathering. If you love unique homemade food, don't miss checking out other innovative recipes!
Chicken Onigiri Ingredients
For the Rice
- Sushi rice – This is the key to achieving that perfect sticky texture for your Chicken Onigiri.
- Water – Essential for cooking the rice properly; the exact amount can vary based on your rice cooker.
- Salt – Adds a subtle flavor enhancement to the rice.
- Rice vinegar – Balances the richness of the dish with a hint of acidity.
- Sugar – Helps to round out the flavors and gives a hint of sweetness.
For the Filling
- Cooked chicken – Shredded chicken brings protein and a delicious heartiness to your onigiri.
- Soy sauce – Adds depth and umami to the chicken filling; consider low-sodium variations if desired.
- Sesame oil – Introduces a nutty aroma that complements the other ingredients beautifully.
Optional Wrapping
- Nori sheets – Provides a delightful texture and flavor contrast, making your Chicken Onigiri even more delightful.
Step‑by‑Step Instructions for Chicken Onigiri
Step 1: Rinse the Rice
Begin by rinsing 2 cups of sushi rice under cold water in a fine-mesh sieve until the water runs clear. This crucial step removes excess starch and prepares the rice for cooking. Allow the water to drain completely before proceeding to the next step.
Step 2: Cook the Rice
Combine the rinsed sushi rice and 2 ½ cups of water in your rice cooker. Cook according to the manufacturer's instructions until the rice is tender and has absorbed all the water, usually about 15-20 minutes. Once cooked, the rice should appear slightly sticky and glossy.
Step 3: Rest the Rice
After cooking, let the rice rest for 10 minutes in the closed rice cooker. This allows the remaining steam to finish the cooking process. Once the time is up, transfer the rice to a large bowl to begin seasoning it.
Step 4: Season the Rice
Sprinkle 1 teaspoon of salt, 1 tablespoon of rice vinegar, and 1 tablespoon of sugar over the warm rice, using a wooden spatula to gently fold and mix everything together. The rice should have a glossy appearance, and the seasoning should be evenly distributed as it cools.
Step 5: Prepare the Chicken Filling
In a separate bowl, combine 1 cup of shredded cooked chicken, 2 tablespoons of soy sauce, and 1 tablespoon of sesame oil. Mix well until the chicken is coated with the sauce, enhancing its flavor. This savory filling will be the heart of your Chicken Onigiri.
Step 6: Shape the Onigiri
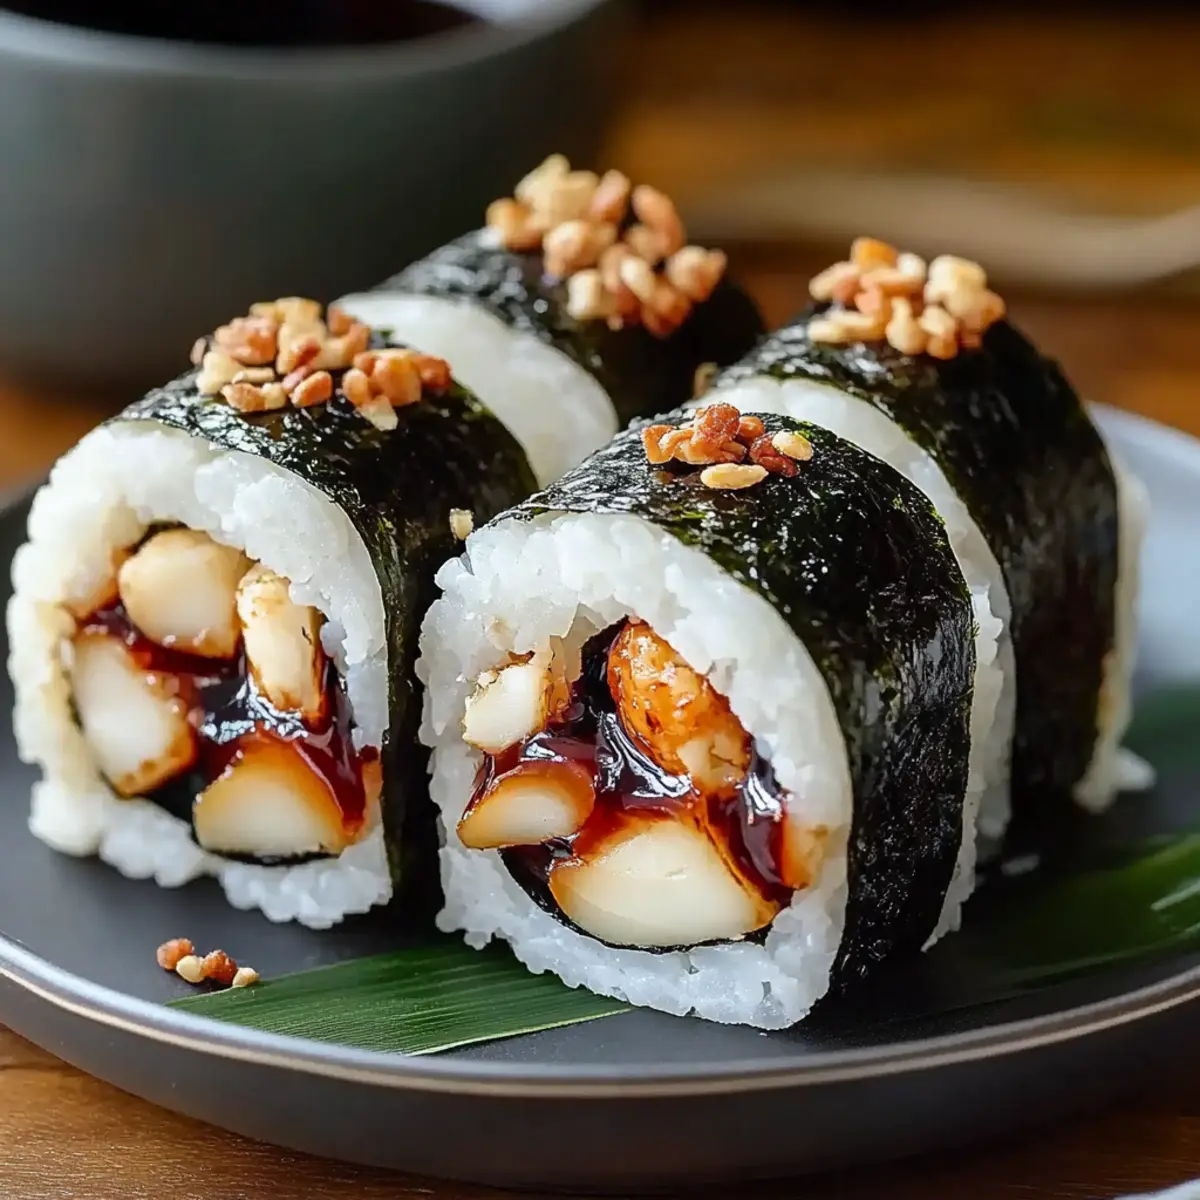
Once the rice cools to a manageable temperature, wet your hands with water to prevent sticking. Take a small portion of rice, flatten it in your palm, and place a spoonful of the chicken mixture in the center. Mold the rice around the filling, shaping it into a ball or triangle.
Step 7: Repeat Shaping
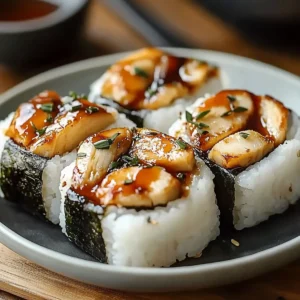
Continue the shaping process with the remaining rice and chicken filling, gently compressing each portion to ensure they hold together well. You should make about 7 rice balls, each bursting with delicious Chicken Onigiri goodness, ready to be enjoyed.
Step 8: Wrap with Nori (Optional)
If using nori, cut the sheets into strips. Wrap each Chicken Onigiri with a strip for added texture and flavor. This step is optional, but it adds a delightful crunch and keeps the rice balls neat for serving. Your beautiful Chicken Onigiri is now ready!

What to Serve with Chicken Onigiri
Elevate your homemade meal experience with these delightful sides that will complement your Chicken Onigiri perfectly.
-
Miso Soup: A warm bowl of miso soup adds a comforting, savory element that pairs beautifully with the rice balls. This classic soup enhances the meal's overall umami flavors.
-
Pickled Vegetables: Crunchy and tangy pickled vegetables bring brightness and contrast, balancing the richness of the chicken filling. Their vibrant colors make your plate pop!
-
Steamed Edamame: Lightly salted edamame offers a fun, healthy snack that also complements the flavors of onigiri. Pop these green pearls right out of their pods for added texture.
-
Japanese Salad: A crisp salad with sesame dressing introduces fresh greens and a nutty flavor profile. The crunchy elements are a delightful contrast to the rice balls.
-
Tempura Vegetables: Serve up some crispy tempura as a side; the airy, light batter provides a satisfying crunch that pairs well with the other textures.
-
Green Tea: A light, refreshing cup of green tea cleanses the palate and enhances the flavors in your meal. Its subtle bitterness balances the sweetness of the rice.
-
Fruit Platter: End on a sweet note with a seasonal fruit platter; the natural sugars provide a refreshing finish to your savory meal. Choose fruits like juicy melon, strawberries, and oranges to delight your taste buds.
-
Pocky Sticks: For a fun dessert option, serve chocolate or matcha Pocky as a sweet treat; their crunchy nature adds a playful crunch to your meal. A lively finish!
How to Store and Freeze Chicken Onigiri
Fridge: Place any leftover Chicken Onigiri in an airtight container; they will keep fresh for up to 3 days. Avoid wrapping them in nori until ready to eat.
Freezer: To freeze, wrap individual onigiri tightly in plastic wrap, then place them in a freezer-safe bag. They can last for up to 1 month in the freezer.
Reheating: To reheat, thaw in the fridge overnight, then microwave for 30-60 seconds, or enjoy them cold for a refreshing twist.
Avoid Moisture: Always ensure the onigiri cool completely before refrigerating or freezing to prevent sogginess and maintain their delicious texture.
Chicken Onigiri Variations
Feel free to get creative with your Chicken Onigiri—your taste buds will thank you for the adventure!
-
Spicy Twist: Add sriracha or chili paste to the chicken filling for a spicy kick that energizes every bite.
-
Vegetarian Option: Swap the chicken with grilled avocado or sautéed mushrooms for a flavorful, meat-free alternative that's equally satisfying.
-
Nutrient Boost: Mix in finely chopped vegetables like spinach or carrots into the rice for an extra crunch and a colorful plate—I promise it adds a fresh twist!
-
Herb Infusion: Sprinkle fresh herbs like cilantro or green onions into the rice before shaping to elevate the flavor profile with fresh brightness.
-
Furikake Finish: Top your Chicken Onigiri with furikake, a Japanese rice seasoning, for an umami uplift that makes each bite even more irresistible.
-
Sour Surprise: Incorporate pickled vegetables into the filling for a tangy zest that complements the savory chicken beautifully.
-
Savory Miso: Mix miso paste with the chicken for a rich, savory filling that introduces a delightful new flavor to your onigiri experience—an absolute treat!
-
Coconut Rice: Use coconut milk instead of water for cooking the rice, resulting in a wonderfully creamy texture and a hint of tropical flavor to warm your soul.
For more vibrant ideas, consider checking out our delightful recipe for [Sushi Roll Variations](internalLink) or explore the delights of [Customizable Elotes](internalLink)! Your creative culinary journey awaits!
Expert Tips for Chicken Onigiri
Wash Your Rice: Rinsing sushi rice thoroughly before cooking is essential to remove excess starch, leading to the perfect sticky texture in your Chicken Onigiri.
Let it Rest: Don’t skip the resting period after cooking; allowing the rice to rest for 10 minutes helps it become fluffier and enhances the flavor.
Moisten Hands: Wet your hands before handling the rice to prevent sticking, making shaping the Chicken Onigiri much easier and more enjoyable.
Check Seasoning: Adjust salt, sugar, and vinegar to your taste—this is your chance to personalize the flavor profile of your rice.
Experiment with Fillings: Don't hesitate to swap chicken for other proteins like tuna or tofu, keeping your Chicken Onigiri fresh and exciting every time.
Storing Tips: If you have leftovers, store them in an airtight container in the refrigerator but avoid wrapping them in nori until you're ready to eat for maximum freshness.
Make Ahead Options
These Chicken Onigiri are a dream come true for meal prep enthusiasts! You can prepare the seasoned sushi rice up to 24 hours in advance—just store it in an airtight container in the refrigerator to keep it fresh and prevent it from drying out. Additionally, you can mix together the chicken filling (shredded chicken with soy sauce and sesame oil) and refrigerate it for up to 3 days. When you're ready to enjoy your onigiri, simply shape the rice and filling into balls or triangles, and if desired, wrap them with nori right before serving. This way, you’ll delight in perfectly delicious Chicken Onigiri, ready to impress your family with minimal effort!
Chicken Onigiri Recipe FAQs
How do I select the best sushi rice for my Chicken Onigiri?
Absolutely! When choosing sushi rice, look for short-grain varieties specifically labeled as sushi rice. This type tends to be stickier than long-grain rice, which is essential for molding the perfect onigiri. A good quality sushi rice will have a glossy finish and a slight aroma.
What’s the best way to store leftover Chicken Onigiri?
For maximum freshness, store any leftover Chicken Onigiri in an airtight container in the fridge. They will keep well for up to 3 days. I recommend avoiding wrapping them in nori until you’re ready to eat, as it can become soggy after a day.
Can I freeze Chicken Onigiri?
Yes, you can freeze your Chicken Onigiri! Here's how: Wrap each onigiri tightly in plastic wrap, ensuring they are well sealed to prevent freezer burn. Then, place them in a freezer-safe bag or container. They can be stored in the freezer for up to 1 month. When it’s time to enjoy them, thaw in the refrigerator overnight before reheating or enjoying them cold.
What should I do if my onigiri crumbles when shaping?
If your Chicken Onigiri is crumbling, it might be due to dry rice. Make sure to wet your hands while shaping, as this helps the rice stick together. Another tip is to ensure that the rice is seasoned and moist enough; adding a touch more water while cooking can help. If they’re still falling apart, try compressing the rice more firmly while shaping to help them hold their shape.
Is Chicken Onigiri safe for pets or people with allergies?
While Chicken Onigiri is delicious for humans, it's best to avoid sharing it with pets. Ingredients like soy sauce and sesame oil can be problematic for some animals. For allergy considerations, be cautious with soy sauce, especially in those with soy allergies. You can use alternatives like coconut aminos for a similar flavor without soy.
How can I customize the filling for my Chicken Onigiri?
Very! The possibilities are endless! You can substitute the chicken with a variety of fillings such as tuna or roasted vegetables for a vegetarian option. For a spicy kick, try adding sriracha or a mix of spicy mayo to the filling. Experimenting with toppings such as avocado or pickled vegetables can also add a fun twist to your Chicken Onigiri!
Delicious Chicken Onigiri: Your New Favorite Flavor Bomb
Equipment
- rice cooker
- Fine Mesh Sieve
- large bowl
- wooden spatula
Ingredients
For the Rice
- 2 cups sushi rice
- 2.5 cups water
- 1 teaspoon salt
- 1 tablespoon rice vinegar
- 1 tablespoon sugar
For the Filling
- 1 cup shredded cooked chicken
- 2 tablespoons soy sauce consider low-sodium variations
- 1 tablespoon sesame oil
Optional Wrapping
- nori sheets for added texture and flavor
Instructions
Step-by-Step Instructions for Chicken Onigiri
- Rinse the rice under cold water until the water runs clear to remove excess starch.
- Combine the rinsed sushi rice and water in your rice cooker and cook until tender.
- Allow the rice to rest in the closed rice cooker for 10 minutes.
- Season the rice with salt, rice vinegar, and sugar, folding gently to combine.
- In a separate bowl, mix shredded chicken with soy sauce and sesame oil.
- Wet your hands, take a small portion of rice, and shape it around the chicken mixture.
- Continue shaping rice balls with the remaining rice and filling, compressing them well.
- If using nori, cut strips and wrap each onigiri before serving.
Leave a Reply