
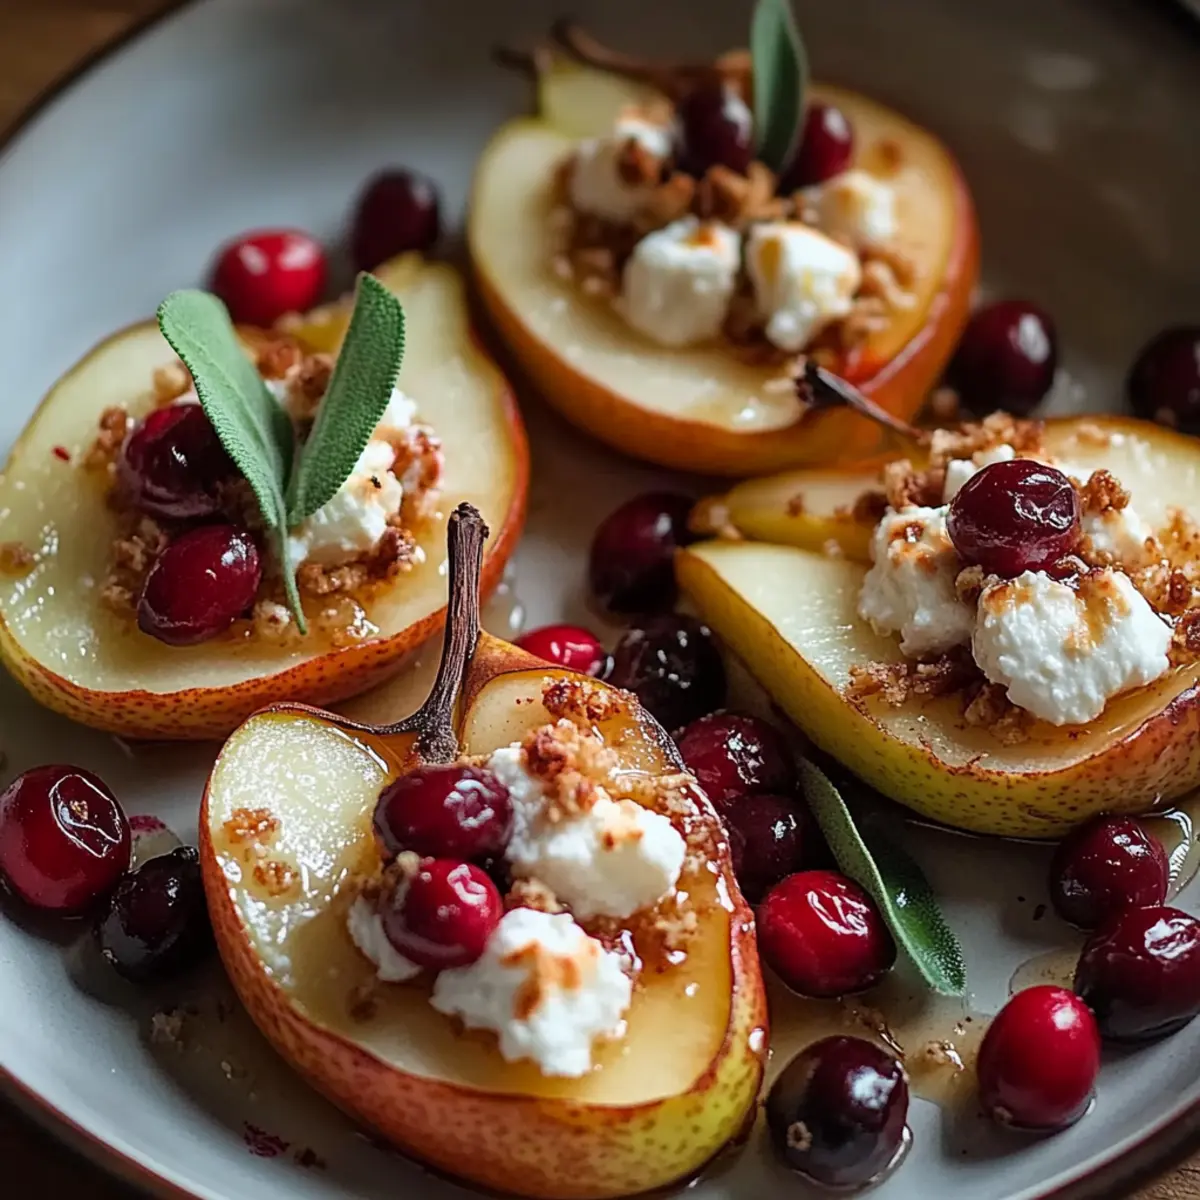
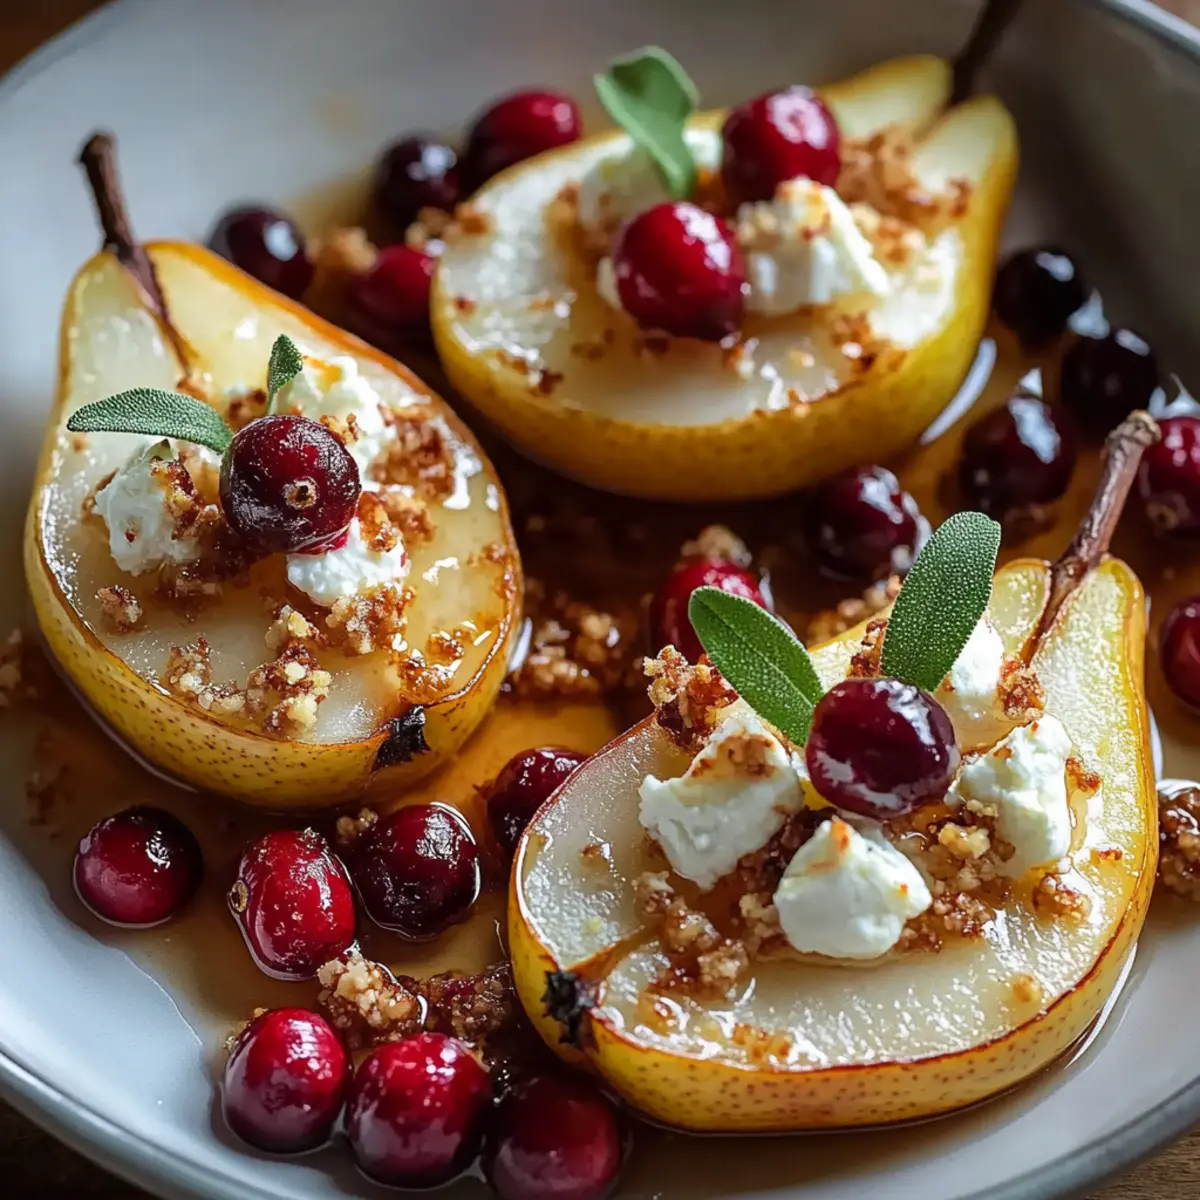
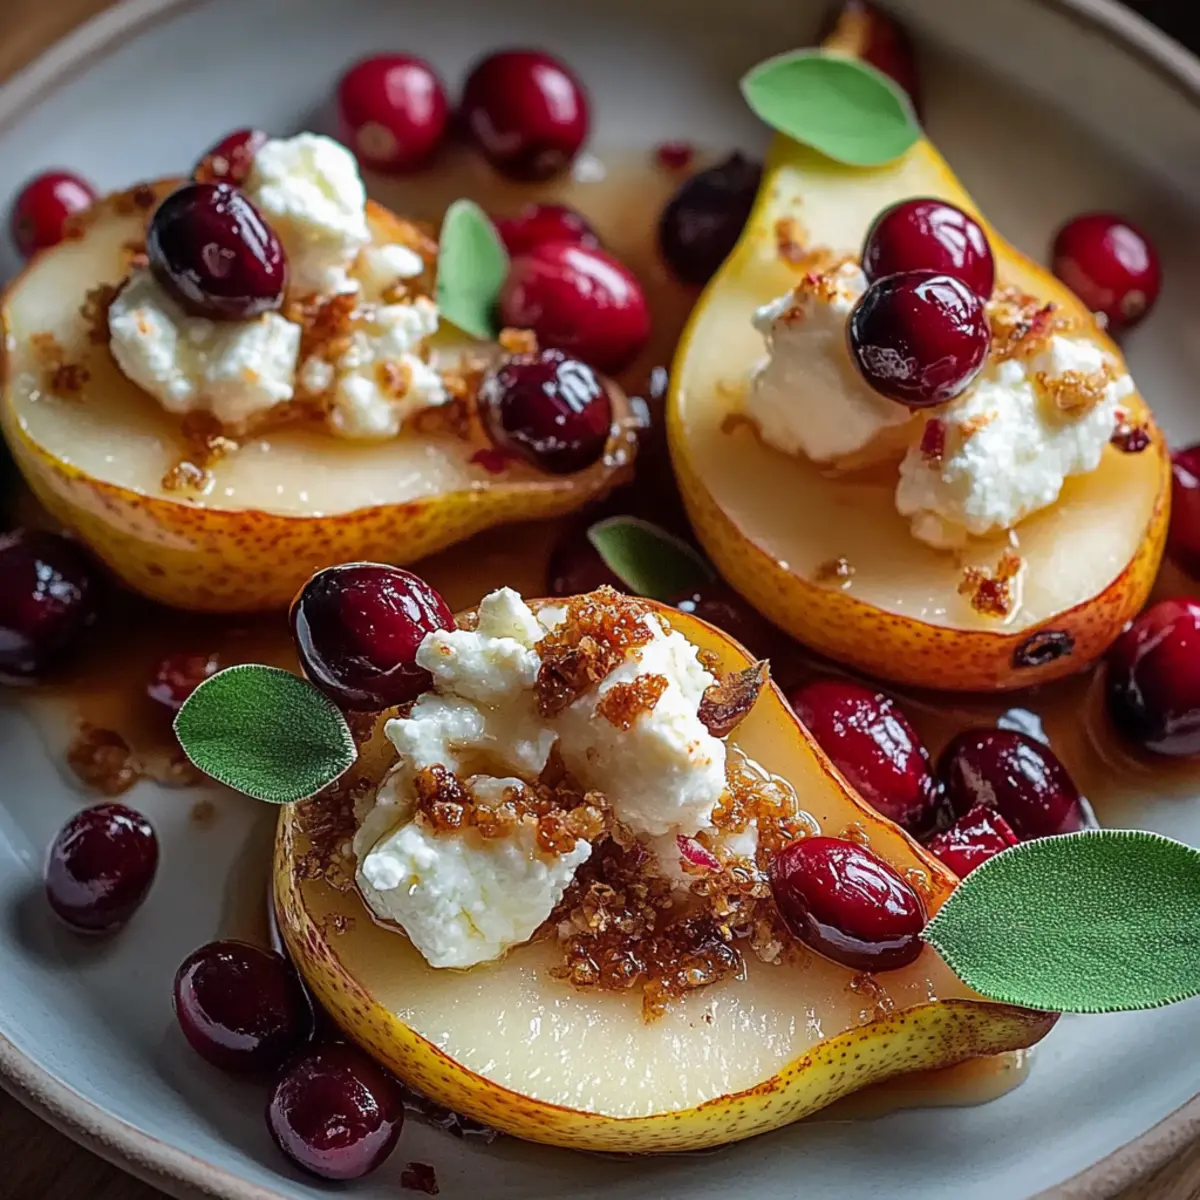
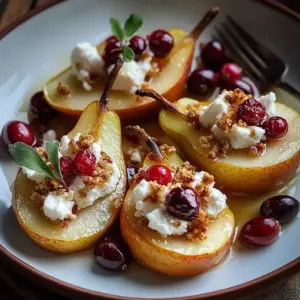
There's something magical about the aroma of baked fruits wafting through the kitchen, and these Baked Pears with Goat Cheese, Honey, and Cranberries are a true reflection of that delight. As I prepared this dish, I was reminded of the simple joy it brings—an elegant yet effortless dessert that feels like a warm hug after a long day. It's perfect for impressing guests or just treating yourself, as it's not only quick to whip up but also a stunning centerpiece for any table. The combination of the sweet, juicy pears with the creamy goat cheese and the tart cranberries creates a harmony that's both indulgent and nutritious. Curious how to make these delightful morsels? Let’s dive into the recipe that will elevate your dessert game!
Why are Baked Pears with Goat Cheese a must-try?
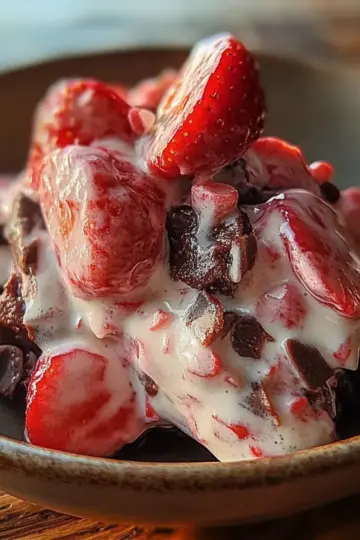
Deliciously unique: This dessert is not your average sweet treat; it's a perfect blend of flavors that will surprise and delight your taste buds.
Elegant presentation: The warm, caramelized pears topped with creamy goat cheese and vibrant cranberries make for a stunning dish that looks as good as it tastes.
Quick and easy: Prep only takes 15 minutes, making it a fantastic last-minute option for dinner parties or cozy nights in.
Healthy indulgence: Packed with nutritious ingredients, you can enjoy dessert without the guilt, a satisfying choice for health-conscious food lovers.
Versatile topping options: Feel free to customize with your favorite nuts or even a drizzle of balsamic reduction for an extra flavor kick. Check out my Baked Parmesan Zucchini or Baked Ziti Cheesy for more delicious options!
Baked Pears with Goat Cheese Ingredients
For the Pears
• Ripe pears – Choose firm, fresh pears to ensure they hold their shape during baking.
For the Filling
• Goat cheese – Softened for easy mixing, it adds a creamy richness that complements the sweetness of the pears.
• Honey – A natural sweetener that enhances the flavors of the baked pears with a touch of warmth.
• Fresh cranberries – Their tartness balances the sweetness of the honey and pears; dried cranberries can be used for convenience.
• Fresh lemon juice – Provides a refreshing zing and helps keep the pears from browning.
• Ground cinnamon – Adds a cozy, warming spice that elevates the overall dish.
• Nutmeg (optional) – A pinch offers an extra layer of warm spice if desired.
For the Toppings
• Chopped walnuts or pecans (optional) – These add a delightful crunch and nutty flavor that contrasts beautifully with the soft pears.
• Fresh mint leaves (optional) – A touch of color and freshness for garnish, making your presentation pop.
Step‑by‑Step Instructions for Baked Pears with Goat Cheese, Honey, and Cranberries
Step 1: Preheat the Oven
Start by preheating your oven to 350°F (175°C) to ensure it's hot and ready for the Baked Pears with Goat Cheese, Honey, and Cranberries. This temperature allows the pears to cook evenly while developing a lovely caramelization on their surfaces.
Step 2: Prepare the Baking Dish
Lightly grease a baking dish with cooking spray or a small amount of butter to prevent the pears from sticking during the baking process. This small step ensures that your delicious dessert glides out easily and stays intact, making it even more appealing when served.
Step 3: Make the Filling
In a mixing bowl, combine the softened goat cheese, honey, fresh lemon juice, ground cinnamon, and nutmeg if you’re using it. Stir until the mixture is smooth and creamy, creating a luscious filling that will complement the sweetness of the pears beautifully.
Step 4: Arrange the Pear Halves
Place the halved pears, cut-side up, in the greased baking dish. This arrangement allows the filling to settle perfectly within each pear half while giving them a prominent position for even baking and easy serving later on.
Step 5: Fill Each Pear
Using a spoon or a small spatula, generously scoop the creamy goat cheese mixture into each pear half, ensuring they're well filled. This creamy filling will warm up and meld with the pears as they bake, creating a scrumptious flavor combination that is simply divine.
Step 6: Add the Cranberries
Scatter the fresh or dried cranberries evenly over the filled pear halves. Their tartness will provide a delightful contrast to the rich goat cheese, enhancing the overall flavor profile of your Baked Pears with Goat Cheese, Honey, and Cranberries.
Step 7: Sprinkle with Nuts (Optional)
If you’re using nuts, now’s the time to sprinkle the chopped walnuts or pecans over the top of the pears. This will add a nice crunch and nutty flavor, which pairs perfectly with the creamy filling and soft fruit.
Step 8: Drizzle with Honey
For an extra touch of sweetness, drizzle a little additional honey over the pears. This step not only amplifies the lovely flavors but also helps create a beautiful glaze as the pears bake, enhancing their appetizing appearance.
Step 9: Bake the Pears
Cover the baking dish with aluminum foil and place it in the preheated oven. Bake for 25 to 30 minutes, or until the pears are tender yet still hold their shape. The foil helps to trap steam and keep the pears juicy while they cook.
Step 10: Brown the Tops
In the last 5 to 10 minutes of baking, remove the foil to allow the tops to brown slightly and develop a beautiful golden hue. This step not only improves the dish’s presentation but also adds a touch of caramelized flavor to the topping.
Step 11: Cool Before Serving
Once they’re out of the oven, let the Baked Pears with Goat Cheese, Honey, and Cranberries cool for a few minutes. This step makes them easier to handle and allows the flavors to settle, enhancing your overall dessert experience.
Step 12: Garnish and Present
Before serving, garnish your pears with fresh mint leaves for a pop of color and an extra hint of freshness. This final touch makes your delightful dessert not only tasty but also visually stunning, perfect for impressing your guests or treating yourself!
What to Serve with Baked Pears with Goat Cheese, Honey, and Cranberries
Building a full meal around these delightful baked pears creates layers of flavor and comfort that will impress any palate.
-
Creamy Mashed Potatoes: These buttery, smooth potatoes add a comforting side that complements the sweetness of the pears beautifully.
-
Roasted Brussel Sprouts: Their earthy flavor and crispy texture contrast perfectly with the creamy goat cheese, enhancing the overall meal experience.
-
Grilled Chicken: A simple, herb-marinated grilled chicken provides a protein punch that balances the sweet notes of the dessert.
-
Arugula Salad: A fresh arugula salad with a zesty lemon vinaigrette adds bright, peppery notes that cut through the richness of the baked pears.
-
Honey-Glazed Carrots: Serve these vibrant, sweet carrots alongside the pears to mirror the honey glaze, creating a cohesive harmony on the plate.
-
Sparkling Apple Cider: The effervescence of sparkling cider pairs beautifully with the dish, offering a refreshing contrast to the warm, rich flavors.
-
Vanilla Ice Cream: A scoop of creamy vanilla ice cream served on the side amplifies the dessert element, making each bite an indulgent treat.
-
Chocolate Drizzle: A drizzle of warm chocolate sauce over the baked pears adds an extravagant touch that chocolate lovers will adore, making it irresistible.
Each pairing not only elevates the baked pears but also transforms your meal into a memorable dining experience, turning an ordinary dinner into a celebration.
Baked Pears with Goat Cheese Variations
Feel free to make these Baked Pears uniquely yours with delicious twists that will make your dessert even more delightful!
- Vegan: Swap goat cheese for a creamy vegan cheese alternative, and use maple syrup instead of honey for sweetness.
- Spiced Up: Add a pinch of cayenne pepper to the goat cheese filling for a surprising kick that beautifully contrasts the sweetness of the pears.
- Nut-Free: Omit the nuts entirely or substitute with pumpkin seeds for a crunch without the allergens, keeping the dish both delicious and safe for everyone.
- Savory Twist: Mix in some crumbled feta cheese with your goat cheese for a tangy, savory flavor that balances the sweetness perfectly.
- Fruit Fusion: Mix in diced fresh apples or a handful of blueberries before baking for additional fruity goodness that adds both flavor and color.
- Wine-Soaked: Drizzle a splash of red wine over the pears before baking; the wine will caramelize and enhance the sweet flavors beautifully.
- Coconut Cream: Replace goat cheese with coconut cream for a tropical twist that adds a rich, creamy dimension. Check out my Baked Cod Coconut for more coconut-inspired ideas!
- Chocolate Drizzle: After baking, drizzle with melted dark chocolate for a decadent touch that truly elevates these delightful pears to a gourmet dessert level.
Let your creativity shine and enjoy experimenting with these variations!
Expert Tips for Baked Pears with Goat Cheese
Choose Ripe Pears: Select firm but ripe pears for the best texture; they should be just slightly soft to the touch.
Control Sweetness: Adjust the honey based on your preference for sweetness and the natural sweetness of the pears.
Avoid Overbaking: Keep an eye on the pears during the last few minutes to prevent them from becoming too mushy; they should hold their shape.
Cool Before Serving: Allow the baked pears to cool slightly after baking, making them easier to handle and enhancing the flavors.
Garnish for Impact: Don’t skip the fresh mint garnish; it adds a lovely color contrast and a refreshing hint that elevates your Baked Pears with Goat Cheese, Honey, and Cranberries!
Make Ahead Options
These Baked Pears with Goat Cheese, Honey, and Cranberries are perfect for meal prep, allowing you to savor the delightful flavors with minimal fuss! You can prepare the filling (goat cheese, honey, lemon juice, and spices) up to 24 hours in advance and store it in an airtight container in the refrigerator. Additionally, you can halve and core the pears a day ahead; just sprinkle them with a little lemon juice to prevent browning. When you're ready to bake, simply fill the pears with the goat cheese mixture, scatter your cranberries and nuts, and proceed with the baking instructions. This makes dinner a breeze, leaving you with radiant dessert results that are just as delicious!
Storage Tips for Baked Pears with Goat Cheese, Honey, and Cranberries
Room Temperature: Allow the baked pears to cool to room temperature before storing. They can be left at room temperature for up to 2 hours.
Fridge: Store any leftovers in an airtight container in the refrigerator for up to 3 days. This ensures they remain fresh and enjoyable for later indulgence.
Freezer: To freeze, wrap the pears tightly in plastic wrap, then place them in a freezer-safe bag. They can be stored for up to 2 months, though the texture may change after freezing.
Reheating: When ready to enjoy, reheat the pears in the oven at 350°F (175°C) for about 10-15 minutes until warmed through. This will help retain the delicious flavors of the Baked Pears with Goat Cheese, Honey, and Cranberries.
Baked Pears with Goat Cheese, Honey, and Cranberries Recipe FAQs
How do I select the perfect pears for this recipe?
Absolutely! Look for firm, ripe pears that yield slightly to gentle pressure. Varieties such as Anjou or Bosc are ideal because they hold their shape well during baking, and their sweetness enhances the overall flavor of the dish.
How should I store any leftover baked pears?
For sure! Allow the baked pears to cool to room temperature. Then, store any leftovers in an airtight container in the fridge for up to 3 days. This method helps keep their texture and flavor intact, ready for a delightful treat later on.
Can I freeze Baked Pears with Goat Cheese, Honey, and Cranberries?
Yes, you can! To freeze, carefully wrap each pear half in plastic wrap, ensuring there’s no air exposure. Place them in a freezer-safe bag or container. They can be frozen for up to 2 months. When you're ready to enjoy them, just reheat in a preheated oven at 350°F (175°C) for about 10-15 minutes until warmed through.
What should I do if my baked pears are too mushy?
Very good question! If your baked pears turn out mushy, next time try slightly underbaking them by a few minutes, or adjust the baking time based on the ripeness of your pears. You want them tender but still holding their shape—aim for that perfect balance to avoid mushy results.
Are these baked pears safe for pets or those with allergies?
If you're looking to share, it's good to note that pears are safe for dogs, but avoid giving them any honey or cheese. For allergies, keep in mind that goat cheese can cause issues for those with dairy allergies. Always check ingredient labels and consult with a healthcare provider if unsure.
Can I customize the toppings for a unique flavor?
The more the merrier! Feel free to experiment with different nuts, like slivered almonds or hazelnuts, or even a drizzle of balsamic reduction for a tangy twist! Each choice will add a unique flair to your Baked Pears with Goat Cheese, Honey, and Cranberries.
Irresistible Baked Pears with Goat Cheese, Honey, and Cranberries
Equipment
- Baking Dish
- Mixing bowl
- Spoon or spatula
Ingredients
For the Pears
- 4 medium Ripe pears Choose firm, fresh pears
For the Filling
- 8 oz Goat cheese Softened
- 3 tablespoon Honey Adjust based on sweetness preference
- 1 cup Fresh cranberries Can use dried for convenience
- 1 tablespoon Fresh lemon juice Helps prevent browning
- 1 teaspoon Ground cinnamon Adds warmth
- 1 pinch Nutmeg Optional
For the Toppings
- ½ cup Chopped walnuts or pecans Optional
- ¼ cup Fresh mint leaves Optional, for garnish
Instructions
Step-by-Step Instructions
- Preheat the oven to 350°F (175°C).
- Lightly grease a baking dish with cooking spray or butter.
- In a mixing bowl, combine goat cheese, honey, lemon juice, cinnamon, and nutmeg.
- Place halved pears cut-side up in the greased dish.
- Fill each pear half with the goat cheese mixture.
- Scatter cranberries over the filled pears.
- Sprinkle nuts over the pears if using.
- Drizzle additional honey over the pears.
- Cover with aluminum foil and bake for 25 to 30 minutes.
- Remove foil in the last 5 to 10 minutes to brown the tops.
- Let cool for a few minutes before serving.
- Garnish with fresh mint leaves before serving.


Leave a Reply