
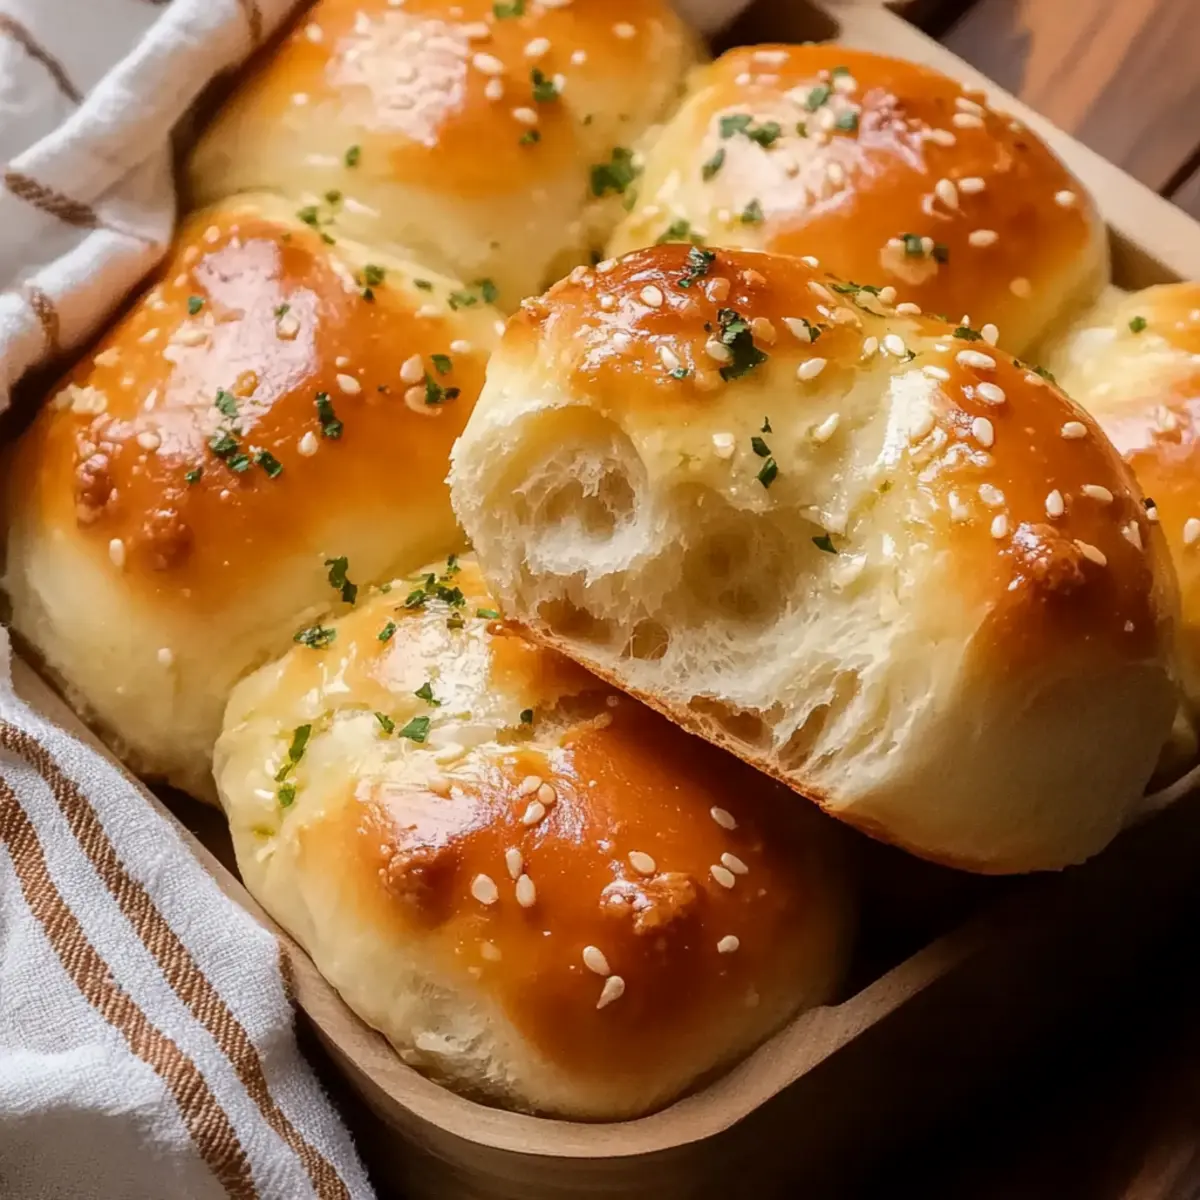
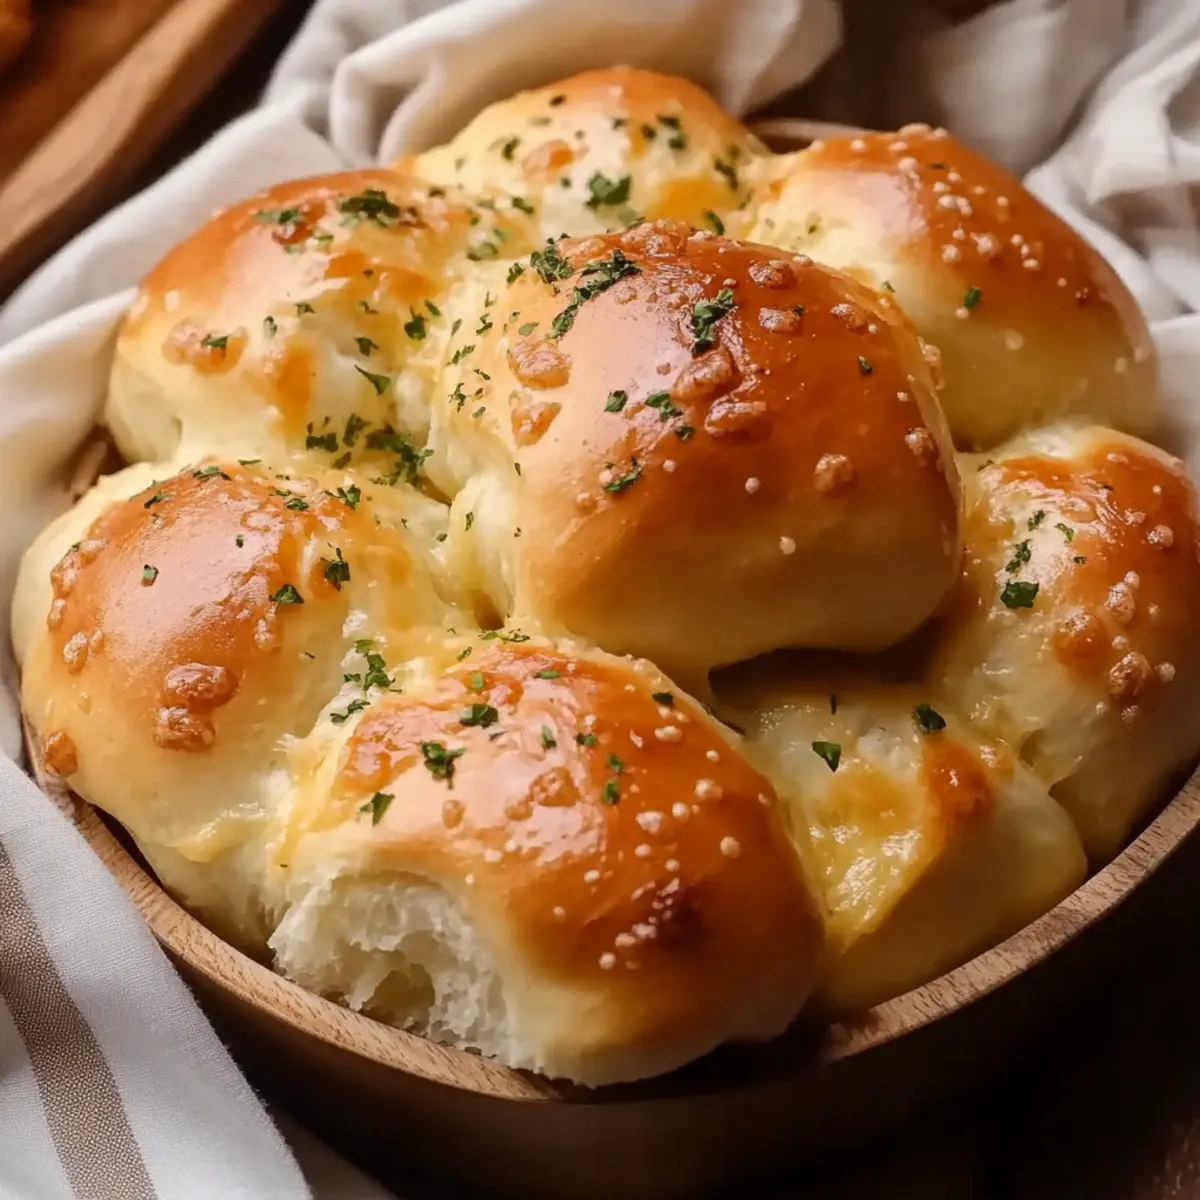
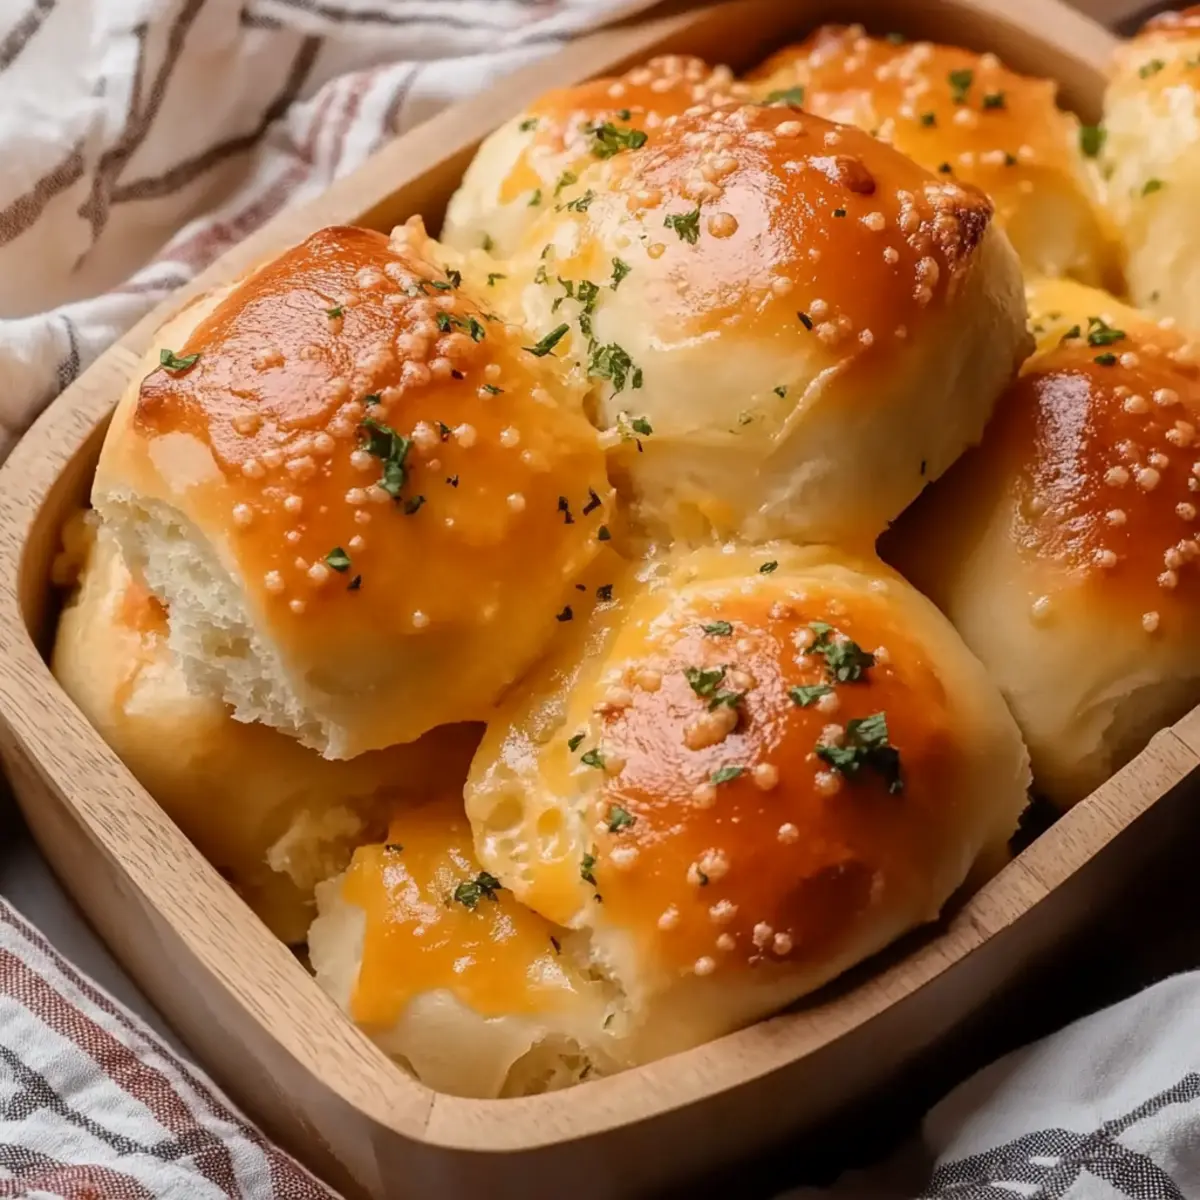
As I diced garlic and measured cheese, the kitchen filled with an aroma that promised comfort and warmth. There's something incredibly satisfying about baking homemade Cheesy Garlic Dinner Rolls—these little puffs of joy are a perfect companion to any meal and an excellent way to turn ordinary nights into something special. With just a handful of ingredients and a little patience, you’ll whip up these soft, cheesy wonders that are not only crowd-pleasers but also great for meal prep or freezing for future cravings. Imagine pulling a tray of golden-brown rolls from the oven, ready to be devoured by family and friends. Don’t you want to dive into the cheesy goodness? Let’s roll up our sleeves and get baking!
Why are Cheesy Garlic Dinner Rolls irresistible?
Mouthwatering Aroma: The combination of freshly minced garlic and baked cheese creates an irresistible scent that fills your home with warmth.
Easy to Make: You’ll be delighted to know that these rolls require minimal skills—just mix, knead, rise, and bake!
Family Favorite: These rolls are perfect for sharing, and watch them disappear at dinner parties or family gatherings, making them an instant hit.
Versatile Side Dish: Pair these delicious rolls with a hearty bowl of Cheesy Broccoli Sausage or serve alongside your favorite pasta dish.
Meal Prep Friendly: Make a big batch and freeze some for later, ensuring you always have a cheesy treat ready to go when those cravings hit.
Cheesy Garlic Dinner Rolls Ingredients
For the Dough
• Warm milk – 1 cup helps activate the yeast for those fluffy rolls.
• Sugar – ¼ cup not only sweetens but also nourishes the yeast.
• Yeast – 2 ¼ teaspoons is essential for making the dough rise and gives it a light texture.
• Melted butter – ¼ cup adds richness and flavor to the rolls.
• Large eggs – 2 help to bind the ingredients together and add moisture.
• All-purpose flour – 3 ½ cups create the structure of the rolls.
• Salt – 1 teaspoon enhances all the flavors in your dough.
For the Filling
• Minced garlic – 1 tablespoon introduces a punch of flavor that elevates these rolls.
• Shredded cheese – 1 cup (mozzarella works beautifully) for that melty, cheesy goodness in every bite.
For Finishing Touches
• Melted butter – for brushing gives a golden sheen and extra flavor on top of your rolls.
• Fresh parsley – a sprinkle for garnish adds a pop of color and freshness to the dish.
There you have it—gather these ingredients and get ready to enjoy the magic of homemade Cheesy Garlic Dinner Rolls!
Step‑by‑Step Instructions for Cheesy Garlic Dinner Rolls
Step 1: Activate the Yeast
In a small bowl, combine the warm milk, sugar, and yeast. Stir gently and allow this mixture to sit for 5-10 minutes until it becomes frothy, indicating that your yeast is active and ready for the dough. Prepare yourself for the delightful experience of making Cheesy Garlic Dinner Rolls!
Step 2: Mix the Dough
In a large mixing bowl, blend the melted butter, salt, eggs, and the frothy yeast mixture. Gradually add in the all-purpose flour while stirring, until a soft dough begins to form. Aim for a dough that is slightly sticky yet manageable, which will become the fluffy foundation of your rolls.
Step 3: Knead the Dough
Lightly flour a clean surface and transfer the dough onto it. Knead the dough for 5-7 minutes, folding and pressing it until it is smooth and elastic. You’ll want to feel its transformation as you work your hands into the mixture, creating a texture that is both soft and pliable.
Step 4: Let the Dough Rise
Place the kneaded dough in a greased bowl and cover it with a kitchen towel. Set it in a warm area to rise for 1-2 hours, or until it doubles in size. This crucial step allows the flavors to develop and prepares your dough for those delightful Cheesy Garlic Dinner Rolls.
Step 5: Prepare the Filling
While waiting for the dough to rise, mix the minced garlic with the shredded cheese in a separate bowl. This cheesy filling will add a delightful burst of flavor to your rolls, so set it aside for later use, allowing the garlic’s fragrance to awaken your appetite.
Step 6: Shape the Rolls
Once the dough has risen properly, gently punch it down and divide it into 12 equal pieces. Flatten each piece slightly, then add about one tablespoon of the cheese-garlic mixture in the center. Pinch the dough around the filling to seal it and shape each portion into a smooth ball.
Step 7: Second Rise
Arrange the shaped rolls seam-side down in a greased baking dish. Cover the dish with a towel again and let them rise for another 30-45 minutes, or until puffy. This second rise will ensure that your Cheesy Garlic Dinner Rolls are light and airy when baked.
Step 8: Preheat the Oven
Preheat your oven to 375°F (190°C) while the rolls are finishing their second rise. This step is essential to ensure your rolls bake evenly and achieve that golden-brown exterior. As the aroma of dough fills your kitchen, prepare to brush the rolls with melted butter.
Step 9: Bake the Rolls
Brush each roll with melted butter before placing them in the preheated oven. Bake for 20-25 minutes, or until they are golden brown on top. Keep an eye on them; the perfect Cheesy Garlic Dinner Rolls should emerge fluffy and beautifully browned, enticing everyone around.
Step 10: Finish and Serve
Once baked, remove the rolls from the oven and give them another brush with melted butter. Sprinkle freshly chopped parsley on top for a pop of color and flavor. Now, your Cheesy Garlic Dinner Rolls are ready to be savored, either while warm or at room temperature for later enjoyment!
Make Ahead Options
Cheesy Garlic Dinner Rolls are perfect for meal prep enthusiasts looking to save time during busy weeknights! You can prepare the dough up to 24 hours in advance; simply follow the recipe up to the first rise, cover it tightly with plastic wrap, and refrigerate. When you’re ready to bake, let the dough come to room temperature, shape the rolls, and allow them to rise for about 30-45 minutes before baking. Additionally, you can shape the rolls and place them in a greased baking dish, cover, and refrigerate for up to 3 days before baking. Just remember to take them out and let them rise for about 30 minutes before you pop them in the oven. With these make-ahead tips, you'll enjoy fresh, fluffy Cheesy Garlic Dinner Rolls with minimal effort!
How to Store and Freeze Cheesy Garlic Dinner Rolls
Room Temperature: Allow the rolls to cool completely before storing them in an airtight container, where they will stay fresh for up to 3 days.
Fridge: If you plan to keep them longer, store the Cheesy Garlic Dinner Rolls in the refrigerator for up to 1 week. Make sure to wrap them tightly to prevent drying out.
Freezer: To freeze, individually wrap each roll in plastic wrap, then place them in a freezer bag. They can last for up to 3 months, ensuring you have cheesy goodness ready when cravings strike.
Reheating: Thaw frozen rolls in the fridge overnight, then reheat in a 350°F (175°C) oven for 10-15 minutes or until warm. You can brush with melted butter for added flavor!
What to Serve with Cheesy Garlic Dinner Rolls
These heavenly rolls are perfect for creating a cozy, satisfying meal that warms the heart and fills the belly.
-
Hearty Soup: A rich tomato basil or chicken noodle soup pairs beautifully, enhancing the comforting vibe and offering a variety of flavors.
-
Mixed Green Salad: A refreshing salad with citrus vinaigrette balances the rolls' richness, providing a fresh, crunchy contrast to each warm, cheesy bite.
-
Grilled Chicken: Juicy, herb-marinated grilled chicken adds a delicious protein option that complements the buttery goodness of the rolls, turning any simple dinner into a feast.
-
Spaghetti and Marinara: Serve these rolls alongside a classic spaghetti dish to delight sauce lovers. The cheesy goodness will make every bite indulgingly memorable.
-
Creamy Mashed Potatoes: Silky and fluffy mashed potatoes are a comforting side that pairs perfectly with the textures of the dinner rolls, ensuring every plate feels like home.
-
Savory Meatballs: Sweet and savory meatballs in marinara sauce complement the cheesy rolls, making every bite a flavorful explosion that disappears in record time.
-
White Wine: A glass of chilled Sauvignon Blanc or Chardonnay shines alongside these rolls, adding a touch of elegance to your meal.
-
Chocolate Cake: For dessert, a moist chocolate cake provides a sweet end to your feast, creating a delightful contrast to the savory flavors of the dinner rolls.
Expert Tips for Cheesy Garlic Dinner Rolls
Perfect Dough Texture: Ensure your dough is slightly sticky yet manageable after mixing. This balance is key for fluffy Cheesy Garlic Dinner Rolls.
Avoid Over-Kneading: Knead until smooth and elastic, usually about 5-7 minutes. Over-kneading can result in tough rolls instead of soft and fluffy ones.
Check Yeast Activation: Make sure your yeast mixture is frothy before adding it to the dough. If it doesn't foam, your rolls won't rise properly.
Mind the Rises: Allow the dough to rise in a warm area, and don’t rush it. The longer the dough rises, the fluffier your rolls will be!
Golden Finish: Brush the rolls with melted butter both before and after baking. This technique ensures a deliciously golden crust and enhances the flavor of your Cheesy Garlic Dinner Rolls.
Cheesy Garlic Dinner Rolls Variations
Feel free to let your creativity shine by customizing these delightful rolls to suit your taste.
- Whole Wheat: Substitute half of the all-purpose flour with whole wheat for a nuttier flavor and added fiber.
- Gluten-Free: Use a gluten-free flour blend to accommodate gluten sensitivities—just ensure the blend contains a binding agent.
- Herb-Infused: Add dried or fresh herbs, such as rosemary or thyme, to the dough for an aromatic twist that elevates the flavor profile.
- Spicy Kick: Mix in some crushed red pepper flakes or finely chopped jalapeños with the cheese filling for a delightful heat.
- Cheese Variety: Experiment with different types of cheese; sharp cheddar or pepper jack can transform these rolls into a gourmet treat.
- Savory Vegan Option: Replace dairy with almond milk, use vegan butter, and substitute eggs with flax egg for a delicious vegan version.
- Sweet Twist: Incorporate a tablespoon of honey into the dough for a hint of sweetness that pairs beautifully with the savory garlic.
- Stuffed Rolls: Add cooked, crumbled sausage or sautéed spinach and cheese inside for a heartier roll that makes a fabulous meal on its own.
These variations are just the beginning—perhaps you'll serve these rolls alongside a comforting bowl of Garlic Butter Steak or complement them with a rich, cheesy dish like Cheesy Chicken Spaghetti. Let your imagination run wild!
Cheesy Garlic Dinner Rolls Recipe FAQs
How do I know if my yeast is active?
Absolutely! To ensure your yeast is active, mix it with warm milk and sugar, then let it sit for 5-10 minutes. It should become frothy, indicating that your yeast is alive and ready to make those fluffy Cheesy Garlic Dinner Rolls.
What’s the best way to store leftover dinner rolls?
To keep your Cheesy Garlic Dinner Rolls fresh, allow them to cool completely before placing them in an airtight container. They’ll stay delicious for up to 3 days at room temperature. For longer storage, consider refrigerating them wrapped tightly, where they can last up to a week.
Can I freeze Cheesy Garlic Dinner Rolls?
Yes, indeed! To freeze, wrap each roll individually in plastic wrap, then place them in a freezer bag. This way, they’ll maintain their goodness for up to 3 months. When you’re ready to enjoy them, simply thaw in the fridge overnight and reheat in a 350°F (175°C) oven for about 10-15 minutes.
What should I do if my dough isn’t rising?
If your dough isn’t rising, check if your yeast was activated properly. If it didn't foam, it may have been old or not mixed with warm enough liquid. You can try to fix it by gently warming your dough slightly and giving it another chance to rise in a warm area, or starting over with fresh yeast.
How can I ensure my rolls remain soft and fluffy?
The perfect texture comes from slightly sticky dough—aim for that consistency when mixing. Knead for only 5-7 minutes until smooth but avoid over-kneading, and give the dough enough time for both rises, as this allows air to create those light and fluffy Cheesy Garlic Dinner Rolls.
Can these rolls be made ahead of time?
Very! You can prepare the dough ahead—shape the rolls and let them rise before baking, then refrigerate them overnight. The next day, take them out to come to room temperature before baking as usual. This convenience makes for a stress-free and delicious mealtime!

Fluffy Cheesy Garlic Dinner Rolls That Steal the Show
Equipment
- Mixing bowl
- Baking Dish
- Oven
Ingredients
For the Dough
- 1 cup Warm milk helps activate the yeast
- ¼ cup Sugar nourishes the yeast
- 2 ¼ teaspoons Yeast essential for making the dough rise
- ¼ cup Melted butter adds richness and flavor
- 2 Large eggs binds the ingredients together
- 3 ½ cups All-purpose flour creates the structure of the rolls
- 1 teaspoon Salt enhances the flavors
For the Filling
- 1 tablespoon Minced garlic adds flavor
- 1 cup Shredded cheese mozzarella recommended for cheesiness
For Finishing Touches
- Melted butter for brushing
- Fresh parsley for garnish
Instructions
Step-by-Step Instructions
- In a small bowl, combine warm milk, sugar, and yeast. Stir gently and allow to sit for 5-10 minutes until frothy.
- In a large bowl, blend melted butter, salt, eggs, and the frothy yeast mixture. Gradually add flour until a soft dough forms.
- Flour a surface and knead the dough for 5-7 minutes until smooth and elastic.
- Place kneaded dough in a greased bowl, cover with a towel, and let it rise for 1-2 hours until doubled in size.
- Mix minced garlic with shredded cheese in a bowl for filling.
- Punch down dough, divide into 12 pieces, flatten, and add cheese-garlic mixture. Pinch dough around filling to seal.
- Arrange rolls seam-side down in a greased dish, cover, and let rise for 30-45 minutes.
- Preheat oven to 375°F (190°C) as rolls finish rising.
- Brush rolls with melted butter and bake for 20-25 minutes until golden brown.
- Remove from oven, brush with melted butter, and sprinkle with parsley before serving.

Leave a Reply