
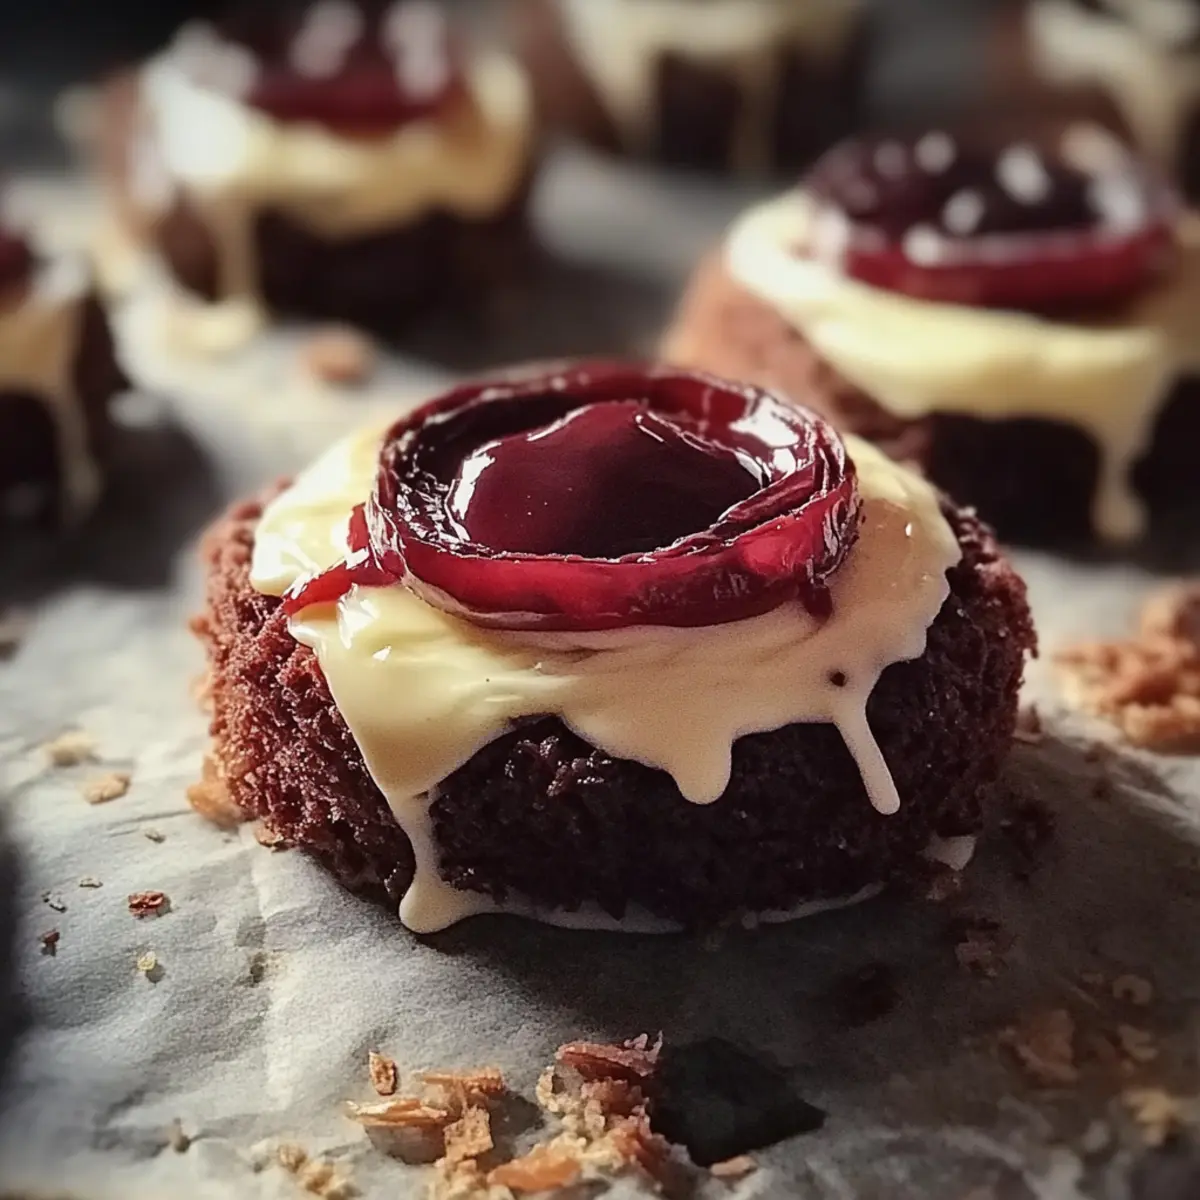
As the holiday season rolls in, my kitchen transforms into a magical workshop, filled with the aroma of freshly baked delights. One of my all-time favorites to whip up during this festive time are Black Forest Christmas Cookies. These beautiful bites balance rich chocolate with a sweet cherry surprise and fluffy whipped cream, creating a delightful treat that’s sure to impress friends and family. Not only are they a crowd-pleaser, but the prep time is a breezy 20 minutes—perfect for those busy days when you still want to sprinkle some homemade love into your festivities. Once you try these cookies, the idea of store-bought treats will feel utterly unthinkable! Can you just imagine them nestled on your holiday platter? Let’s dive into this delicious recipe together!
Why are these cookies a must-try?
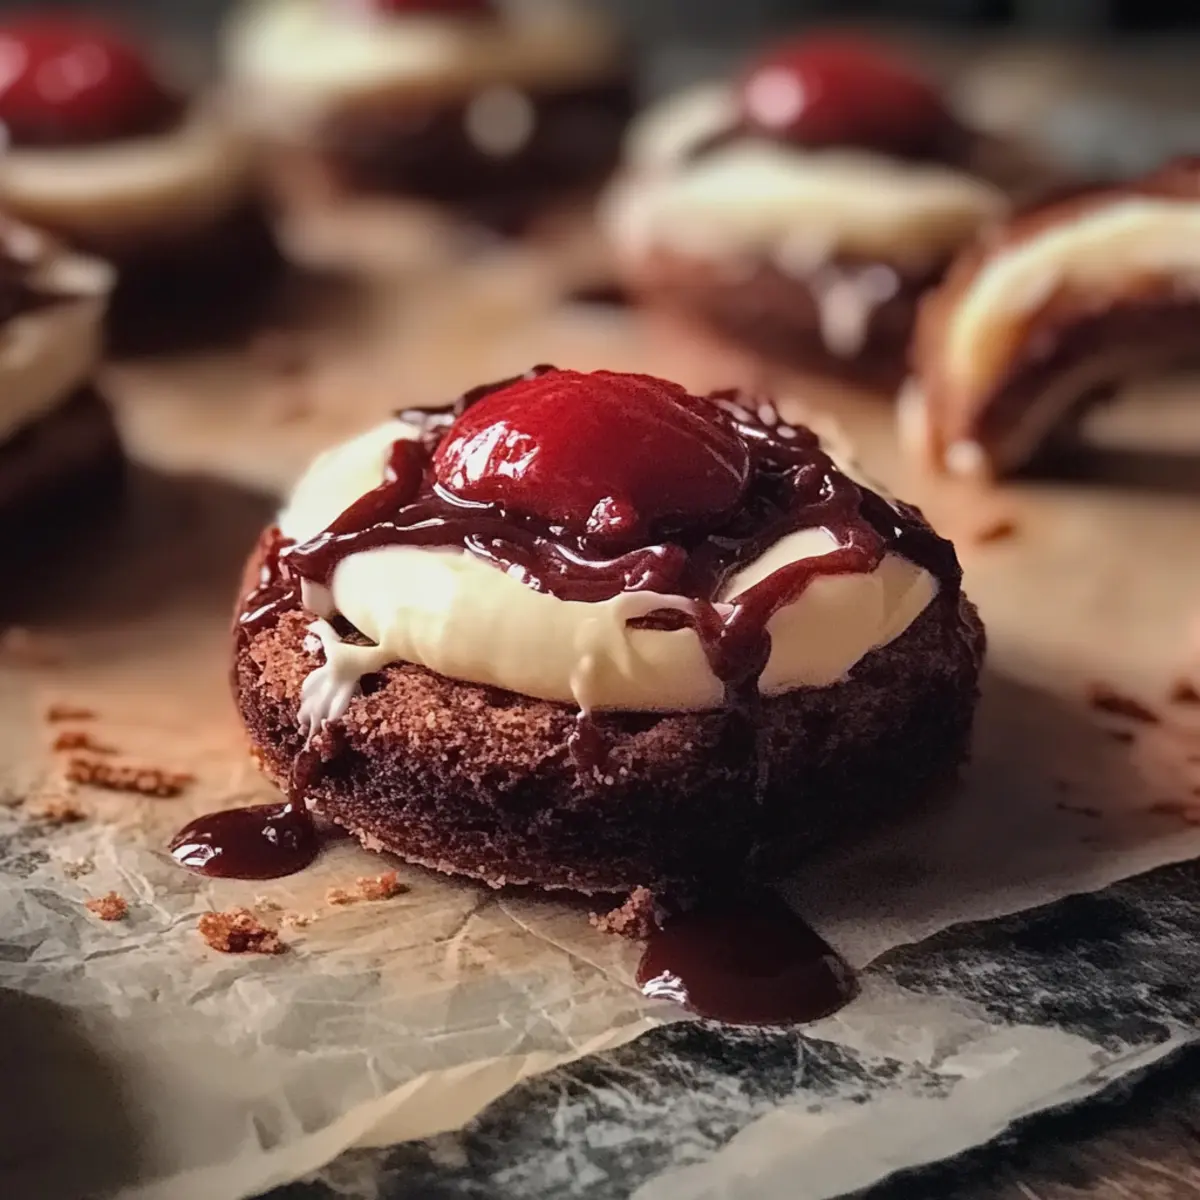
Irresistible Combination: These Black Forest Christmas Cookies marry decadent chocolate and sweet cherries for an unforgettable flavor experience.
Effortless Prep: With just 20 minutes of prep, you can have fresh cookies ready, making them perfect for those busy holiday schedules.
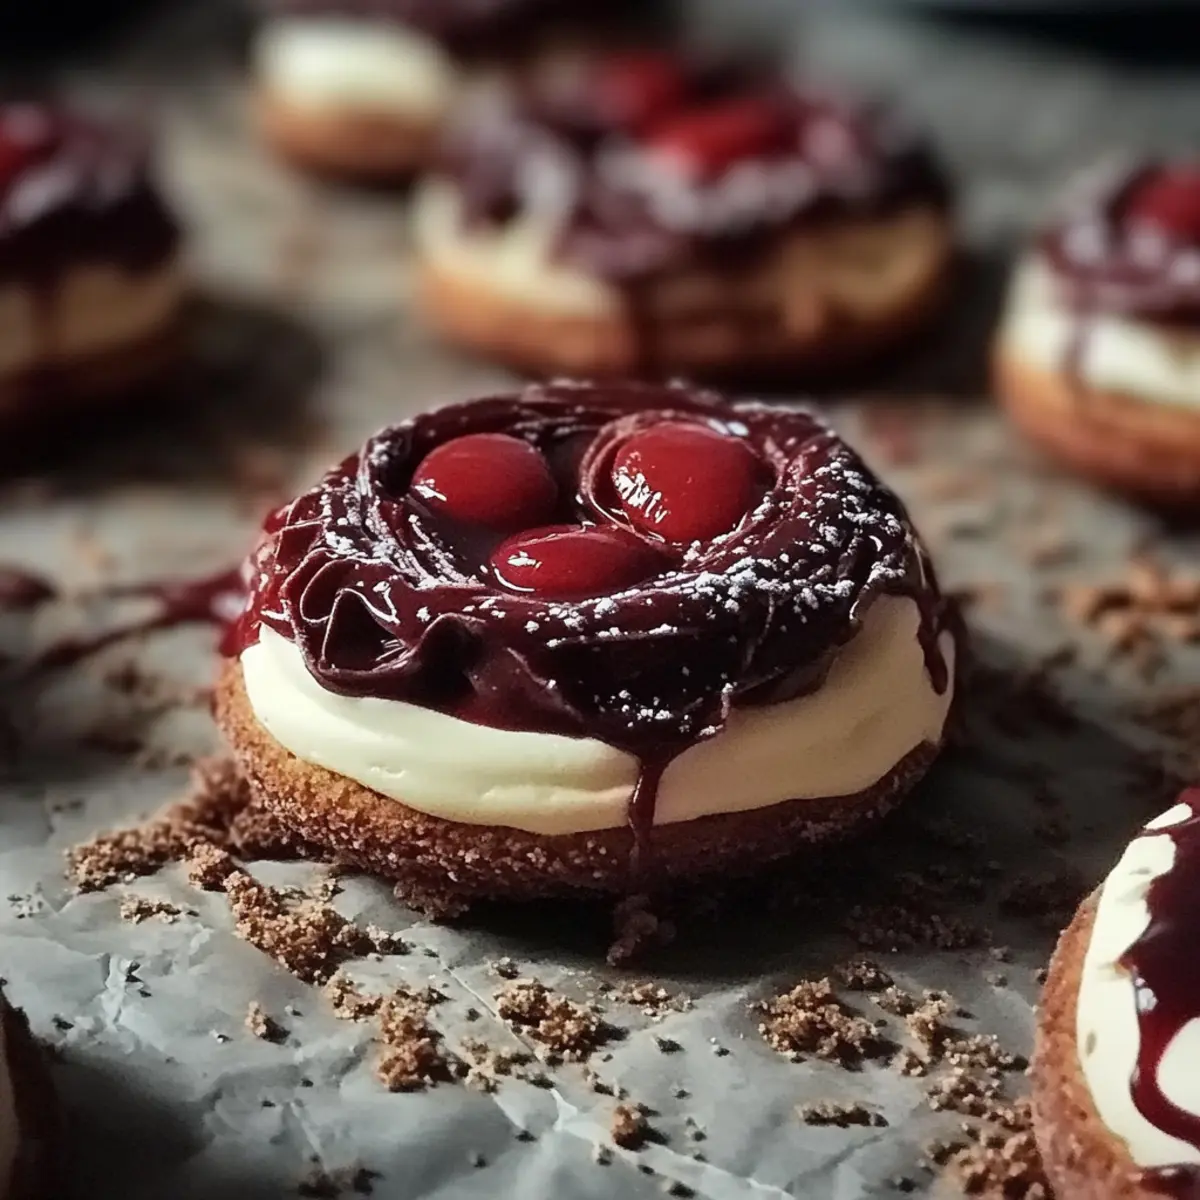
Party Perfect: Their beautiful layers and toppings make these cookies an eye-catching addition to any festive gathering or cookie platter.
Kid-Friendly Fun: Involve your little ones in the decorating process—who doesn’t love piping whipped cream and sprinkling chocolate shavings?
Flavor Explosion: Each bite features a burst of refreshing cherry preserves complemented by a soft chocolate cookie base—delicious!
In a season filled with treats, learn how to transform festive gatherings with this delightful recipe that'll make you the star of the show!
Black Forest Christmas Cookies Ingredients
For the Cookie Dough
- Butter – 1 cup, softened for that rich, creamy base.
- Granulated sugar – 1 ½ cups to sweeten your dough perfectly.
- Eggs – 2 large for binding and moisture in the cookies.
- Vanilla extract – 1 teaspoon for a warm flavor boost.
- All-purpose flour – 2 cups to create a soft and sturdy structure.
- Cocoa powder – ¾ cup to add that decadent chocolate richness.
- Baking powder – 1 teaspoon for a light texture.
- Baking soda – ½ teaspoon for a bit of lift.
- Salt – ¼ teaspoon to enhance all the flavors.
For the Decoration
- Cherry preserves – 1 cup for a sweet and fruity surprise in every bite.
- Heavy cream – 1 cup, whipped for a luscious topping.
- Powdered sugar – 2 tablespoons to sweeten the cream and stabilize it.
- Dark chocolate shavings – for decoration, to elevate the presentation and flavor.
Get ready to delight in these Black Forest Christmas Cookies that are just calling for a place at your holiday table!
Step‑by‑Step Instructions for Black Forest Christmas Cookies
Step 1: Cream the Butter and Sugar
In a large mixing bowl, combine 1 cup of softened butter and 1 ½ cups of granulated sugar. Use a hand mixer or stand mixer to beat these ingredients together on medium speed until the mixture is light and fluffy, which should take about 3-5 minutes. This step is crucial for creating a tender cookie base.
Step 2: Add Eggs and Vanilla
Next, incorporate 2 large eggs one at a time, mixing well after each addition to ensure they’re fully blended. Follow this by stirring in 1 teaspoon of vanilla extract. The combination will enhance the flavor of your dough, making your Black Forest Christmas Cookies truly irresistible.
Step 3: Combine Dry Ingredients
In a separate bowl, whisk together 2 cups of all-purpose flour, ¾ cup of cocoa powder, 1 teaspoon of baking powder, ½ teaspoon of baking soda, and ¼ teaspoon of salt. Once well combined, gradually add this dry mixture to the wet ingredients, mixing on low speed until a soft dough forms—this should take about 1-2 minutes.
Step 4: Chill the Dough
Cover the dough with plastic wrap and refrigerate it for at least 1 hour. Chilling the dough is essential to firming it up, which helps shape the cookies and prevents them from spreading too much while baking. You can use this time to clean up or prepare your baking sheets.
Step 5: Prepare for Baking
When ready to bake, preheat your oven to 350°F (175°C) and line a baking sheet with parchment paper. This ensures the cookies bake evenly and don’t stick to the pan, allowing for a perfect release and easy cleanup later.
Step 6: Shape the Cookies
After the dough has chilled, scoop tablespoon-sized portions and roll them into balls. Place each ball on the prepared baking sheet, spacing them about 2 inches apart to allow for spreading. You should see a shiny, slightly firm surface on the cookie balls.
Step 7: Bake the Cookies
Bake in the preheated oven for 10-12 minutes, or until the edges are set but the centers are still soft. The cookies should spread slightly and look just firm around the edges. Let them cool on the baking sheet for a few minutes, allowing them to firm up further before transferring them to a wire rack.
Step 8: Whip the Cream
While the cookies cool, in a clean bowl, whip together 1 cup of heavy cream and 2 tablespoons of powdered sugar. Beat on medium-high speed until stiff peaks form—this should take about 3-4 minutes. The whipped cream will provide a light and fluffy topping for your Black Forest Christmas Cookies.
Step 9: Assemble the Cookies
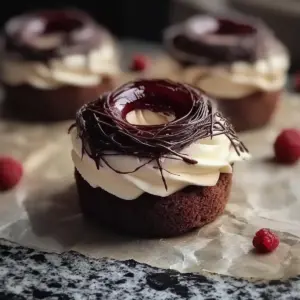
Once the cookies have cooled completely, generously spread a tablespoon of cherry preserves on each cookie. Top each with a dollop or piped amount of whipped cream and finish with dark chocolate shavings for decoration. This beautiful layering adds a festive touch and elevates each bite.
Step 10: Serve and Enjoy
Arrange your Black Forest Christmas Cookies on a platter, creating an inviting display for your guests. These cookies are not only a treat for the taste buds but also a delightful sight that will surely bring the holiday spirit to your gatherings.
Make Ahead Options
These Black Forest Christmas Cookies are perfect for busy home cooks looking to save time during the festive season! You can prepare the cookie dough up to 24 hours in advance; simply cover it with plastic wrap and refrigerate to keep it fresh. Alternatively, you can bake the cookies in advance and store them in an airtight container for up to 3 days at room temperature. To maintain the cookies' softness, consider adding a slice of bread in the container—thanks to its moisture, the cookies will be just as delightful! When you’re ready to serve, simply spread the cherry preserves, pipe or dollop whipped cream, and sprinkle with dark chocolate shavings before gathering your merry friends and family for a treat that feels fresh from the oven!
What to Serve with Black Forest Christmas Cookies
As you gather around the table with loved ones, create a festive feast that complements these delightful cookies.
-
Hot Chocolate Bar: A rich, velvety hot chocolate pairs beautifully with the chocolatey goodness of the cookies, offering a cozy touch to your holiday gathering.
-
Vanilla Ice Cream: The creamy texture of vanilla ice cream contrasts perfectly with the chewy cookies, adding a comforting chill that enhances each bite.
-
Spiced Cranberry Sauce: This tart and spiced sauce provides a bright counterpoint to the sweetness of the cookies, keeping your palate refreshed and inviting new flavors with each taste.
-
Peppermint Mocha: The bold flavors of espresso and chocolate, with a hint of peppermint, bring an inviting warmth that harmonizes with the festive elements of the season.
-
Fruit Salad: A light, refreshing fruit salad loaded with seasonal fruits like citrus or pomegranate offers a palate-cleansing contrast, making the cookies feel even more indulgent.
-
Gingerbread Cake: For a holiday twist, serve slices of moist gingerbread cake, whose warm spices pair nicely with the cocoa and cherry flavors of the cookies.
-
Mulled Wine: The warm spices and sweet notes of mulled wine can elevate your dessert experience, making it feel like a celebration in every sip.
-
Cheese Platter: An assortment of cheeses with a mix of salty and sweet options balances the cookies’ richness, inviting guests to nibble and discover different flavor combinations.
Black Forest Christmas Cookies Variations
Feel free to play around with this recipe and create your own delightful twists that will make your taste buds dance!
-
Gluten-Free: Substitute all-purpose flour with a gluten-free flour blend for a delicious, celiac-friendly treat. Make sure to check your baking powder is also gluten-free.
-
Vegan: Swap butter for a plant-based alternative and use flax eggs instead of regular eggs. The texture may vary slightly, but the flavor will still shine through!
-
Cherry-Lime Twist: Add a splash of fresh lime juice to the cherry preserves for a zingy flavor contrast. This brightens each bite while maintaining the festive vibe.
-
Nutty Surprise: Fold in ½ cup of finely chopped walnuts or almonds into your dough for a delightful crunch and a nutty aroma. Nuts can elevate the texture and richness of the cookies.
-
Chocolate Lovers: Boost the chocolate taste by adding chocolate chips or chunks into the batter. Melted chocolate will create pockets of gooey goodness that’s irresistible.
-
Spicy Kick: Incorporate ¼ teaspoon of cinnamon or a pinch of cayenne pepper into the dry ingredients. This will add an unexpected warmth that can be quite captivating.
-
Fruity Fusion: Mix in some dried cranberries or blueberries along with the cherry preserves for a beautiful berry medley that captures more of the season’s essence.
-
Drunken Delights: For an adult twist, drizzle some cherry liqueur over the whipped cream before serving, giving your cookies a touch of elegance. This will surely elevate your holiday gatherings!
With these ideas, you’ll transform your Black Forest Christmas Cookies into unique creations that delight every palate at your table! Don't forget to check out my storage tips to keep those flavors fresh and delicious.
Expert Tips for Black Forest Christmas Cookies
-
Chill Time Matters: Always refrigerate the dough for at least 1 hour. This prevents the cookies from spreading too much while baking and ensures a perfect shape.
-
Perfectly Measuring Ingredients: Ensure you properly measure your flour and cocoa powder; too much can make your cookies dense. Use the spoon-and-level method for accuracy.
-
Watch the Bake Time: Cookies will continue to firm up after removing them from the oven. Keep an eye on them and take them out when the edges are set but the centers look slightly soft.
-
Whipped Cream Technique: For a stable whipped cream topping, make sure your bowl and beaters are cold. This helps achieve stiff peaks that hold their shape beautifully.
-
Customizable Decor: Feel free to get creative with toppings! Add toasted nuts or a splash of cherry liqueur to the cream for a unique twist on these Black Forest Christmas Cookies.
-
Storage Tips: Store leftover cookies in an airtight container to keep them fresh. They taste delightful even a few days later!
How to Store and Freeze Black Forest Christmas Cookies
Room Temperature: Store the cookies in an airtight container at room temperature for up to 3 days. This ensures they remain soft and fresh, ready for any festive cravings.
Fridge: For longer freshness, you can keep these cookies in the refrigerator in a tightly sealed container for about a week. Just make sure to allow them to come to room temperature before enjoying.
Freezer: If you want to save some for later, freeze unassembled cookies (without the cherry preserves and whipped cream) for up to 3 months. When ready to enjoy, let them thaw in the fridge overnight before adding the toppings.
Reheating: To revive the flavors, gently reheat cookies in the microwave for about 10-15 seconds. This warms them up beautifully without drying them out, making for a delightful treat anytime!
Black Forest Christmas Cookies Recipe FAQs
How do I select ripe cherries for the cherry preserves?
Absolutely! For the best cherry preserves, look for ripe, firm cherries that are deep red in color with a slight shine. Avoid any with dark spots or wrinkles. If you're using jarred preserves, choose high-quality brands made from whole fruit with no added artificial ingredients.
What is the best way to store leftover Black Forest Christmas Cookies?
Very! To keep your cookies fresh, store them in an airtight container at room temperature for up to 3 days. If you want them to last longer, refrigerate them in a tightly sealed container for about a week. Remember to let them come back to room temperature before enjoying for the best flavor!
Can I freeze Black Forest Christmas Cookies?
Absolutely! To freeze, I recommend freezing the cookies without the cherry preserves and whipped cream toppings. Place them in a single layer in a freezer-safe container, separated by parchment paper to prevent sticking, and store for up to 3 months. When you're ready to enjoy them, simply thaw in the fridge overnight, then add your toppings for that fresh taste!
What should I do if my cookies spread too much while baking?
If your cookies spread too much, don’t worry! This can happen if the dough is too warm or if the butter was too soft when mixed. To prevent this in the future, ensure your dough is well-chilled, as specified in the recipe, and keep the cookie portions small—smaller dough balls help retain shape better when baking.
Are these Black Forest Christmas Cookies safe for pets?
Definitely not! While the cookies are a delightful treat for humans, they are not safe for pets due to the chocolate content, which can be toxic to dogs and cats. Always keep the cookies out of reach of any furry friends to keep them safe!
What if I want to reduce the sugar content in the cookies?
If you want to cut down on sugar, I recommend using a sugar substitute that measures like granulated sugar, such as stevia or erythritol. However, keep in mind that reducing the sugar could slightly alter the texture. You may also try using unsweetened cocoa powder and adjusting the sweetness in the whipped cream topping to balance the flavors. Enjoy baking!
Delight in Homemade Black Forest Christmas Cookies Today
Equipment
- Mixing bowl
- hand mixer
- Baking sheet
- parchment paper
Ingredients
For the Cookie Dough
- 1 cup Butter, softened for that rich, creamy base
- 1.5 cups Granulated sugar to sweeten your dough perfectly
- 2 large Eggs for binding and moisture in the cookies
- 1 teaspoon Vanilla extract for a warm flavor boost
- 2 cups All-purpose flour to create a soft and sturdy structure
- 0.75 cups Cocoa powder to add that decadent chocolate richness
- 1 teaspoon Baking powder for a light texture
- 0.5 teaspoon Baking soda for a bit of lift
- 0.25 teaspoon Salt to enhance all the flavors
For the Decoration
- 1 cup Cherry preserves for a sweet and fruity surprise in every bite
- 1 cup Heavy cream, whipped for a luscious topping
- 2 tablespoons Powdered sugar to sweeten the cream and stabilize it
- Dark chocolate shavings for decoration
Instructions
Step-by-Step Instructions
- In a large mixing bowl, combine 1 cup of softened butter and 1 ½ cups of granulated sugar. Beat until light and fluffy, about 3-5 minutes.
- Incorporate 2 large eggs one at a time, mixing well after each addition. Stir in 1 teaspoon of vanilla extract.
- In a separate bowl, whisk together 2 cups of all-purpose flour, ¾ cup of cocoa powder, 1 teaspoon of baking powder, ½ teaspoon of baking soda, and ¼ teaspoon of salt. Gradually add the dry mixture to the wet ingredients on low speed until a soft dough forms.
- Cover the dough with plastic wrap and refrigerate for at least 1 hour.
- Preheat your oven to 350°F (175°C) and line a baking sheet with parchment paper.
- Scoop tablespoon-sized portions of dough and roll them into balls. Place on baking sheet, spacing about 2 inches apart.
- Bake in the preheated oven for 10-12 minutes, or until edges are set but centers are still soft. Let cool on the baking sheet.
- In a clean bowl, whip together 1 cup of heavy cream and 2 tablespoons of powdered sugar until stiff peaks form.
- Spread a tablespoon of cherry preserves on each cookie, top with whipped cream, and finish with dark chocolate shavings.
- Arrange on a platter and serve.

Leave a Reply